
Working on a WordPress website is not an easy task, despite how intuitive and straightforward the platform is. This is often down to the interaction between your site and server. A local development environment will save your live resources, but you could miss crucial incompatibility issues. As such, you’ll want to use a flexible and unobtrusive solution – such as Laravel Valet.
If you’re a macOS user who wants to set up a PHP-based development environment, you have a lot of options. However, Laravel Valet runs from the command line, and offers as much scope (if not more) than other tools based on a Graphical User Interface (GUI).
In this post, we’re going to show you how to install and set up Laravel Valet on your macOS system. We’ll also give you the lowdown on what other tools you’ll need to start things off. What’s more, we’re going to provide some alternatives for Windows users too.
Why You’ll Want to Use a Local Development Environment
Creating and using a local development environment is an area we cover lots of times on the WPKube blog. Note that a local setup is different than a staging site in this instance, as the latter often uses a live server. In contrast, a local environment is just that – one on your computer.
As for why you’ll want to use a local environment with your WordPress website, there are a number of solid benefits:
- You don’t use your live server’s resources.
- You can test out updates, run the rule over new themes and plugins, and carry out general work on your site without touching your live site.
- A local environment gives you time to work, which is important for initial development or redesigns.
There are lots more reasons, but we don’t need to labor the point. However, we do need to pick up on the major drawback of a local environment. It’s tougher to replicate your live server, and this has immense importance. In short, if you can set up an exact copy of your live server with regards to its specifications, you have a greater chance of picking up on (and fixing) incompatibilities before you go live.
This is one area where you’ll also want to consider your workflow, such as going from a local to staging server, then pushing that live once you test everything out. However, this subject is beyond the scope of this article (but is something we’ll cover in the future).
Introducing Laravel Valet
By now, most site owners will understand that a local environment is necessary for the smooth running of a website. However, choosing the right core software for your ecosystem is crucial. After all, you have to be comfortable with its approach and workflow.
Laravel Valet is a PHP-based development environment specific to macOS machines. It uses Nginx as a constantly live server that runs in the background. This means it’s always on and ready to go. It will use a tool called Dnsmasq to proxy domains with a .test extension to your local sites.

Laravel Valet is part of the wider Laravel ecosystem that also includes Sail (which is an environment that helps you talk to Docker) and Homestead (a Vagrant-based solution, much like Varying Vagrant Vagrants (VVV)). Out of the box, Valet supports WordPress, which is fantastic, but also supports a number of other third-party tools.
Why Laravel Valet Is One of the Best Local Development Environments Available
It’s a bold statement to make, but Laravel Valet is a go-to development environment for macOS machines, and we’d recommend this over other more popular tools. There are a number of reasons for this:
- It’s simple to install and use.
- You won’t need to install further dependencies and programs, such as virtualization software.
- It runs on minimal resources – the official documentation notes that it uses 7 MB of RAM.
While Valet is pegged as a lightweight and flexible solution for times when you need extreme speed or resource-efficiency, it’s perfect for almost all local development work on your site. Across the rest of the post, we’re going to show you how to set it up.
What You’ll Need In Place Before You Install Laravel Valet
One of the main draws for Laravel Valet is that you don’t need much to use it. While other solutions need third-party virtualization software, or other dependencies, Valet works with what you have. However, you’ll need to have a few requirements in place before you begin:
- Of course, you’ll want to run macOS, as Valet won’t work without it.
- Much like a number of other macOS programs, Valet uses Homebrew. If this is new to you, it’s a package manager for macOS and Linux that is almost essential if you have to run any installations from the command line. We recommend you install and use it, even if you choose not to run Valet.
Other than this, you don’t need anything else to run Laravel Valet. While you might need to install some other dependencies through the setup process, we’ll cover them in the main tutorial. Speaking of which, let’s get down to business!
How to Use Laravel Valet for Local WordPress Development on macOS
Installing and using Laravel Valet is a breeze. In fact, you could spin up your first site within ten minutes of opening your Terminal app. There are three basic steps we’ll cover for this one:
- Installing Valet (and potentially PHP and Composer too).
- Creating your new site through the Valet interface.
- Securing your new site using Valet’s built-in tools.
Of course, you’ll want to know how to use the command line too, but we’re going to cover the commands you’ll need through the post.
1. Install Laravel Valet on Your Mac
Most of your effort will go into Valet’s installation process. Though, before you install Valet itself, you’ll want to make sure Homebrew is up to date, and that you have the right version of PHP on your computer.
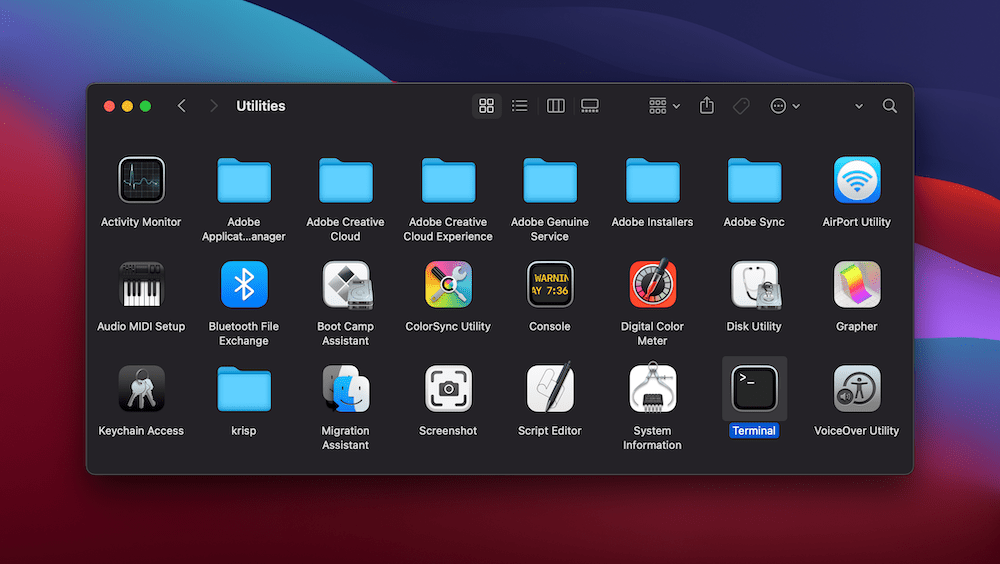
First, open a Terminal window – you can use Spotlight here, or head to the Application > Utilities folder within the Finder:
Regardless, once it’s open, type in the following:
brew update
This will check and install any updates to the Homebrew software:
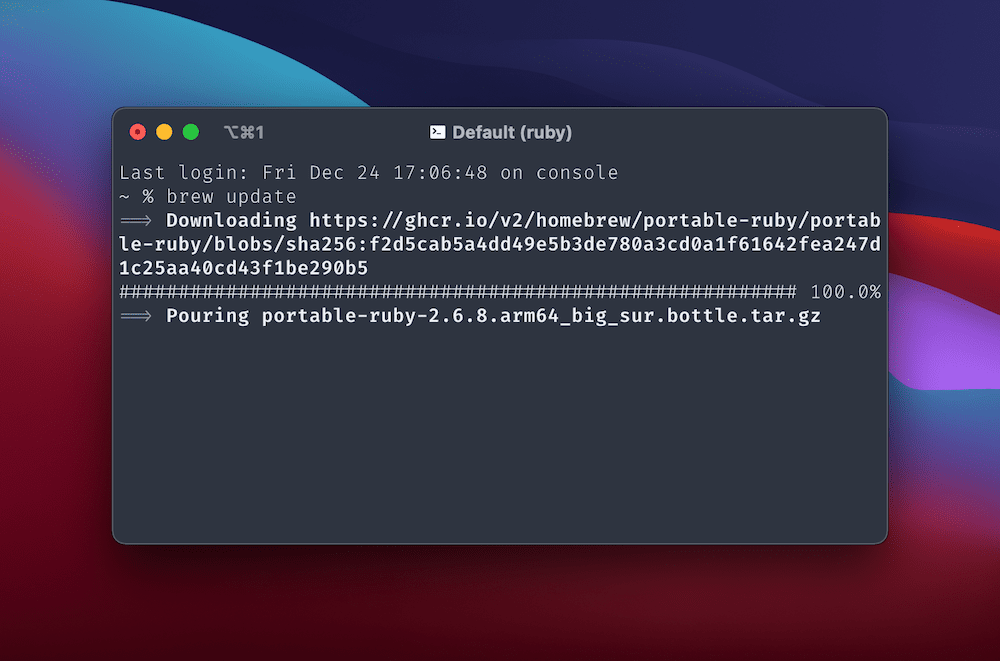
When this process finishes, you can then run brew install php. This will make sure there is a current version of PHP on your system, and this is (of course) a requirement.
Once this process finishes, you’re ready to run another command: composer global require laravel/valet. If using Composer is new to you, know that it’s a PHP package manager that works in the same way as Homebrew. We need this to install Valet.
In most cases, you need to add the Composer directory (~/.composer/vendor/bin) to your macOS’ $PATH. This is beyond the scope of the article, but there are tutorials on how to do this across the web.
The final step is to install valet itself through the valet install command. In some cases you don’t need to do this as a matter of course, but it’s a good idea for completeness. We’d also recommend you restart your machine, to make sure that the changes and installs apply in full.
2. Create a New Local Site Through the Command Line
When you’re ready to do so, you can carry out a quick test of Valet. To do this, enter the ping wpkube.test command and hit Enter. In fact, this will work with any *.test domain, so go wild! If everything works, you’ll see the Terminal screen fill with ‘pings’ to the domain:
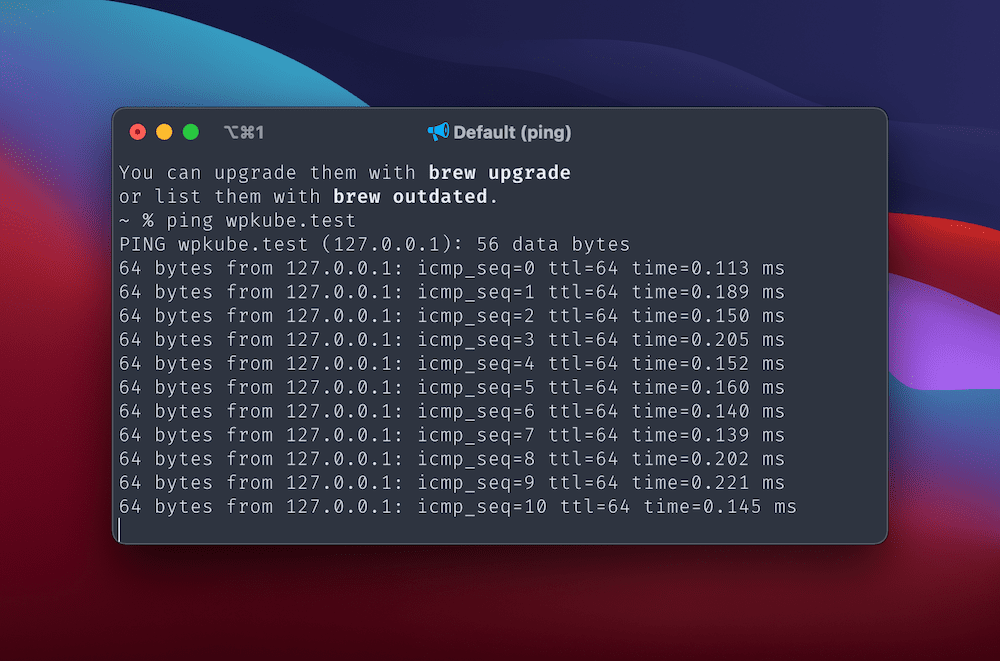
To break out of this cycle, hit Control + C. If you see a lot of 127.0.0.1 addresses, all systems are go. If something doesn’t work as you expect, you might want to try valet stop, then valet start. This will do as you’d expect, and should put things right.
The park and link Commands
Using Valet is similar to other command line interfaces: You’ll create local directories and link them to Valet’s infrastructure. You main task here is to designate a suitable directory under which all of your site’s folders will live.
With a Terminal window open, input the following, pressing Enter after each one:
mkdir sites
cd sites
valet park
In short, this creates a new folder in your Home directory. From there, you move into the directory, then assign that folder as the default Valet root using the park command.
Any folder you create within the sites directory is one you can access through a *.test domain. You can also use wildcard subdomains too, without any need to configure Valet.
However, you don’t need to stick to the parked directory for your local environments. For example, you can create a directory anywhere on your system, then serve the single site using the link command:
cd Documents/temp-sites/client-site/
valet link
This will let you access the site at http://client-site.test. However, you can also set a specific domain hostname while linking:
valet link clienttemp
From here, you can visit the site at http://clienttemp.test, while retaining the folder structure. Note that if you run the valet links command, this will display a list of your linked directories, which is helpful if you have a lot of client or site folders across your computer. If you wish to see a list of parked paths, you can use the valet paths command.
3. Make Your New Local Site Secure Through Valet’s Interface
It’s a good idea to secure your new local site using Secure Sockets Layers (SSL) or Transport Layer Security (TLS). Laravel Valet serves sites over HTTP by default, but you can set this to HTTPS using one command:
valet secure [folder-name]
To revert a site back to HTTP, you’ll use valet unsecure [folder-name]. It’s a simple solution to a complex problem, and Valet will handle all of the
If you want to remove a site from Valet, it’s a good idea to use valet unsecure first. This will remove the certification from your system.
From there, you can remove a site from your parked or linked lists using valet forget [folder-name]. Note that this won’t delete the directory, only ‘unlink’ it from Valet. You’ll still need to carry out a manual delete of any directories that are surplus to requirements.
Alternatives to Laravel Valet for Windows Users
Of course, Laravel Valet is only for macOS. This is fine if you use that OS, but for Windows or Linux users, you’ll need to find another solution.
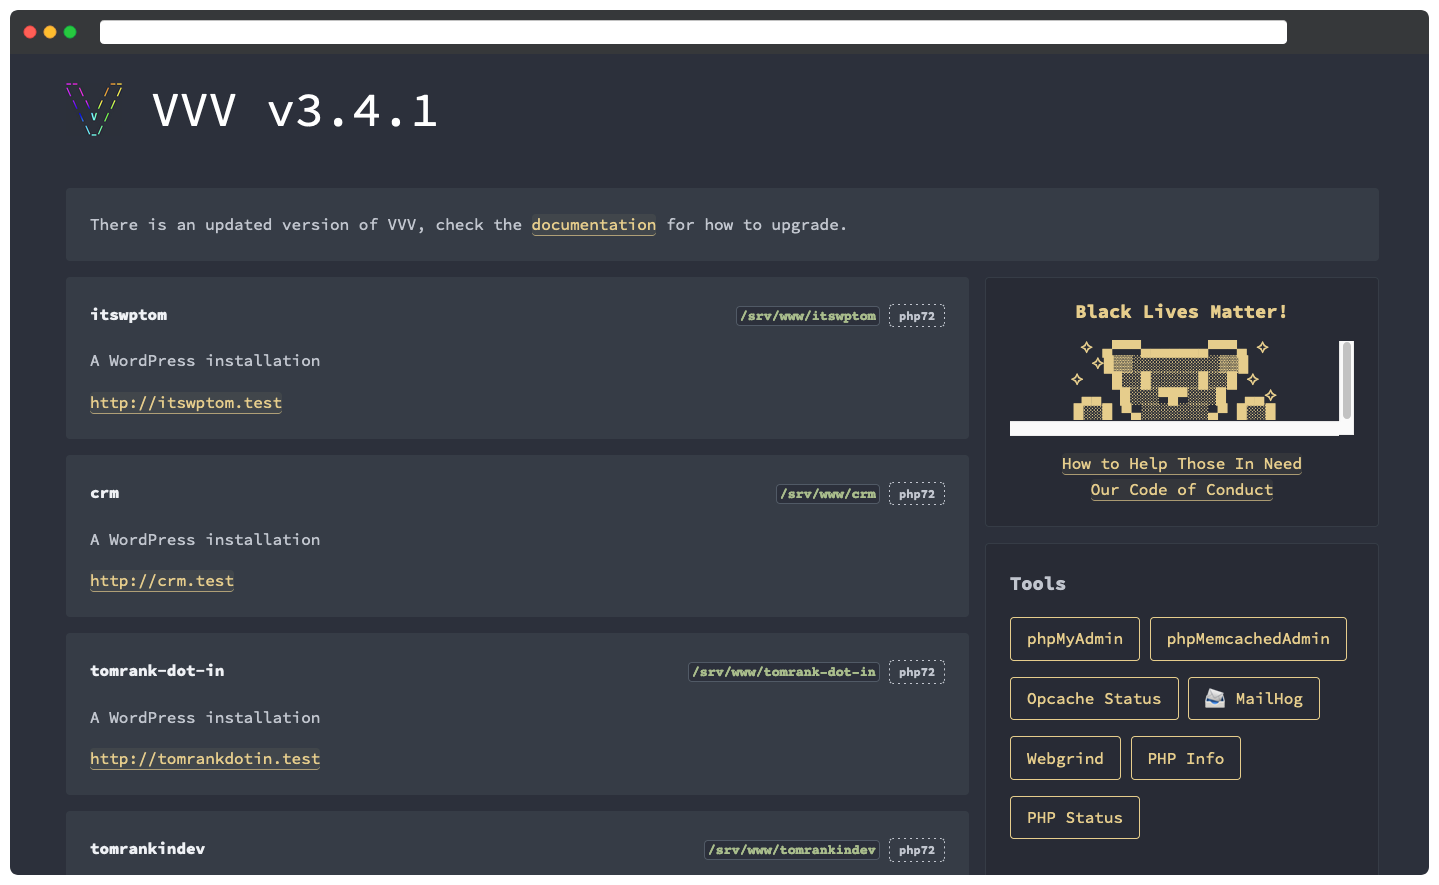
Varying Vagrant Vagrants (VVV) is arguably the nearest tool to Valet. It runs off of the command line, and works with the Vagrant software. As such, you’ll also need to use virtualization software. VirtualBox is the default and recommended solution here, but you can also use Parallels.
However, if you want to consider a GUI-based tool, there are plenty on offer. We cover two elsewhere on the WPKube blog:
There’s little between both of these to choose from. They are fantastic ways to spin up a WordPress website fast, and they offer cross-platform support – DevKinsta even works on Linux-based machines.
In Summary
Most site owners know that a local development environment is a crucial part of your ecosystem. As such, you’ll want to choose the right solution for your needs. While you could go with a setup utilizing Local by Flywheel or DevKinsta, some users prefer an approaching using the command line. VVV is a solid (and recommended) tool for the job, but Laravel Valet is near-perfect for macOS users.
This article has looked at Laravel Valet, specifically how to set it up for your system. Once you do this, the local server runs in the background and takes up minimal resources. What’s more, you can assign test URLs, and work with those sites under the hood much like you would with a GUI tool.
Do you think Laravel Valet will suit your macOS local workflow, or is there another solution we should take a look at? Let us know in the comments section below!


