There’s no denying that building a bigger email list is a great way to solidify relationships with your target audience long after they leave your website.
With a good email marketing strategy in place, you can update subscribers with breaking news, hot new tips and tricks, deals and discounts, and so much more.
But which email marketing service are you supposed to use?
There are so many email marketing services available to WordPress website owners. They all offer plenty of baked-in features such as automation, A/B testing, and easy to use drag and drop campaign builders. But for those on a budget, one of the best email marketing solutions is SendinBlue.
Complete with a drag and drop builder, email segmentation capability, real-time statistics, heat maps, and plenty of third-party integrations, SendinBlue is a simple and effective way to send email newsletters to your subscribers whenever the need arises. That’s why today, we’re going to show you just how to send your first email newsletter using SendinBlue.
Better yet – you can get started for free.
So, let’s get started!
Why send email newsletters?
Whether you run a blog, eCommerce shop, or online business, newsletters are a powerful way of communicating with those that have shown interest in what you have to offer – even when they aren’t on your WordPress website.
By sending an email newsletter with SendinBlue to your subscribers, you can achieve the following:
- Generate recurring traffic to your website or blog
- Build customer loyalty with consistent engagement
- Provide updates about your company or store
- Highlight your site’s best content
- Promote your services or products and encourage people to make a purchase
Building a custom email newsletter with SendinBlue is not difficult at all. And if you keep up regular contact with your subscribers, you’ll see traffic numbers rise, along with conversions and sales.
How to send your first email newsletter with SendinBlue
SendinBlue integrates seamlessly with WordPress, making it a great email service to use for sending newsletters. And with its free plan in place, letting you send up to 300 emails a day, this platform also happens to be very cost effective.
Step 1: Create an email list
Before you can send your first newsletter using SendinBlue, you need to have subscribers that you can send it to.
Once people subscribe to your newsletter, you’ll need to create an email list in the SendinBlue. To do this, log in to your SendinBlue account and access the dashboard.
Next, go to Contacts > Lists and click on Add a new list.
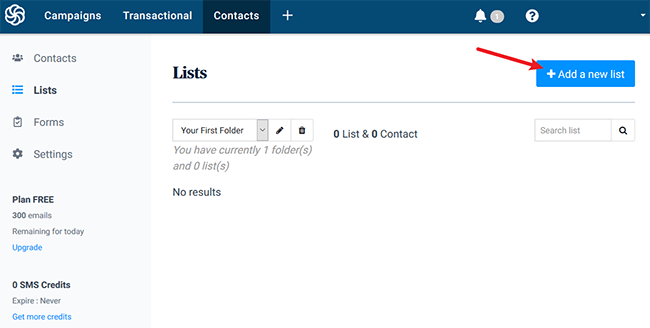
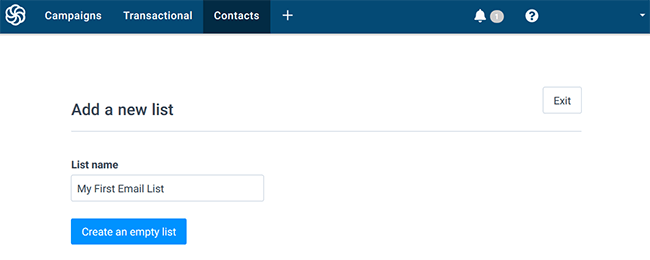
Give your list a name and click the blue Create an empty list button.
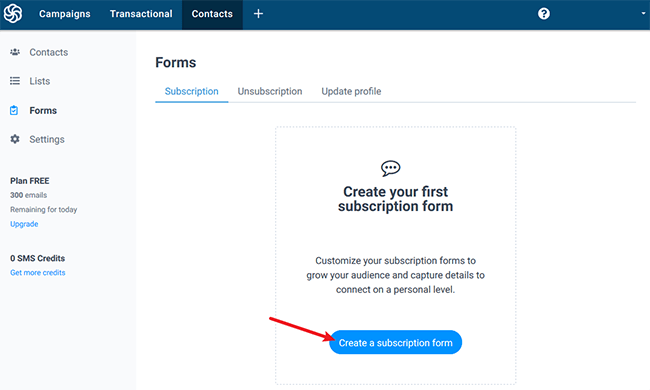
Need to create an opt-in form using SendinBlue? No problem.
To start, go to Forms > Subscription and click Create a subscription form.
Next, create a name for your subscription form (for your reference only) and customize it to look the way you want it to using the drag and drop builder.
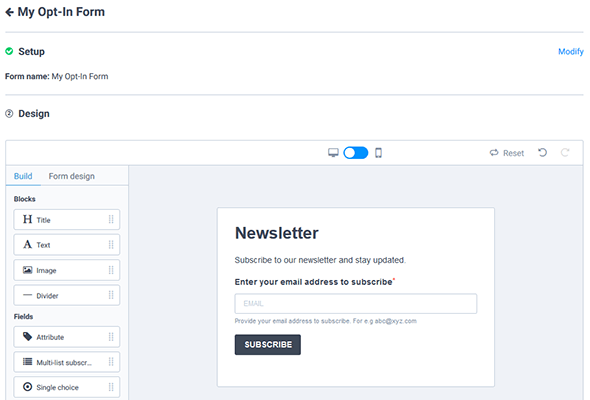
Click Next to choose the email list you want to save new subscribers to, configure the confirmation messages, and select the embed method you want to use to add your new opt-in form to your WordPress website. You can add your opt-in form to blog posts, sidebars, or even footers depending on where you want to target site visitors that arrive on your website.
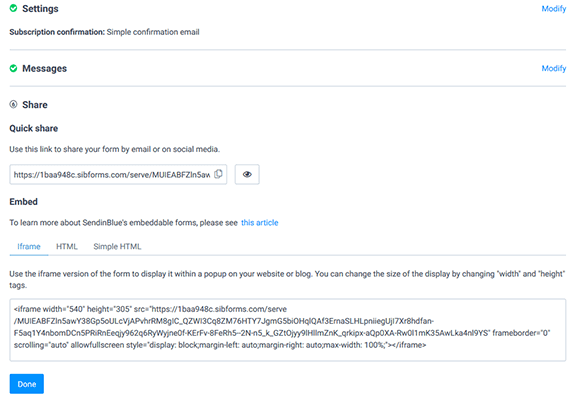
Click Done when you’re finished.
Step 2: Add subscribers to your email list
Now that you have a new SendinBlue email list, it’s time to add your subscribers to it. The subscribers you add to this list will receive the email newsletter you plan to send.
There are two simple ways to add subscriber contact information to your SendinBlue email list:
1. Manually enter each subscriber’s contact information
To do this, click Add a contact and enter the email address, name, and phone number (or any combination) of your subscriber.
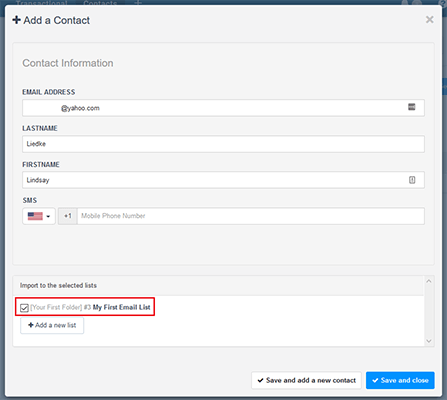
Make sure to select the email list you want to add the subscriber to at the bottom of the screen. This is especially important if you have multiple segmented lists that you send specific email campaigns to at specific times. Make sure to save your changes.
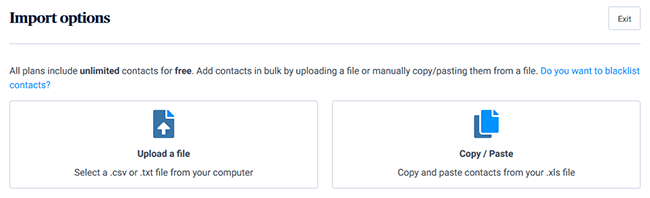
2. Import your contact list
If you have a large email list and are working with a WordPress landing page plugin like Thrive Architect or Leadpages, you can import your contacts into SendinBlue with ease by clicking the Import contacts button and uploading your file.
No matter which method you choose, make sure you have all your subscribers in SendinBlue before moving on to the next step.
Need some more subscribers?
The way you build an email list filled with interested subscribers is to have an opt-in form people can fill out with their contact information. Of course, you can always use the steps above in your SendinBlue account to create a subscription form and embed it on your website. But if you prefer, you can always build a bigger email list in the backend of your site too.
Luckily, there are plenty of feature-packed WordPress opt-in form plugins available such as Thrive Leads to help you build a bigger email list.
And if you want to stay consistent and use SendinBlue for all things email marketing, there’s always the Newsletter, SMTP, Email marketing and Subscribe forms by Sendinblue plugin. With it you can create custom opt-in forms, manage your contact list, and even send out newsletter campaigns with ease.
Step 3: Send your first email newsletter
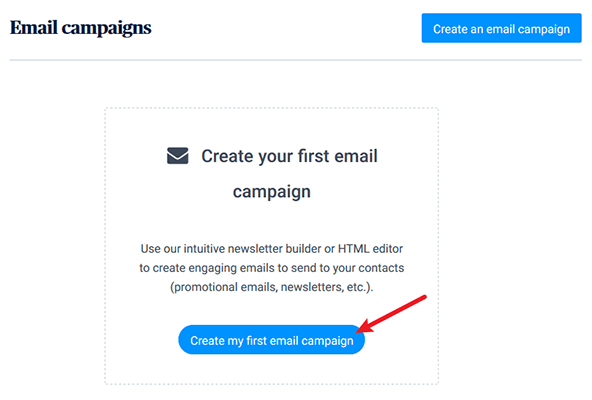
To send your first email newsletter with SendinBlue, go to Campaigns in your SendinBlue dashboard. Next, click the create my first email campaign button.
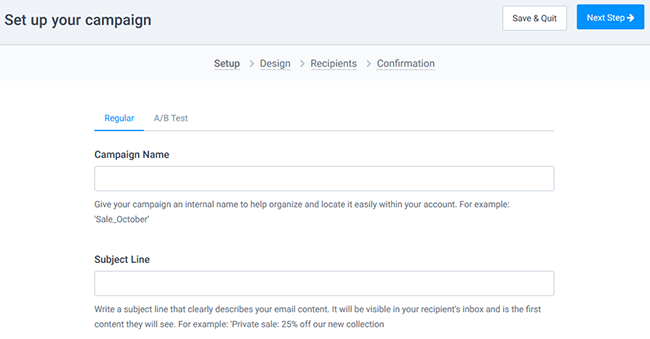
Once you do this, you’ll need to configure your campaign’s settings by filling out the form fields. Give your campaign a name, create a subject line, decide which email will appear in the From field, and much more.
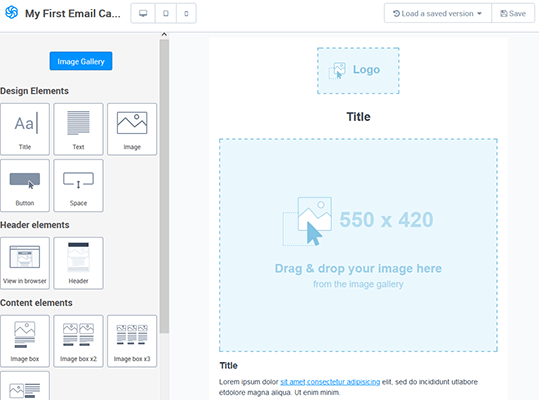
When you save the settings, you’ll be able to customize your newsletter. The drag and drop nature of the SendinBlue campaign builder makes this step a cinch. You can use a pre-made template or build from scratch. Plus, you can send a test email if you want to make sure everything is working right.
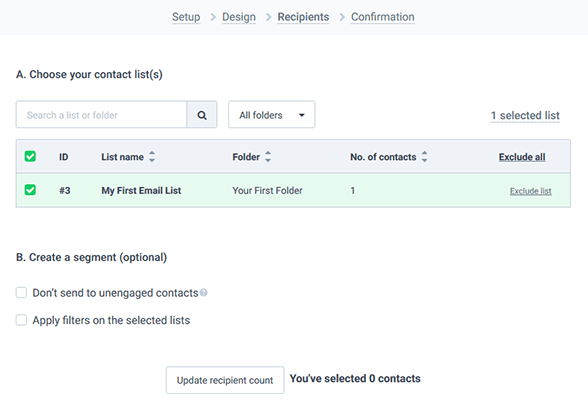
After your email campaign is designed and ready to go, you’ll get to choose which subscribers will receive your newsletter. Since this is your first email newsletter, chances are you’ll only have one email list to choose from. But just in case you segmented your lists, make sure to choose the right one.
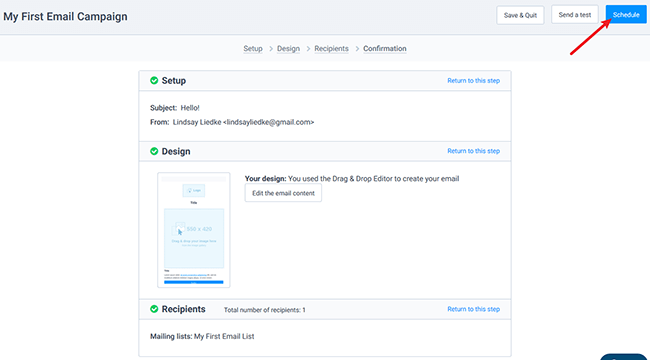
Click Next Step to confirm your email newsletter campaign is good to go and then click Schedule.
This will prompt one more thing for you to do – decide when to actually send your campaign. You can send it immediately or select a future date.
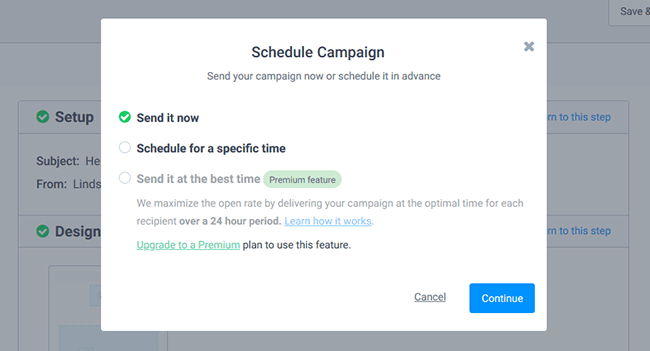
Click Continue and confirm one last time.
Wrapping up
And there you have it! You now know how to send your first email newsletter with SendinBlue. Email marketing is one of the most affordable and effective ways to forge longer lasting relationships with your site visitors, especially when you use a solid email marketing service provider like SendinBlue.
With a user-friendly interface, plenty of customization options, and the ability to target the subscribers you want at the best times possible, sending an email newsletter with SendinBlue is definitely the way to go.