
No matter what your WordPress site is about, you need to back it up so that, on the off chance something bad happens, you have a working copy that you can restore from.

If your host isn’t already doing that for you, that means you need your own WordPress backup plugin.
WPvivid is a free WordPress backup plugin that can help you safely and automatically back up your WordPress site to off-site locations on a schedule that you specify.
Beyond that, it can also help you migrate your site to a new domain, as well as restore any backups that you’ve taken.
In our WPvivid review, we’ll share more about the plugin’s features, as well as give you a hands-on look at how it works to back up and migrate a WordPress site.
WPvivid Review: A Look at the Feature List
At a high level, WPvivid is a WordPress backup, restore, and migration plugin.
Let’s dig into the backup and restore functionality first, and then I’ll discuss the migration features.
First off, you can back up your site manually or on an automatic schedule that you select (or both, of course).
You can choose between backing up your entire site, or just the database or files. For large sites, you can even split your backups into multiple parts to avoid size limits, or exclude files over a certain limit from being backed up.
To store your backups, you can:
- Store them on localhost (your WordPress site’s server)
- Download them to your computer
- Remotely store them via SFTP or by connecting to 5 different remote storage services
The remote storage services are:
- Google Drive
- Dropbox
- Microsoft OneDrive
- Amazon S3
- DigitalOcean Spaces
You can also choose how many backup copies to retain.
If you need to restore from a backup, you can do so with a single click. Or, you can upload your own backups and restore from those.
Finally, you can also use this restore feature to migrate your site, including an option to automatically rewrite URLs if you change domain names as part of the migration.
You can migrate your site by automatically transferring files (no file upload required – it’s really convenient) or by manually uploading a backup file to your new site.
Ready to check those features out?
Hands-on With WPvivid: Exploring the Features
Now, let’s go hands-on and I’ll show you how all of those features work.
Once you install and activate the plugin, you’ll get a new WPvivid Backup area in your WordPress dashboard where you can manage your site’s backups.
Creating a Manual Backup
Manually creating a backup is super simple, and you can choose whether you want to back up:
- Your entire website, including both the files and database
- Just the files
- Just the database
Having these options is helpful because sometimes you don’t want to create a full backup on the same schedule. For example, if your site gets lots of comments, you might want to back up the database every single day, but only do the files once per week.
Beyond that, you can choose whether you want to save your backup locally or connect to remote storage (more on that in a second). Then, all you do is click the big Backup Now button:

Depending on the size of your site, it might take WPvivid a little time to process the backup. Then, you can view and/or download the backup lower down on the page:

Pretty easy, right?
Connecting to Remote Storage
By default, WPvivid stores your backups on your local server and gives you the option to download them to your computer. However, you also have the ability to connect to remote storage, which lets you securely store your backups without needing to manually download them every time.
I would recommend this approach because it’s totally hands-off, while also ensuring that you don’t have a single point of failure when it comes to your site’s data.
To connect, you can go to the Remote Storage tab, where you can choose between:
- FTP/SFTP
- Google Drive
- Dropbox
- Microsoft OneDrive
- Amazon S3
- DigitalOcean Spaces
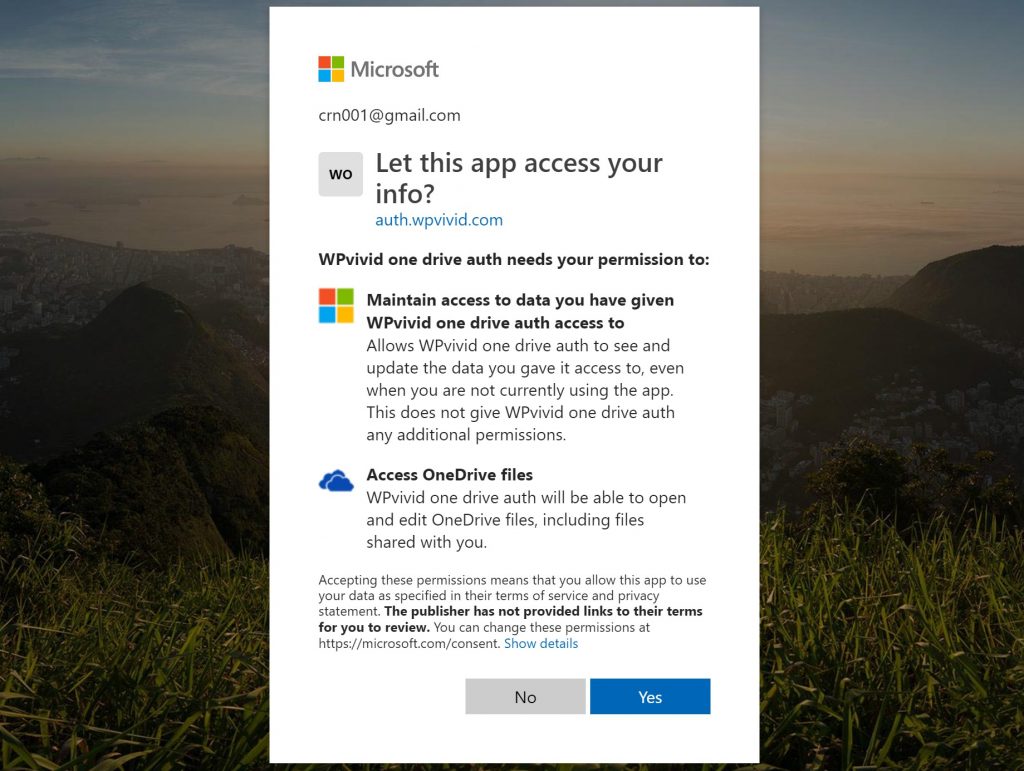
The exact authentication process depends on the remote storage option that you choose, but WPvivid tries to make it as simple as possible:

For example, connecting to OneDrive is as simple as clicking the button and going through Microsoft’s auth process – no technical knowledge required:
Once you connect to a remote storage source, you’ll be able to choose that destination when you create a backup.
You can also connect to multiple remote storage services and choose a different location on a case-by-case basis.
Setting Up an Automatic Backup Schedule
In addition to manually creating backups, WPvivid also lets you create an automatic schedule so that you can put things on autopilot.
First, you can choose the frequency:
- Every 12 hours
- Daily
- Weekly
- Fortnightly
- Monthly
Then, you can choose what to back up – either your entire site or just the database or files.
Finally, you can choose the destination – either your local server or any of the remote destinations:

Having this scheduling feature is great, but there are two settings that I think could make it even better:
- The ability to choose the time of day to process your backup, so that you can set it to happen during off-peak hours to avoid a performance hit.
- An option to create multiple backup schedules so that you could back up files/database on different schedules if needed. For example, back up the database every day, but only back up the files once per week.
Configuring Basic Backup Settings
In addition to what you’ve seen so far, WPvivid also has a dedicated Settings tab that lets you configure some technical stuff for how your backups function. Here, you can:
- Split your backup into parts to avoid limits
- Exclude large files
- Set PHP limits
- Choose how many backups to retain (default is 3)
- Choose whether or not to compress your backup (compressing will make it smaller, but take more server resources)

If you want, you can feel free to leave these as the defaults.
Restoring a Backup
Having a backup is important, but it’s only helpful if you can actually restore from it, right? For that reason, you want your backup tool to not just take backups, but also make it easy to restore from those backups if needed.
WPvivid delivers, giving you a couple of ways to restore.
First, you can just click the Restore button in your backup list:

Second, you can upload your own file. You can either upload it…
- Through your WordPress dashboard
- Via FTP into the wpvividbackups folder (helpful for large backup files)
Migrating a WordPress Site
Finally, WPvivid isn’t just for backups, it can also help you migrate your WordPress site between different locations/domains.
You can also choose to migrate:
- Everything
- Just the database
- Just the files
This makes it really convenient for working on your own sites because you could use it to create your own staging solution or move from a local development solution to your live server.
Additionally, it does this without forcing you to upload files (though you can do that, as well).
To use this feature, you’ll need to install the WPvivid plugin at both:
- Your original WordPress site
- A fresh WordPress install to which you want to migrate your site.
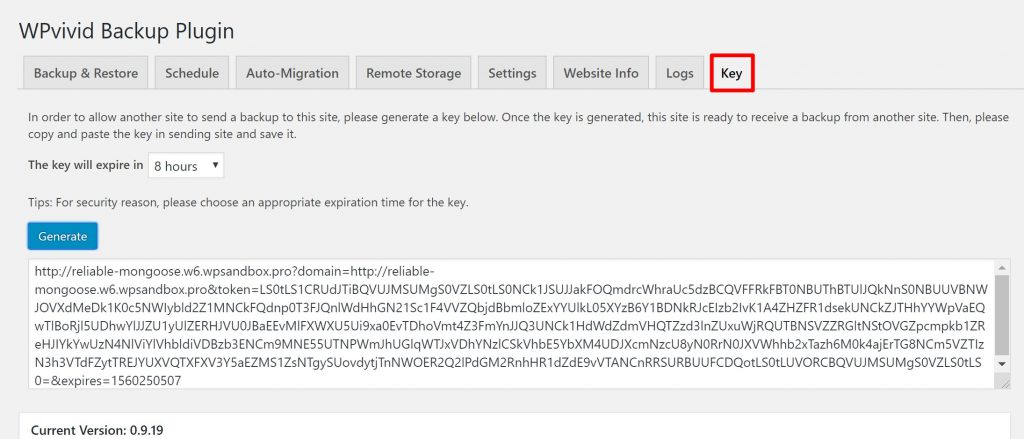
To get started with the automatic migration process, you go to the Key tab at the fresh WordPress install to which you want to migrate your site. Then, you can Generate a key:
Then, you go to the Auto-Migration tab at the site that you want to migrate and:
- Paste in that key
- Choose which files to migrate
- Click Transfer
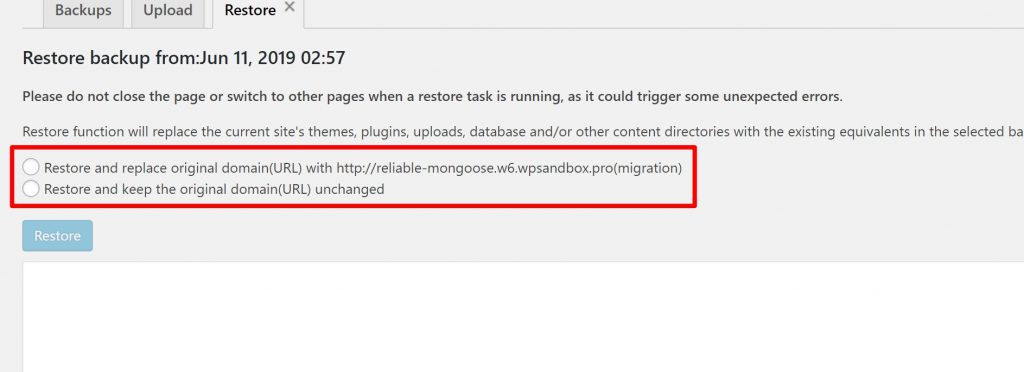
And that’s it! WPvivid will send a backup to that site, which you can then restore as if you’d originally created the backup on that site.
It will also give you an option to replace the URLs when you restore, which is helpful if you’re changing domain names:
Alternatively, you can also migrate a site by manually uploading the backup file.
WPvivid Pricing
At the time that we’re writing this WPvivid review, WPvivid is 100% free and available at WordPress.org.
Final Thoughts on WPvivid
WPvivid gives you a lot of helpful functionality at a very attractive price point (free!). It can help you put your entire backup schedule on autopilot, including safely storing those backups at remote storage locations.
What’s more, it also makes it easy to restore from those backups. And the site migration feature is really handy for development because you can use it to move from local to live or create your own staging site. Additionally, I like the automatic feature, as it’s more convenient to not have to upload the files yourself to migrate your site.
All the features worked smoothly in my testing. So, if you’re looking for a WordPress backup or migration plugin, give WPvivid a look:


