Lots of companies go to great effort to make website development straightforward for the average user. This makes sense, because there are site owners who don’t have (or want) the time to learn every aspect of running a local site. However, with a bit of research, you can use Git to handle the process of pushing your site live. This gives you a little more security, and once you set everything up, an easier path for making site changes.
Even so, getting to that point is admittedly tough. There are lots of prerequisites to consider, skills you need to have, and tools to hand. Also, you’ll need to think through the process the first few times, because there is a lot to remember. However, using Git to push a site live is possible for almost every user, and it doesn’t have to be as complicated as you think.
For this tutorial, we’re going to show you step by step how to use Git to push a local site to a live server. First, let’s run over some of the tools and technologies we’ll feature in the post.
An Introduction to Git
For the unaware, Git is a Version Control System (VCS). It’s a way to save and record the changes you make on a project – often a app or a website. It’s something we touch on elsewhere, but you’ll need to know more about it for this tutorial.
The typical way to use Git is through a Command Line Interface (CLI) – if you have experience with the WP-CLI, it’s a similar approach. You’ll use commands to mark and organize the files you work on in a number of ways:
- Before you issue commands, files will stay ‘unstaged’. This means they are not part of your Git ‘repository’ (the directory that stores your history).
- You’ll issue a command to stage all or some of your files, at which point you can still work on them.
- When you finish, you commit the files to the ‘repo’ from the staging area. This is akin to saving those changes.
It can be more complicated than this, but for the most part you’ll use only a handful of commands to carry out day-to-day work with Git.
Using Git for Team-Based Development
Git is a key tool for development teams, because each developer will open a different ‘branch’ within the same repo. This means everyone can work on the project without affecting the files for others. At regular intervals – often as the last task of the day – the team will commit changes to the repo.
A senior member of the team will then look to ‘merge’ all of the branches and changes together to the main or trunk of the repo. At this point, you’ll have the definitive set of project files within the repo.
For a single developer – likely you – Git still has value as a kind of incremental saving tool. You’ll open a new branch, work on your site, then stage and commit those changes. It means you can do whatever you like on the branch without affecting any other file on your site. When you want to commit (or delete) you can do so.
A Quick Primer on Local WordPress Development
Before we move on, we should note that working on your site away from your live server is a recommended typical practice. If you don’t yet do this, check out our piece on how to install WordPress. Also, you might want to consider a dedicated app to work on your site.

Local by Flywheel is a good option, but so is DevKinsta. Regardless, there are lots of ways to create a local site, and it’s something you’ll want to have in place.
Why You’d Want to Use Git to Push a Local Site Live
The main reason you’ll want to use Git to push your site live is one we mention above: Flexibility. The nature of Git means you’ll have a main branch that serves as the definitive set of project files. However, you can open up as many new branches as you need – indeed, it’s the exact way large teams use Git at scale.
With this approach, you can create a new branch to work on your site’s homepage design, without the need to affect your core files. Consider a branch a kind of clone that you merge back into your main branch through staged commits.
However, there are a few other reasons why Git is useful:
- You can host this Git repo in any location. GitHub and GitLab are two sites that focus on hosting Git repos. From there, you can bring in other team members or developers if you need extra support. You’re even able to migrate a site with ease.
- Of course, you won’t need to work on your live site, which is fantastic from a security- and performance-related viewpoint. However, you can choose to only push the files you work on. This offers immense benefits because you don’t need to touch your WordPress database. This is the key goal of website staging, and it’s possible to do using Git and a local install.
However, to get to this point, you’ll want to have a number of tools, skills, and prerequisites on hand. Next, we’ll go through what they are.
What You’ll Need Before You Use Git to Push Sites Live (Tools and Skills)
It’s worth noting what you should already have in place before you even think about what extras you’ll need. For example, make sure you have the following to hand:
- A local version of your current website.
- Access to your hosting control panel and server as an administrator.
From here, you can consider what else you need to use Git with your local site and live server:
- You’ll need to install Git on your computer. You often achieve this through the command line.
- Speaking of which, you’ll want to have knowledge of how to use the command line. Specifically, you should know how to move around your computer, create directories and files, and also remove them.
- Knowledge of Secure Shell (SSH) access for your server, and at least familiarity with creating secure keys. You can find out a little more on this in our article on the Secure File Transfer Protocol (SFTP).
This should be enough to start, but we’ll mention throughout the rest of the article if something else requires your attention.
How to Use Git to Push Your Local Site Live
There are four steps you’ll need to take to set everything up. Here’s what we’re going to cover:
- Setting up a Git repo for your local site.
- Setting up a remote Git repo.
- Telling your Git repo where it needs to push changes.
- Adding a remote link and pushing your changes live.
There’s a lot to get through here, so let’s begin!
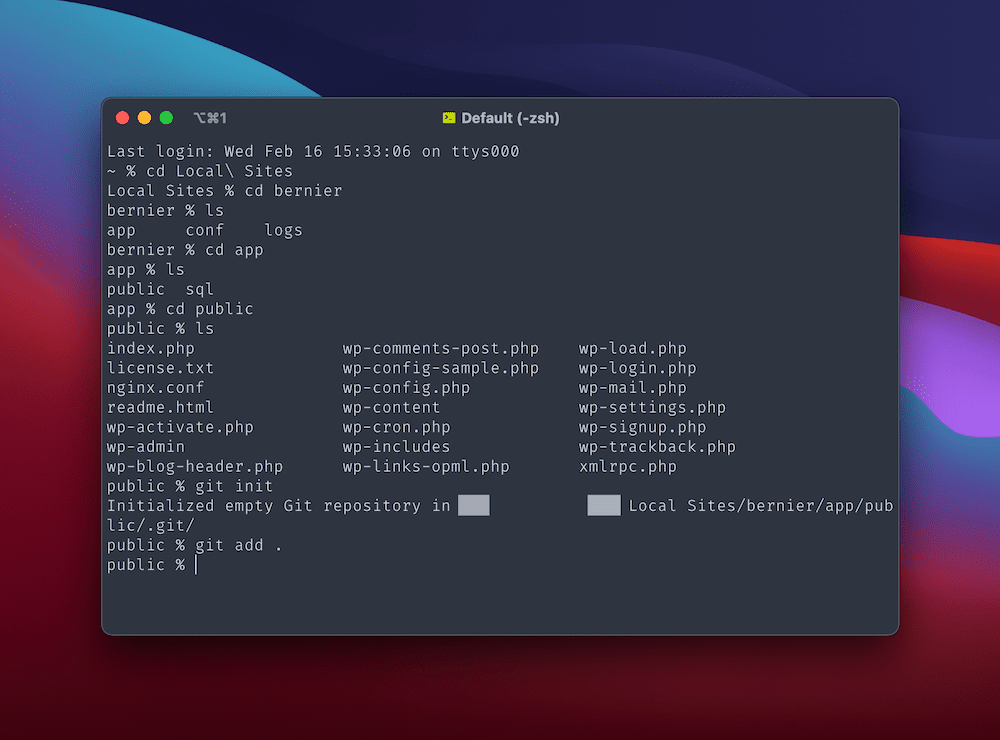
1. Set Up a Git Repository for Your Local Site
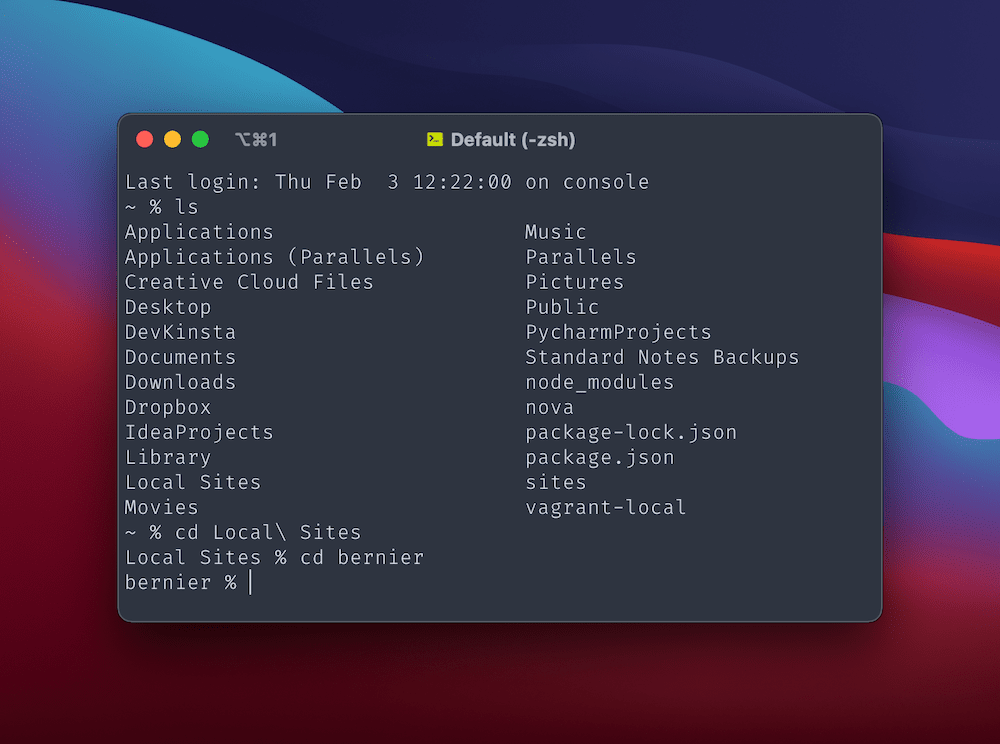
While there are a few ways to set up Git repos, we’ll do this using the command line as it’s the most typical way. With a Terminal window open, first navigate to your site’s local directory:
To set up the necessary architecture for your Git repo, run the following commands one at a time:
git init
git add .
The first command will create the directory you need and make it hidden, while the second adds all of the files within your site’s directory to the Git staging area – the period is a ‘wildcard’ modifier:
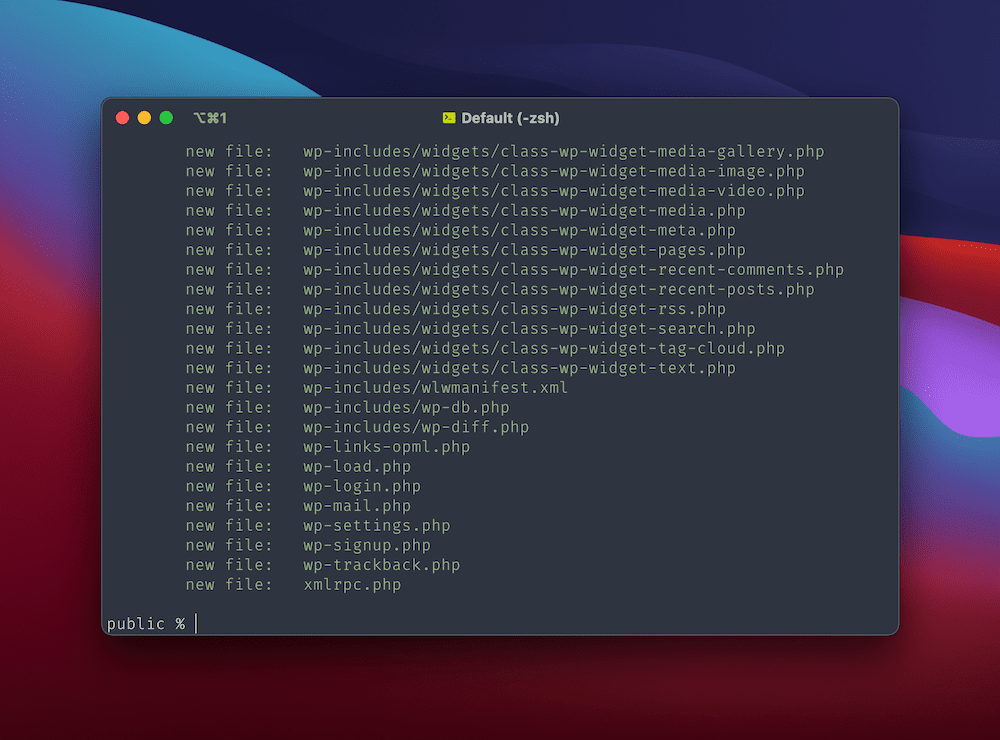
To see what files are in the staging area, use the git status command:
From here, you’ll want to carry out an initial commit of these changes to populate your local repo. You do this using the following command:
git commit -m "Initial commit."
The -m flag tells the command that what follows is your commit message. You’ll need to do this anyway for every commit, and it’s simpler to do so from one place.
From here, you have everything set up on your computer. Next it’s time to work on the remote server.
2. Set Up a Git Repo On Your Site’s Live Server
The process here is similar to your local setup, but requires you to log into your server using SSH. Using this is beyond the scope of this article, but we can point you to a post by Tom McFarlin that outlines the steps you need. Alternatively, you can always ask your host – they should have no issue showing you where these credentials are.
Once you log into your server through the command line, you’ll want to navigate to a private area of your server so that outside users can’t access your Git repo. The directory is often /private/, although you will want to ask your host about this.
Within this directory, you’ll want to create another directory and navigate to it:
mkdir remoterepo.git
cd remoterepo.git
As long as the directory uses the .git extension, you can call it whatever you like. From here, initialize a new git repo within the directory, this time using the –bare flag:
git --bare init
This creates the repo you need without the project files, which is secure and recommended.
3. Create a ‘Hook’ to Your Repo and Set the Right File Permissions
While you’re in the server, you’ll need to create a file to tell Git where to push changes. First, run the nano hooks/post-receive command. This opens a command line editor called Nano, and creates the file in the right directory.
Within this file, add the following:
#!/bin/sh
GIT_WORK_TREE=/home/username/example.com git checkout -f
The /home/user/example.com should point to the exact location of your site’s live files. The username should be that one you logged into the shell with, and example.com should be your live site’s domain. Once you do this, save your changes.
The final step here is to set the right file permissions for this file. You can do this using the chmod +x hooks/post-receive command. The Change Mode (chmod) command is how you set file permissions from the command line – +x means to set Execute permissions.
Once you do this, type exit to leave the remote terminal. From here, you’ll need to head back to your local Git repo within the Terminal.
4. Add a Remote Link to Your Local Repository and Push Your Local Changes Live
Here, navigate back to your local Git repo using the cd command as necessary. You’ll need to add a link to your remote server, so that both Git repos can talk to each other. You’ll do this with the following command:
git remote add origin ssh://user@server.example.com/~/remoterepo.git
The exact URL for the Git repo will depend on the location you discovered in the last step. Of course, your user and server credentials will replace the placeholders here.
Run this command, then get ready to push your local changes to your live server. The following command will do this without confirmation, so make sure you want to do this:
git push -u origin main
You’ll see the Terminal display a confirmation summary…
Counting objects: 12, done.
Delta compression using up to 2 threads.
Compressing objects: 100% (2/1), done.
Writing objects: 100% (13/13), 1200 bytes | 0 bytes/s, done.
Total 12 (delta 0), reused 0 (delta 0)
…and at this point you can check your live site – the changes should be present and correct.
In Summary
Working on your website is a necessary and often daily task. Using a local environment is the typical way to do so, but there’s a problem – how do you get those changes to your live site that’s error-free and with the least fuss?
The answer could be to use Git to push the changes you make to your live server. This lets you only upload files that you make changes to, so the majority of your installation – and database – stays as it is. While you do need some knowledge and tools to make everything work, it’s a workflow change that could see your local site development skyrocket in productivity and efficiency.
Do you think you’ll use Git to push local site changes live? Let us know your thoughts in the comments section below!