If you’re an Elementor user, you’re likely familiar with how helpful the page builder can be. However, even with this powerful plugin, there are still some tedious tasks that can hinder your productivity. For example, uploading media, reviewing new content and comments, and ensuring that everything is running smoothly can take up a lot of your time.
Fortunately, Assistant Pro can make interacting with and organizing your WordPress site significantly easier. This robust tool can help you with everything from creating and storing color palettes and page templates to making sure all resources are available to your team members.
In this guide, we’ll introduce you to Assistant Pro and its benefits. Then we’ll explain how you can use Assistant Pro to easily save, share, and import/export Elementor content on your website. Let’s jump in!
Assistant Pro is a cloud-based productivity tool that can enhance and simplify how you work with WordPress:
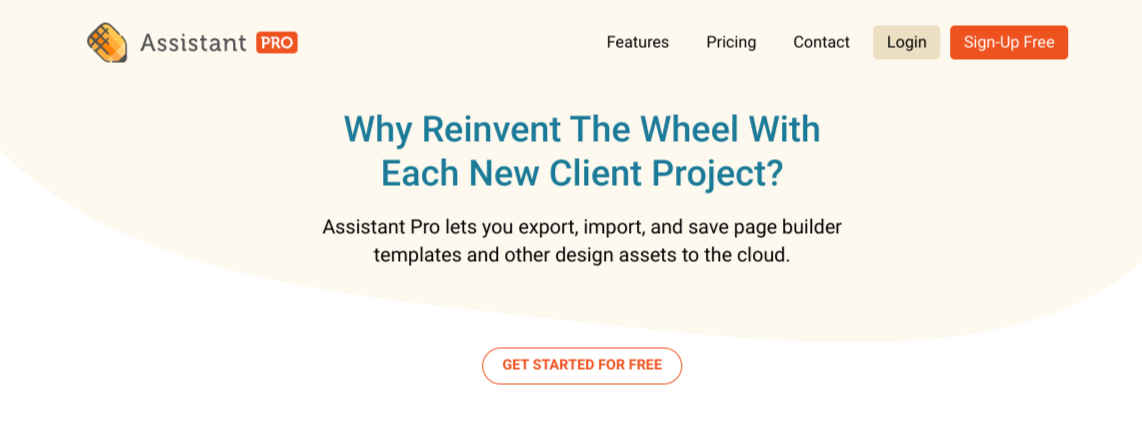
It can help you navigate your site, create and manage tasks, and stay on top of your schedule and to-do list with ease. Plus, you can do all of this without having to go to your WordPress admin area.
You can upload images, add post titles or featured images, and even moderate comments, all from the Assistant User Interface (UI) front end. It even lets you run plugin and theme updates!
You can also save your page builder templates and design assets to the cloud and provide access to your entire team. Whether you’re a designer, developer, or site owner, Assistant Pro can help you streamline your operations so you can get more done in less time.
Now that you understand what Assistant Pro is as well as its benefits, let’s take a look at how you can use it with Elementor. Keep in mind that for this tutorial, we’re going to assume you already have both Elementor and the Assistant plugin installed and activated on your website. You’ll also need an Assistant Pro plan. You can also get started for free. If you want to upgrade to a paid plan, you can choose between the Personal and Team packages.
Step 1: Create and Save Your Elementor Template
As you may already know, you can use Elementor to create and design pages using templates, modules, widgets, and more. Once you’re done creating and customizing a layout, you can save it to your Assistant Pro Template Library.
When you’re editing a page using the Elementor interface, you can easily access Assistant Pro’s features in the vertical menu on the right-hand side of your screen:
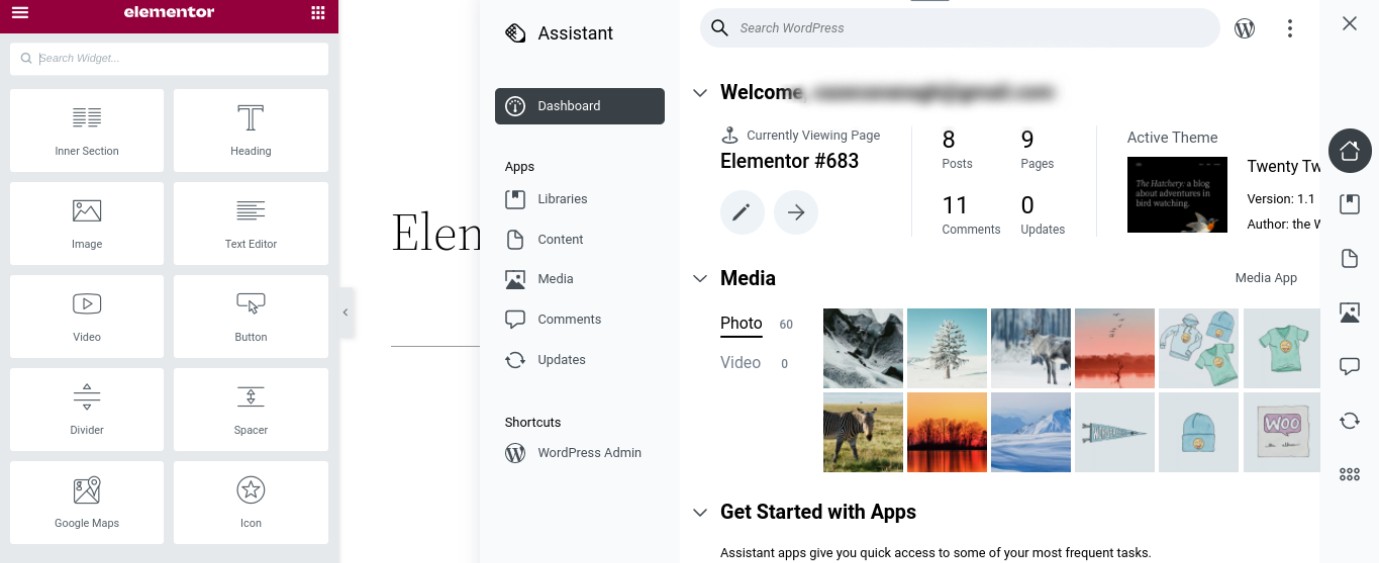
To create a new library, you can select Home (house icon) > Libraries > Create Library. Then, whenever you make a new template or other content using Elementor, you can add it to the Library (after you’ve given it a name).
As you normally would, you can also save the layout as an Elementor template by clicking on the arrow next to the Publish button, and then selecting Save as Template:
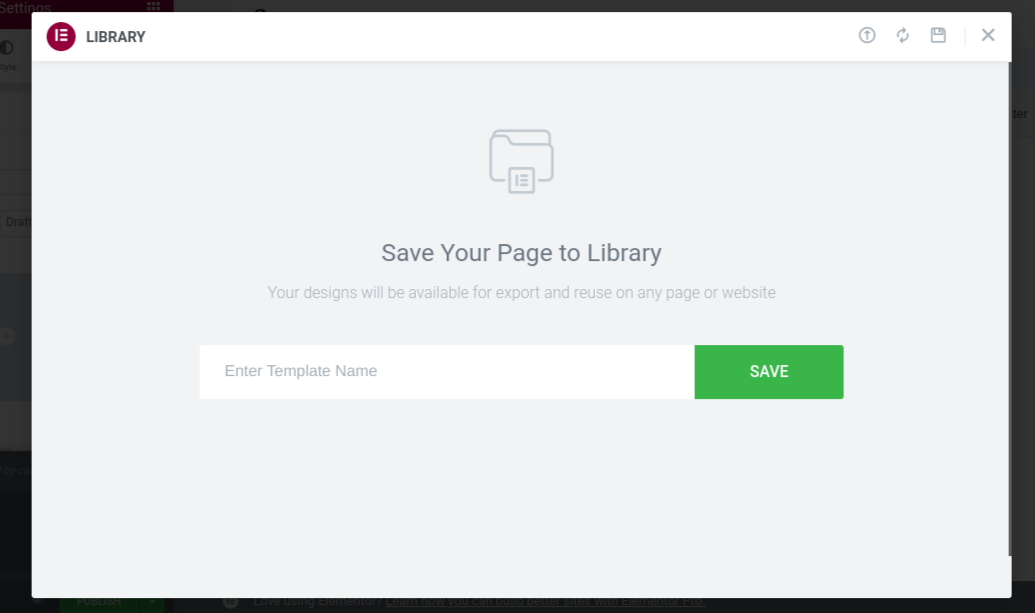
Here, you can name your template. When you’re done, simply save your changes.
Now head back to your Assistant Pro app. If you select Content > MyTemplates, you’ll be able to locate and view your new Elementor template.
Step 2: Import and Export Your Templates
You can also easily import your Elementor templates to your WordPress pages using the Assistant Pro app. To do this, navigate to the page you want to use the template for and launch the Elementor interface.
Select the Add Template button (the folder icon), and then click on the My Templates tab:
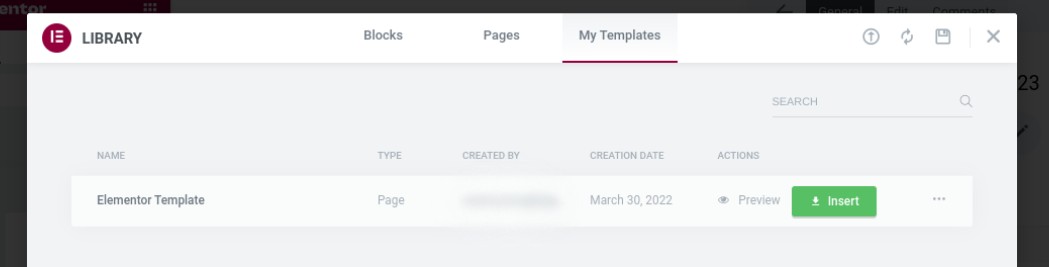
Here, you should be able to find the template you just created. You can then select the Insert button to import it onto the page.
You also have the option to export your templates. This is helpful if you want to create duplicate libraries to use as starting points for new versions of the content.
To do so, navigate to the desired template in your Assistant Pro app. Once you select your template, scroll to the bottom of the screen and click on Export under the Actions section. As you can see, Assistant couldn’t be more straightforward to use.
Step 3: Share Your Content With Team Members
Finally, you can share your content with team members. The sharing feature makes it easy to collaborate on projects, and allows your employees (and other users) to access the same design assets and templates that you use. This can create a more uniform and cohesive User Experience (UX) across your website’s back end.
From your Assistant Pro dashboard, select the Create Team button in the bottom-left corner of the screen. Then you can create a team name and username:

To share a library with users, you can click into the Library, and then select the Share tab:
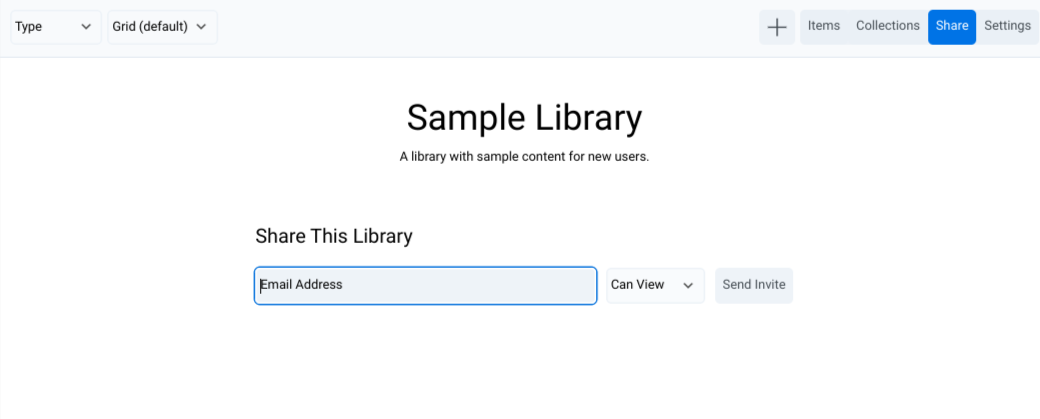
Next, you can enter the user’s email address and choose the permissions you want to grant. Next, click on the Send Invite button, and that’s it!
Elementor is a powerful website builder plugin that can significantly enhance and simplify your web design experience. One of its best features is its compatibility with other tools and WordPress plugins.
As we discussed in this post, you can integrate Assistant Pro with Elementor to make creating and customizing your pages that much easier. You can use it to build template libraries and generate design resources that are accessible to your entire team. It also allows you to navigate and manage nearly every aspect of your site from the front end.
Do you have any questions about using Assistant Pro with Elementor? Let us know in the comments section below!