One of the hardest aspects of running an online business is turning your visitors into paying customers. There are so many factors involved that you’d be forgiven for missing a step or two. Yet, if you were to create funnels with WordPress, there’s a greater chance of winning customers.
When it comes to creating sales funnels, for us, WordPress beats the competition. It’s scalable, flexible, and fits your budget regardless of whether you’re a startup or an enterprise.
In this post, we’ll show you how to create funnels with WordPress. We’ll outline all of the tools you need, and walk you through the entire process.
A Quick Primer on ClickFunnels
Before we get into the article proper, it’s worth talking about ClickFunnels for a few minutes. This is a leading solution for creating repeatable and effective sales funnels. Thousands of users generate traffic, customers, and income using the tool.

On paper, it has a lot of exciting and innovative features and functionality. For example:
There’s much more in the “Heck Yes!” column for choosing ClickFunnels. Even so, it doesn’t capture 100 percent of the user base.
Why You’d Want to Find a ClickFunnels Alternative
Given the great things ClickFunnels offers, it’s not the only solution on the market. In fact, whenever we’ve mentioned ClickFunnels at WPKube, it’s always alongside the competition. Here are a few reasons why:
- Pricing. There’s no getting around that ClickFunnels is expensive. The lowest tier is $97 per month, and this isn’t as full-featured as the $297 per month plan.
- ClickFunnels’ ecosystem. While a closed-source all-in-one hosted platform is great to get started with, you’re locked into ClickFunnels forever. In other words, there’s no way to take your business away from ClickFunnels’ system.
- The functionality. ClickFunnels is a ‘jack-of-all-trades’. As such, while some functionality is best-in-class, others need some work.
- Its look and design. Much like WordPress sites used to have certain ‘tell-tale’ elements, so a ClickFunnels site screams its name too.
To touch on this last point a little more, if you take a look at any of the templates or default setups for ClickFunnels sites, they all have a dated look that has become associated with sales funnels as a whole:
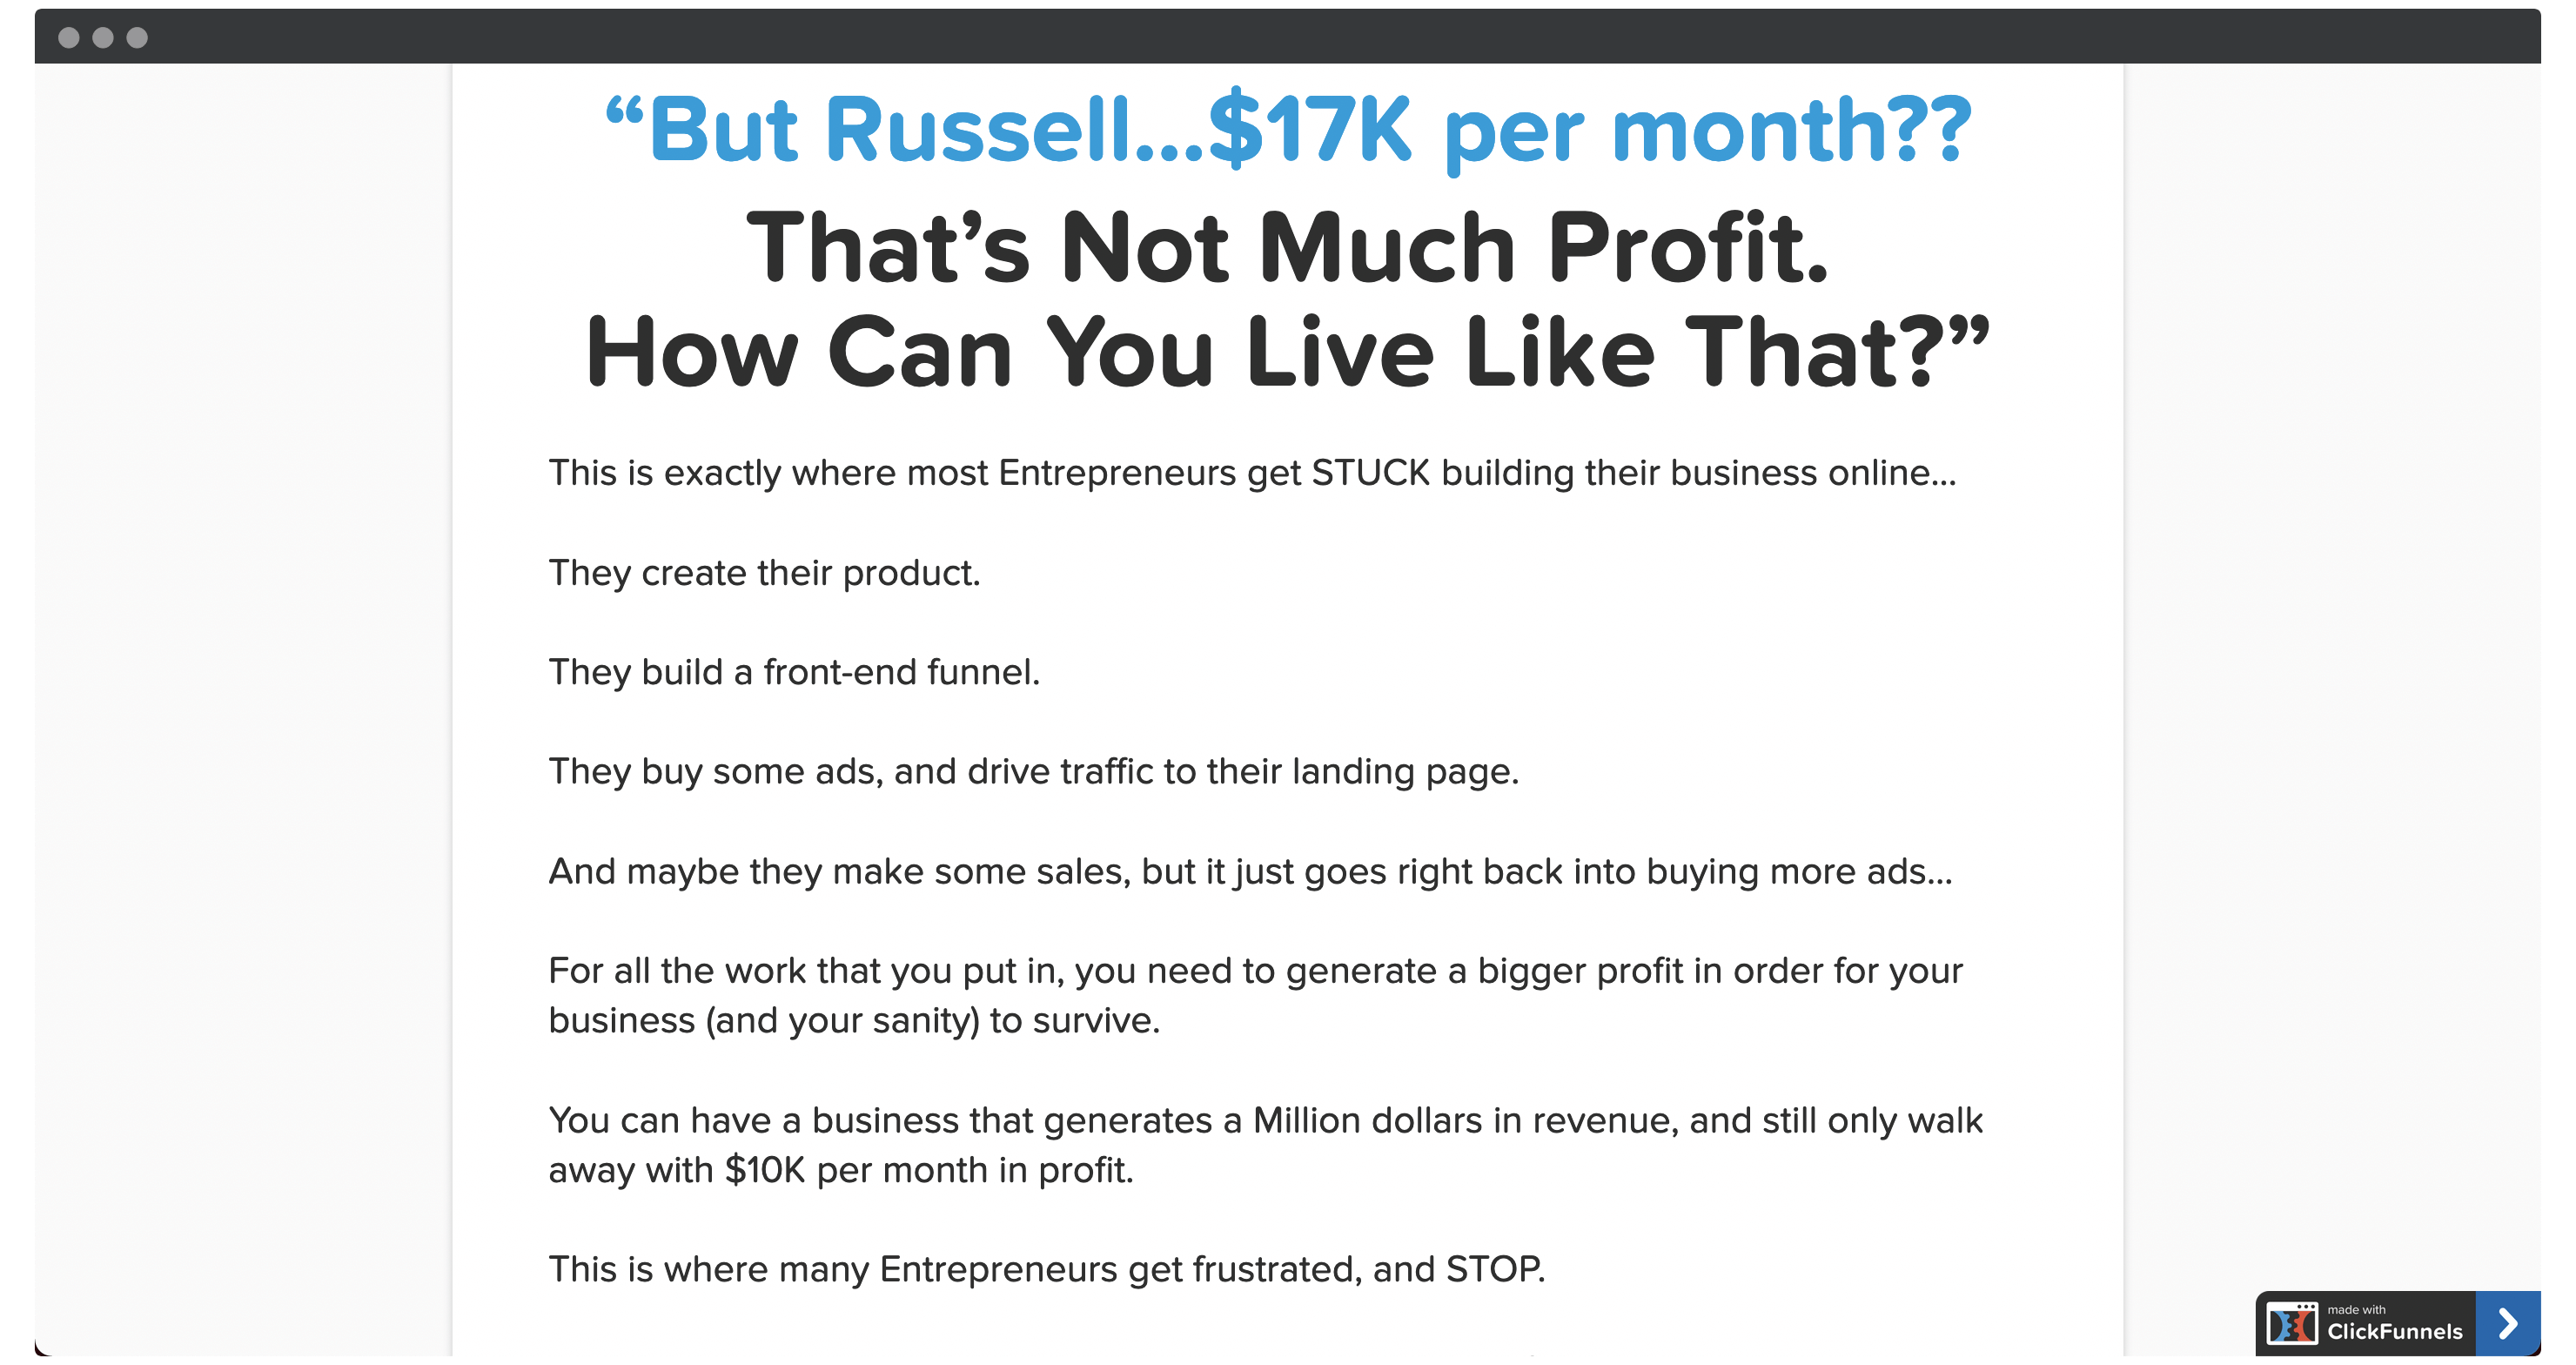
So, ClickFunnels has a ‘spammy’ default design, although we admit it’s a successful one. Regardless, there will be a unique combination of reason why you’d want to create funnels with WordPress – so let’s chat about this next.
Why You Should Create Funnels With WordPress
It shouldn’t come as a shock that we think WordPress is number one when it comes to building any type of website. We’ve covered our reasons in detail across the blog in the past, although let’s summarize the key aspects for you:
- The WordPress core software is free. Not only does it cost zero dollars to download and use, it’s also open-source. This means you control almost every aspect of your site, without lock in.
- It can stick with you for your business’ entire journey. WordPress works great as a blogging platform. It’s also a full-featured Content Management System (CMS) that works for enterprise-level sites with millions of hits per month.
- WordPress is extendable through thousands of themes and plugins. In fact, many are free. There’s also a rich premium market for both themes and plugins that we’ll touch on throughout the article.
- The WordPress community is strong, diverse, and knowledgeable. There are support channels with easy access, and a rich developer network to ensure WordPress is always evolving and improving.
The above is just the tip of the iceberg. Even so, not everyone will jump to create funnels with WordPress, without surveying the competition. We’ll focus on this next.
2 Alternative Solutions to Create Funnels With WordPress
Competition is a healthy thing among any products or services. Sales funnels are no exception. We’ve covered landing page plugins in the past, and in many cases they could compete with more ‘traditional’ funnel builders.
Despite this, there are two tools we’d suggest are closer competitors to WordPress, and the first is one we’ve already mentioned.
1. ClickFunnels
We won’t go over the same details again, as we’ve already talked about ClickFunnels both in this article and others. In any case, it’s worth summing up the appeal of ClickFunnels in general:
- It’s an all-in-one funnel builder platform.
- The community is geared towards helping you succeed.
- You’re given a proven system to create, utilize, and prosper from sales funnels.
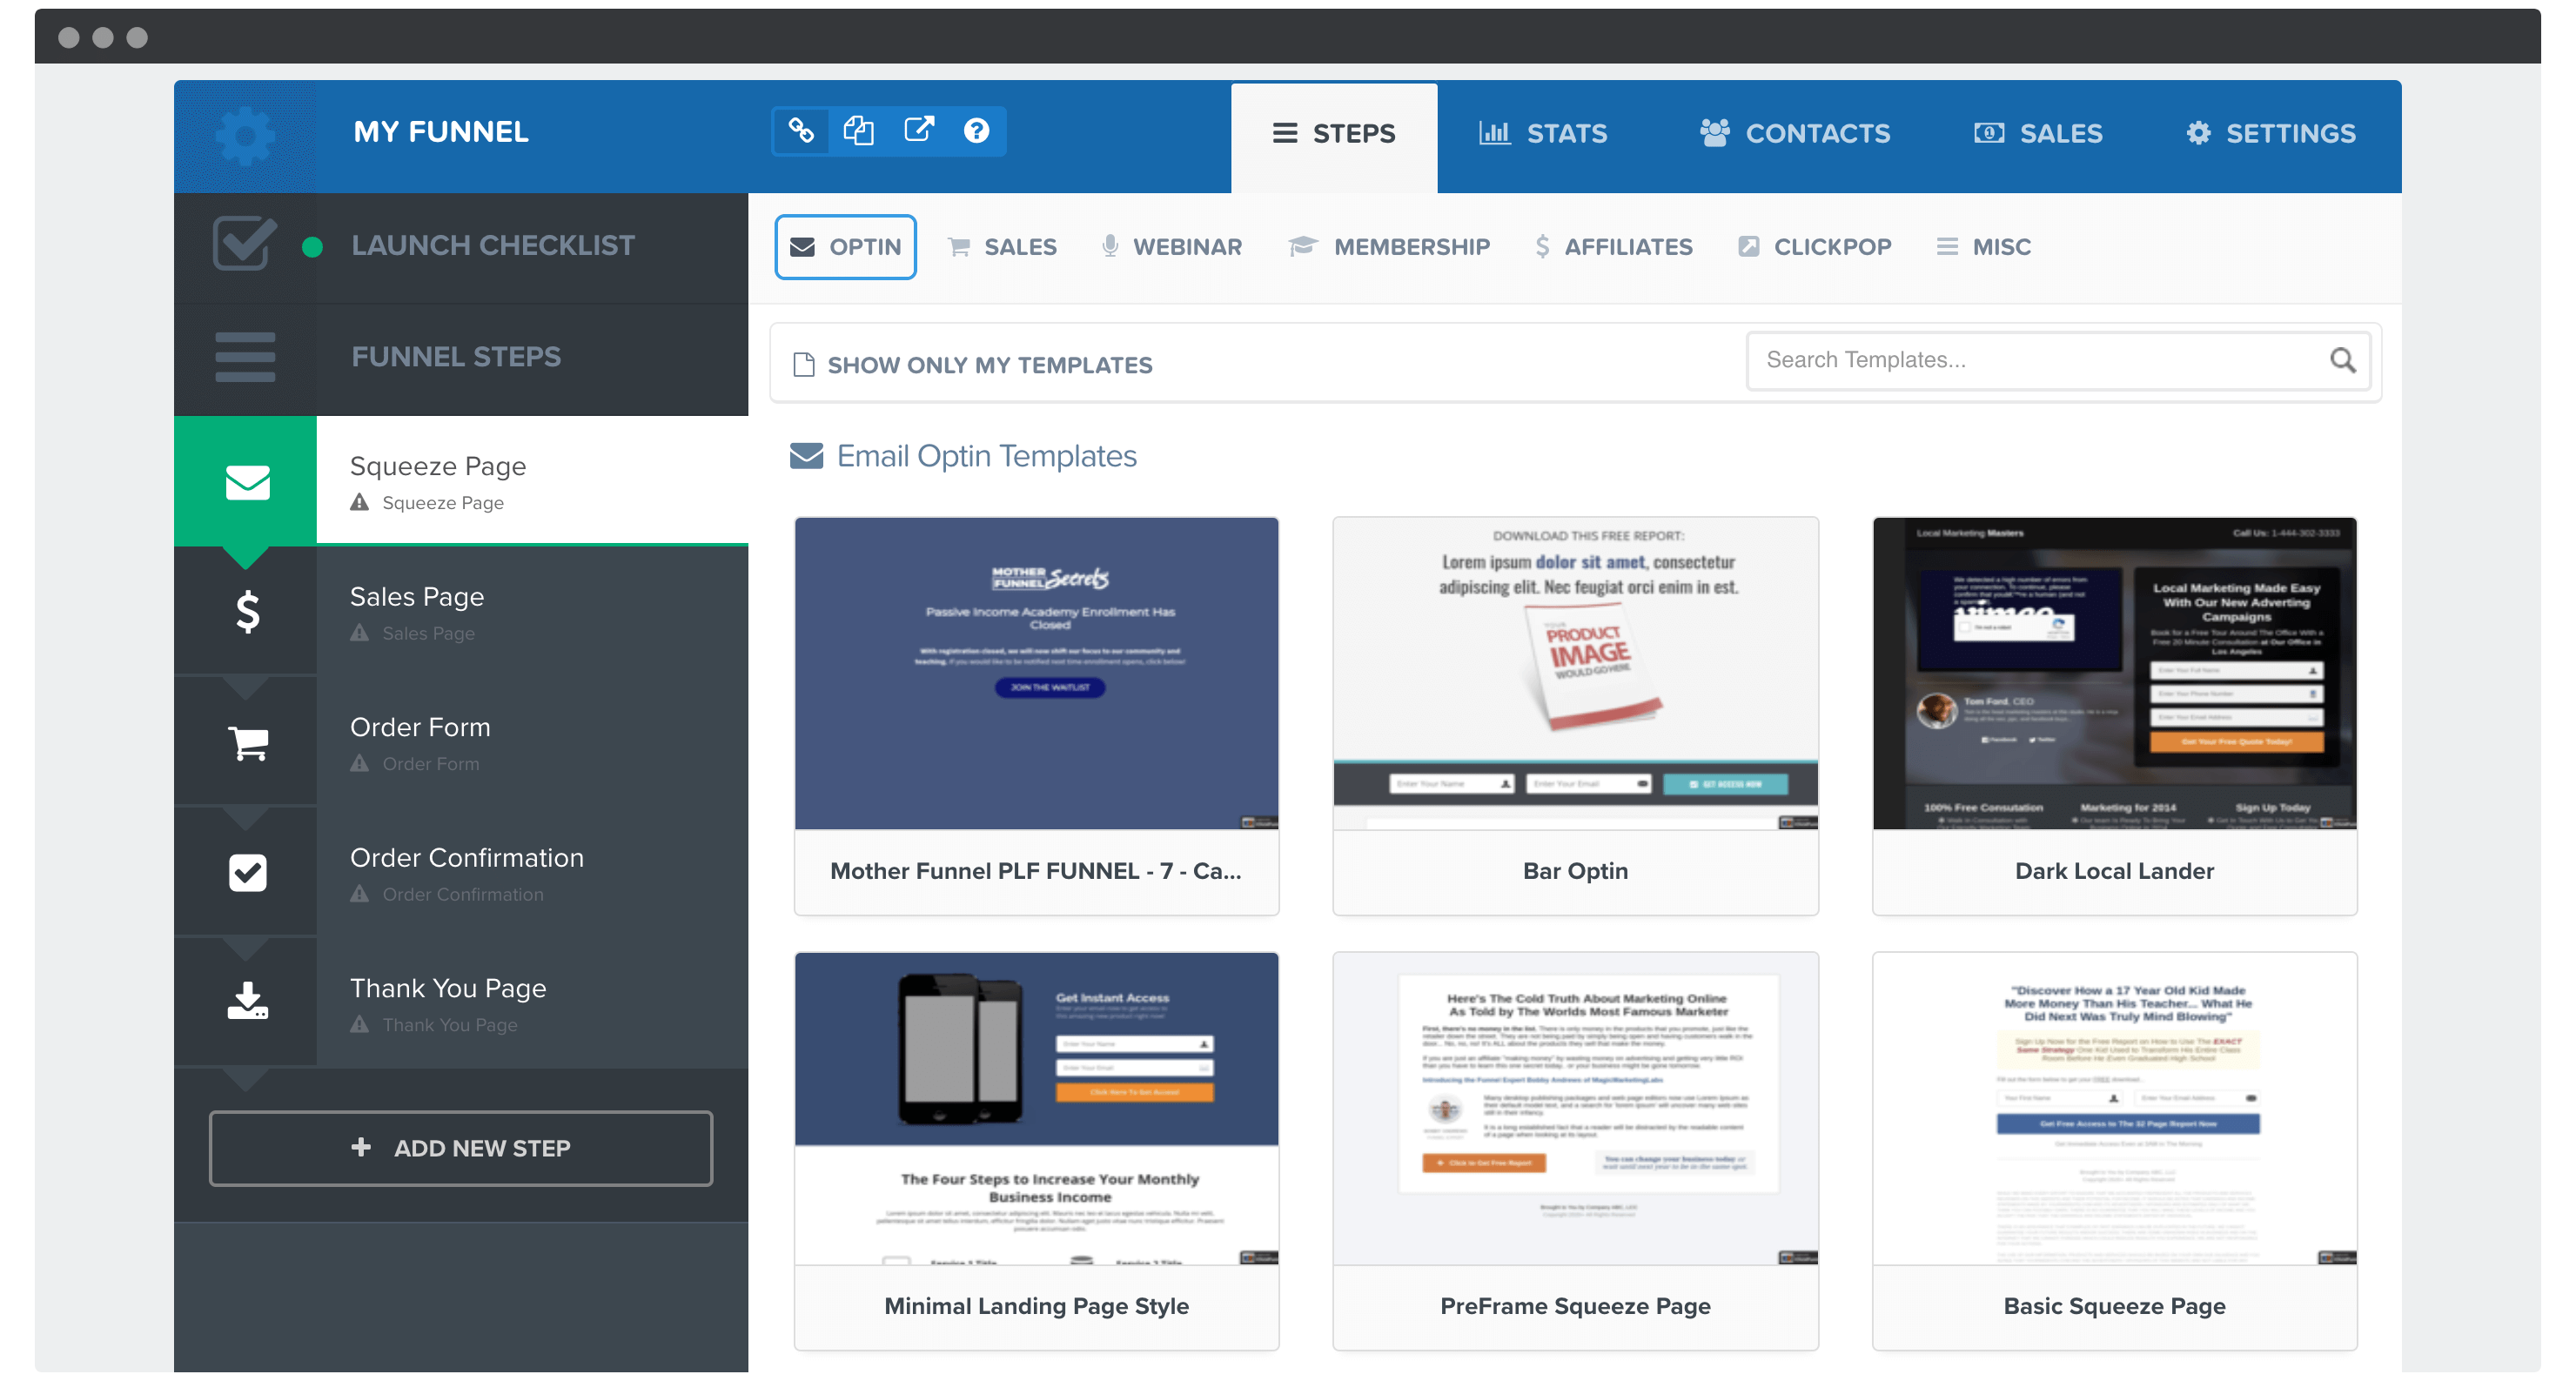
What’s more, it’s a breeze to get up and running with. Once the sign-up process is out of the way, you’ll carry out the following steps:
- Navigate to your dashboard and click the Build a Funnel button.
- From the dialog screen that pops up, choose a funnel type to work with.
- Use the Launch Checklist in the Funnel Builder to create your sales funnel.
The final step here involves designing squeeze and sales pages, order forms, confirmations, and Thank You pages. It’s all laid out well, and you’ll have your funnels ready and waiting for visitors within no time.
2. Systeme
Another solution we’ve featured on the blog in the past is Systeme.
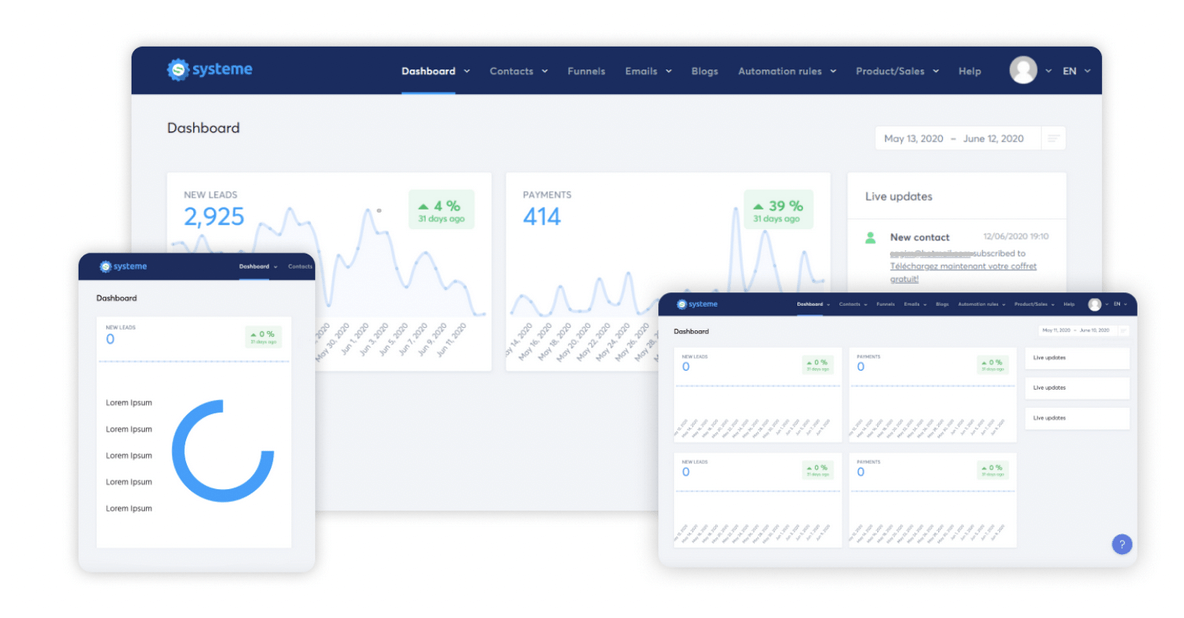
This positions itself as a direct ClickFunnels competitor, and has much of the same functionality:
- A drag-and-drop funnel builder, that also doubles as a site-building tool.
- Email and content marketing functionality.
- Built-in tools for selling subscriptions and courses.
- Robust contact management.
In our review, we argued that Systeme reaches a different user than ClickFunnels. The latter is focused on the core concept, while Systeme wants to be the center of your entire business.
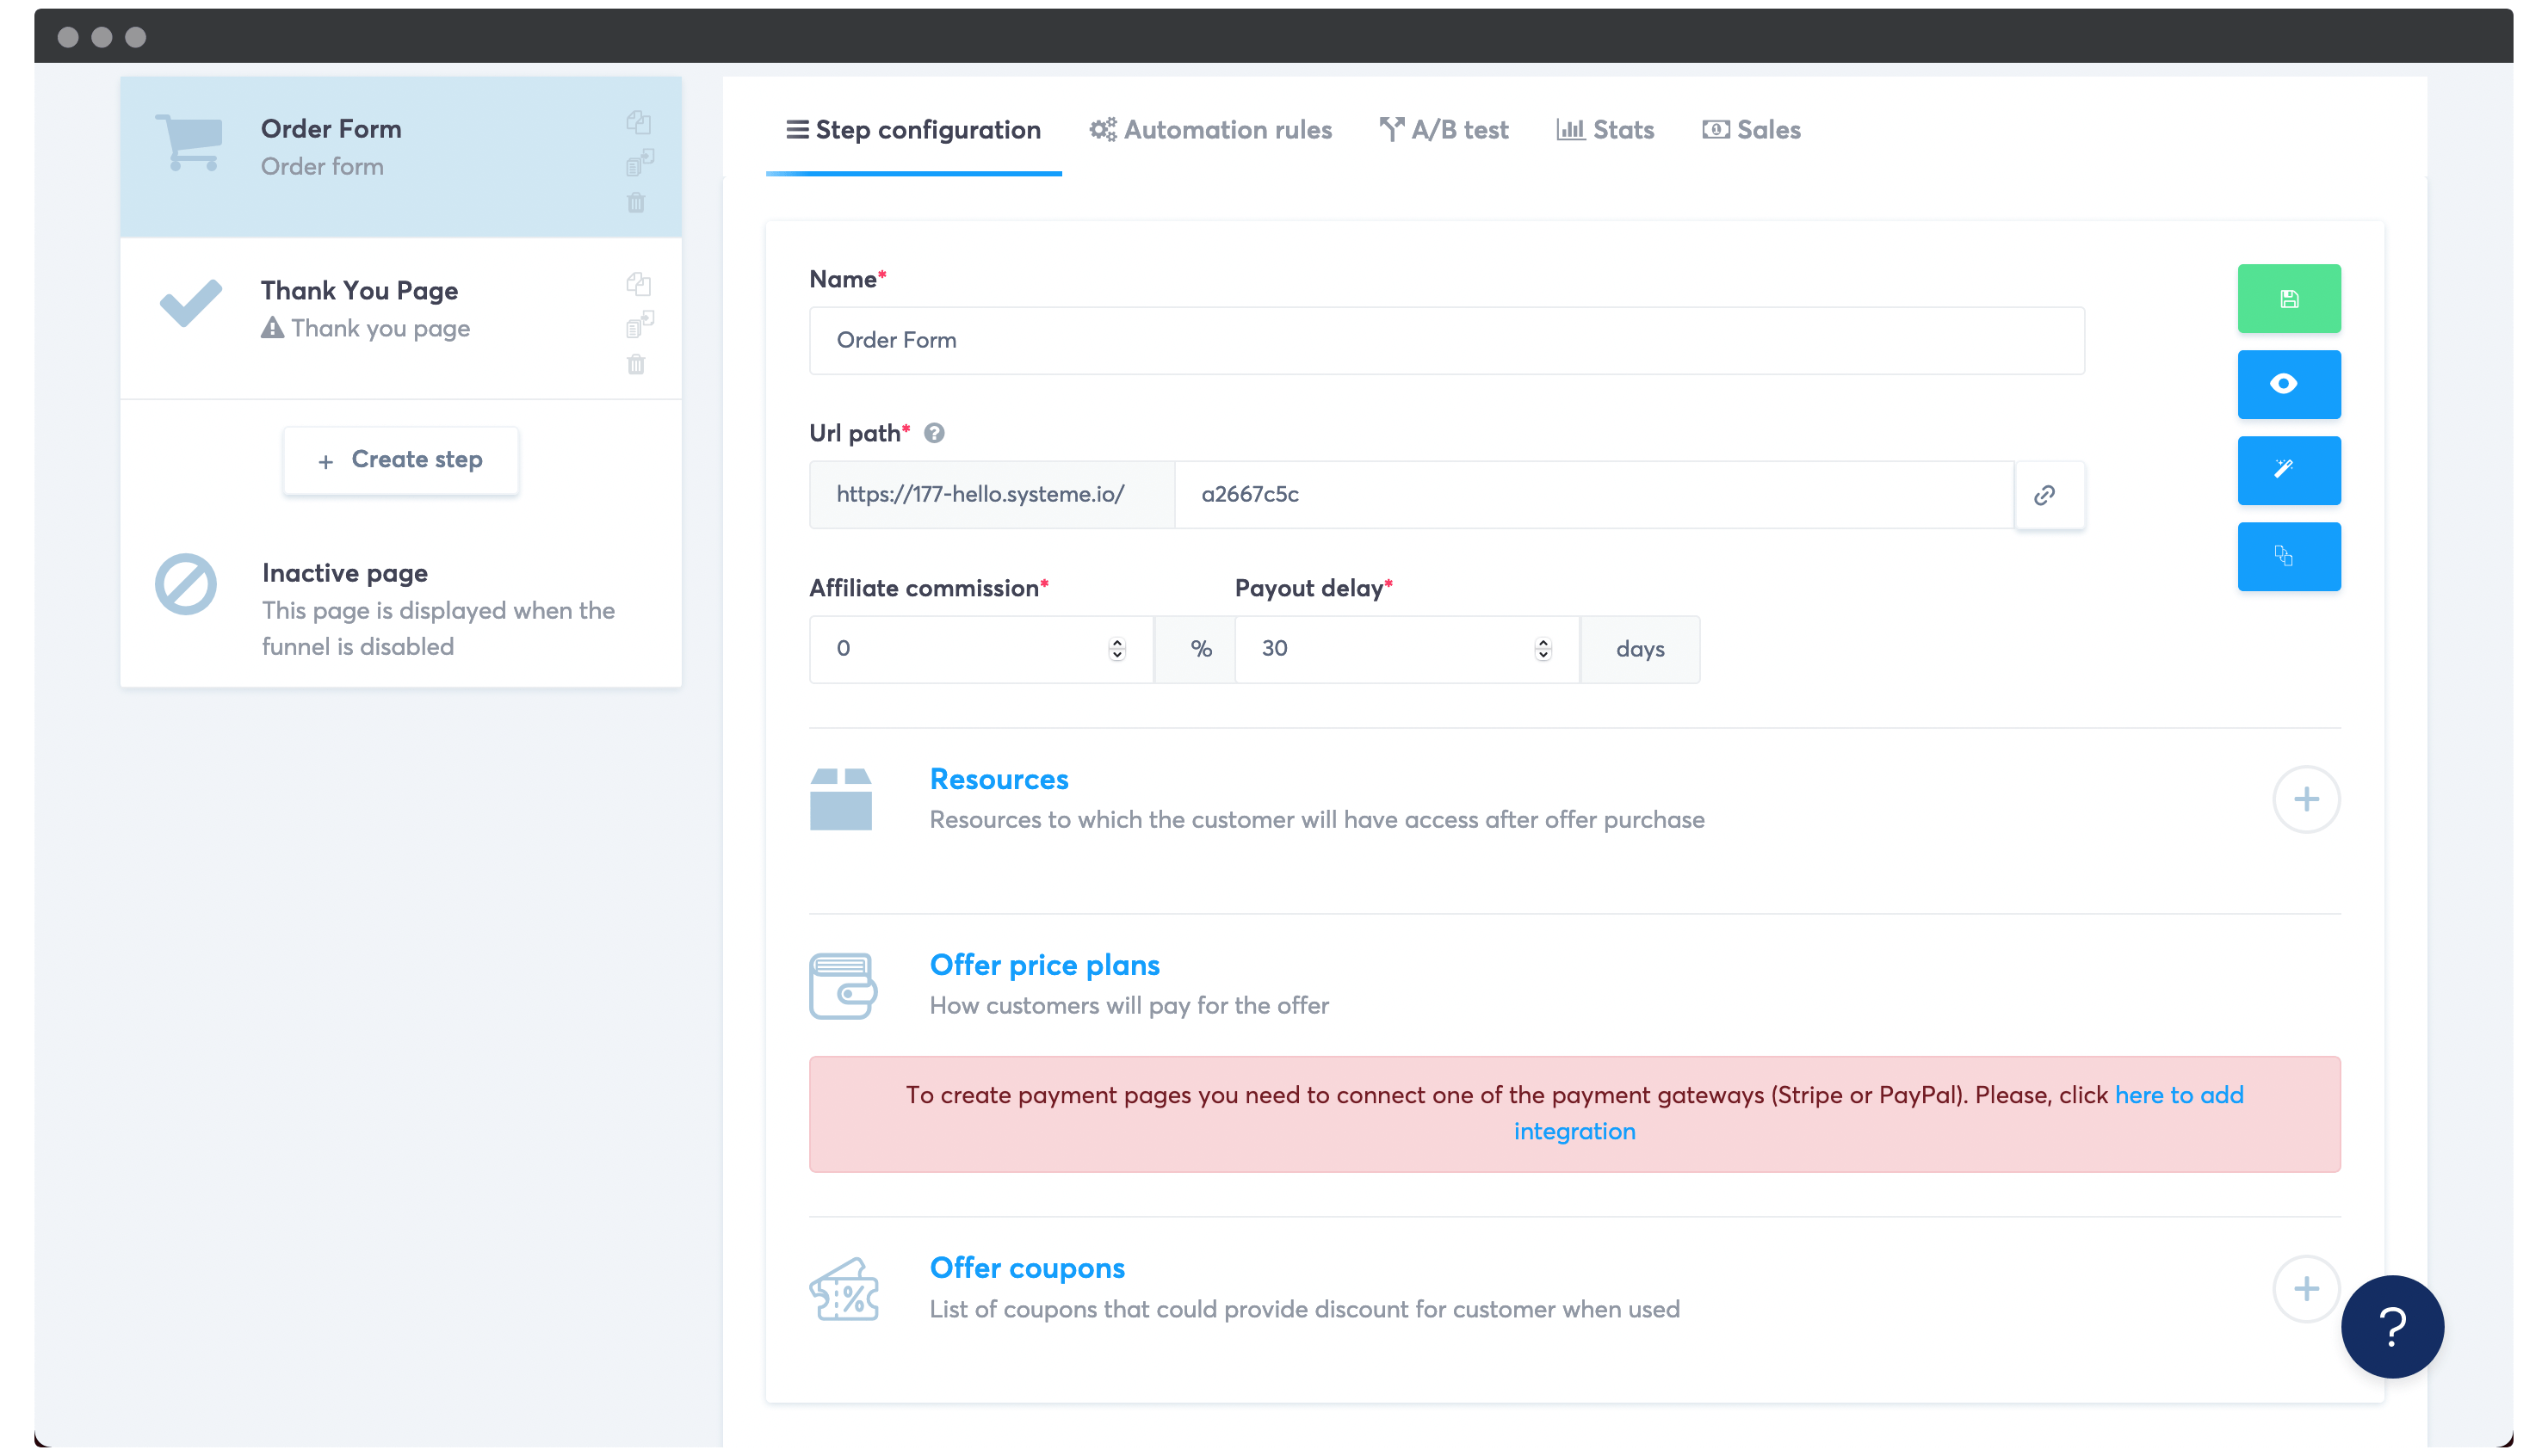
As such, the getting started steps are more diverse than ClickFunnels:
- Click the Create button to build a new funnel.
- Choose an end goal for your funnel, such as capturing emails, or running a webinar.
- Build an order form and Thank You page using templates.
- Customize each page to your requirements.
- Use the built-in page builder to design your funnel further.
We think that both solutions have a good approach to creating funnels. Our next section will dig into our own opinion on what constitutes a good funnel builder.
The Features and Functionality a Good Funnel Builder Should Have
In our opinion, there are a number of constants that all good funnel builders should have. Here’s a quick list of what you should look for:
- A way to design the core elements of your funnel.
- The ability to tweak your funnel’s functionality.
- Features to help you reconnect with those who have dropped out of the funnel at some point.
- Given that your funnel with end with a sale, you’ll need to be able to add payment gateways to your site.
We’d also say that good pricing is important too, although it shouldn’t be a ‘first-ballot’ prerequisite. This is because we believe you should pay for a solution that does what you need.
Even so, budget is important. As such, it should factor into your decision once you’ve weighed up the rest of the requirements.
What You’ll Need to Create Funnels with WordPress
Speaking of budget, it’s time to start pulling together your chosen tools and solutions to create funnels in WordPress.
You have a whole heap of ‘required’ tools and services you’ll want to have ready to go. Here, we’ll give you some general guidance along with a rough cost, although later on we’ll run through specific options:
- Hosting ($10–100 per month). A dedicated WordPress host is crucial, especially one that can keep your site running in tip-top condition. What’s more, there’s always something suitable regardless of your budget.
- A suitable theme (around $50–100). We mentioned that there are lots of free themes available. Though, a premium theme will net you better support and a more robust set of features and functionality.
- A page-builder plugin ($0–100 per year). While a page builder isn’t necessary for every site, when creating funnels with WordPress it’s a prime arrow in your quiver. This lets you achieve the same flexibility as other tools.
- Sales funnel functionality ($200–300 per year). Of course, creating a funnel needs a dedicated solution. We’ll go over our pick later.
- eCommerce functionality (Free for the core plugin). WordPress doesn’t come with eCommerce capabilities out of the box. As such, you’ll need a suitable plugin to fill in the gaps.
Other than this, you’ll also want to factor in other important site-wide aspects. While they’re not the focus here, security, backups, and more are all important for a stable and secure website.
In total, you’re looking at a top end of around $600 per year. Compared to other non-WordPress solutions, this is a steal for the extra functionality and flexibility you’ll get.
We’ll also talk about some optional extras later on. These may have a cost attached, and might also be vital to your own business needs. First though, let’s show you how to create funnels with WordPress.
How to Create Funnels with WordPress
Once you have your tools in hand, it’s time to create funnels with WordPress. Here’s what we’re going to cover in the next few sections:
Of course, no site can operate without a host, so let’s tackle this step first.
1. Buy Suitable Hosting and Install WordPress
First off, you’ll need dedicated hosting for your WordPress website. The good news is that there is a lot of competition, which means you have ample choice.
A managed WordPress host will give your site greater stability and peace of mind to you. If you’re a regular WPKube reader, you’ll know that we’ve partnered with many different companies to give great discounts on selected WordPress-related services.
The good news is that we can recommend plenty to help you create funnels with WordPress:
- A2 Hosting (our review). This host represents all-around solid speed, security, support, and much more.
- InMotion Hosting (our review). The introductory pricing is low, so you’ll need to make sure your budget can handle the uptick in price after your initial period.
- WPEngine (our review). This company has plans that are full-featured, although the price may be prohibitive if you run more than one site.
Each of these hosts will let you install WordPress, and manage your server to your exact requirements. What’s more, you may also get a free Secure Sockets Layers (SSL) certificate – vital for protecting sensitive customer information.
Speaking of WordPress, you’ll also need to install the platform onto your server. The good news is that your host will often help you out.
Installing WordPress
Many hosts – especially if you’re a WordPress-only option – will pre-install WordPress for you. This means once you’ve gone through the signup process, your site is ready to work on.
It’s a time-saver, and becomes an even better deal if the host also installs other vital plugins and themes. This is one of the reasons we talked about managed hosting being a better fit, although not every host will offer this as part of the service.
If you’re in a position where you need to install the CMS yourself, it’s often a breeze. In fact, we’ve covered this topic in depth, and we’d encourage you to take a look if you’re confronted with a one-click installer. While they’re intuitive to use, it’s a good to have a guiding hand to help you through the process.
2. Install a Theme and Page Builder Plugin
Once your host is live and WordPress is set up, your site needs to look the part. Installing a theme should be one of your first tasks, as it will dictate some of your future decisions.
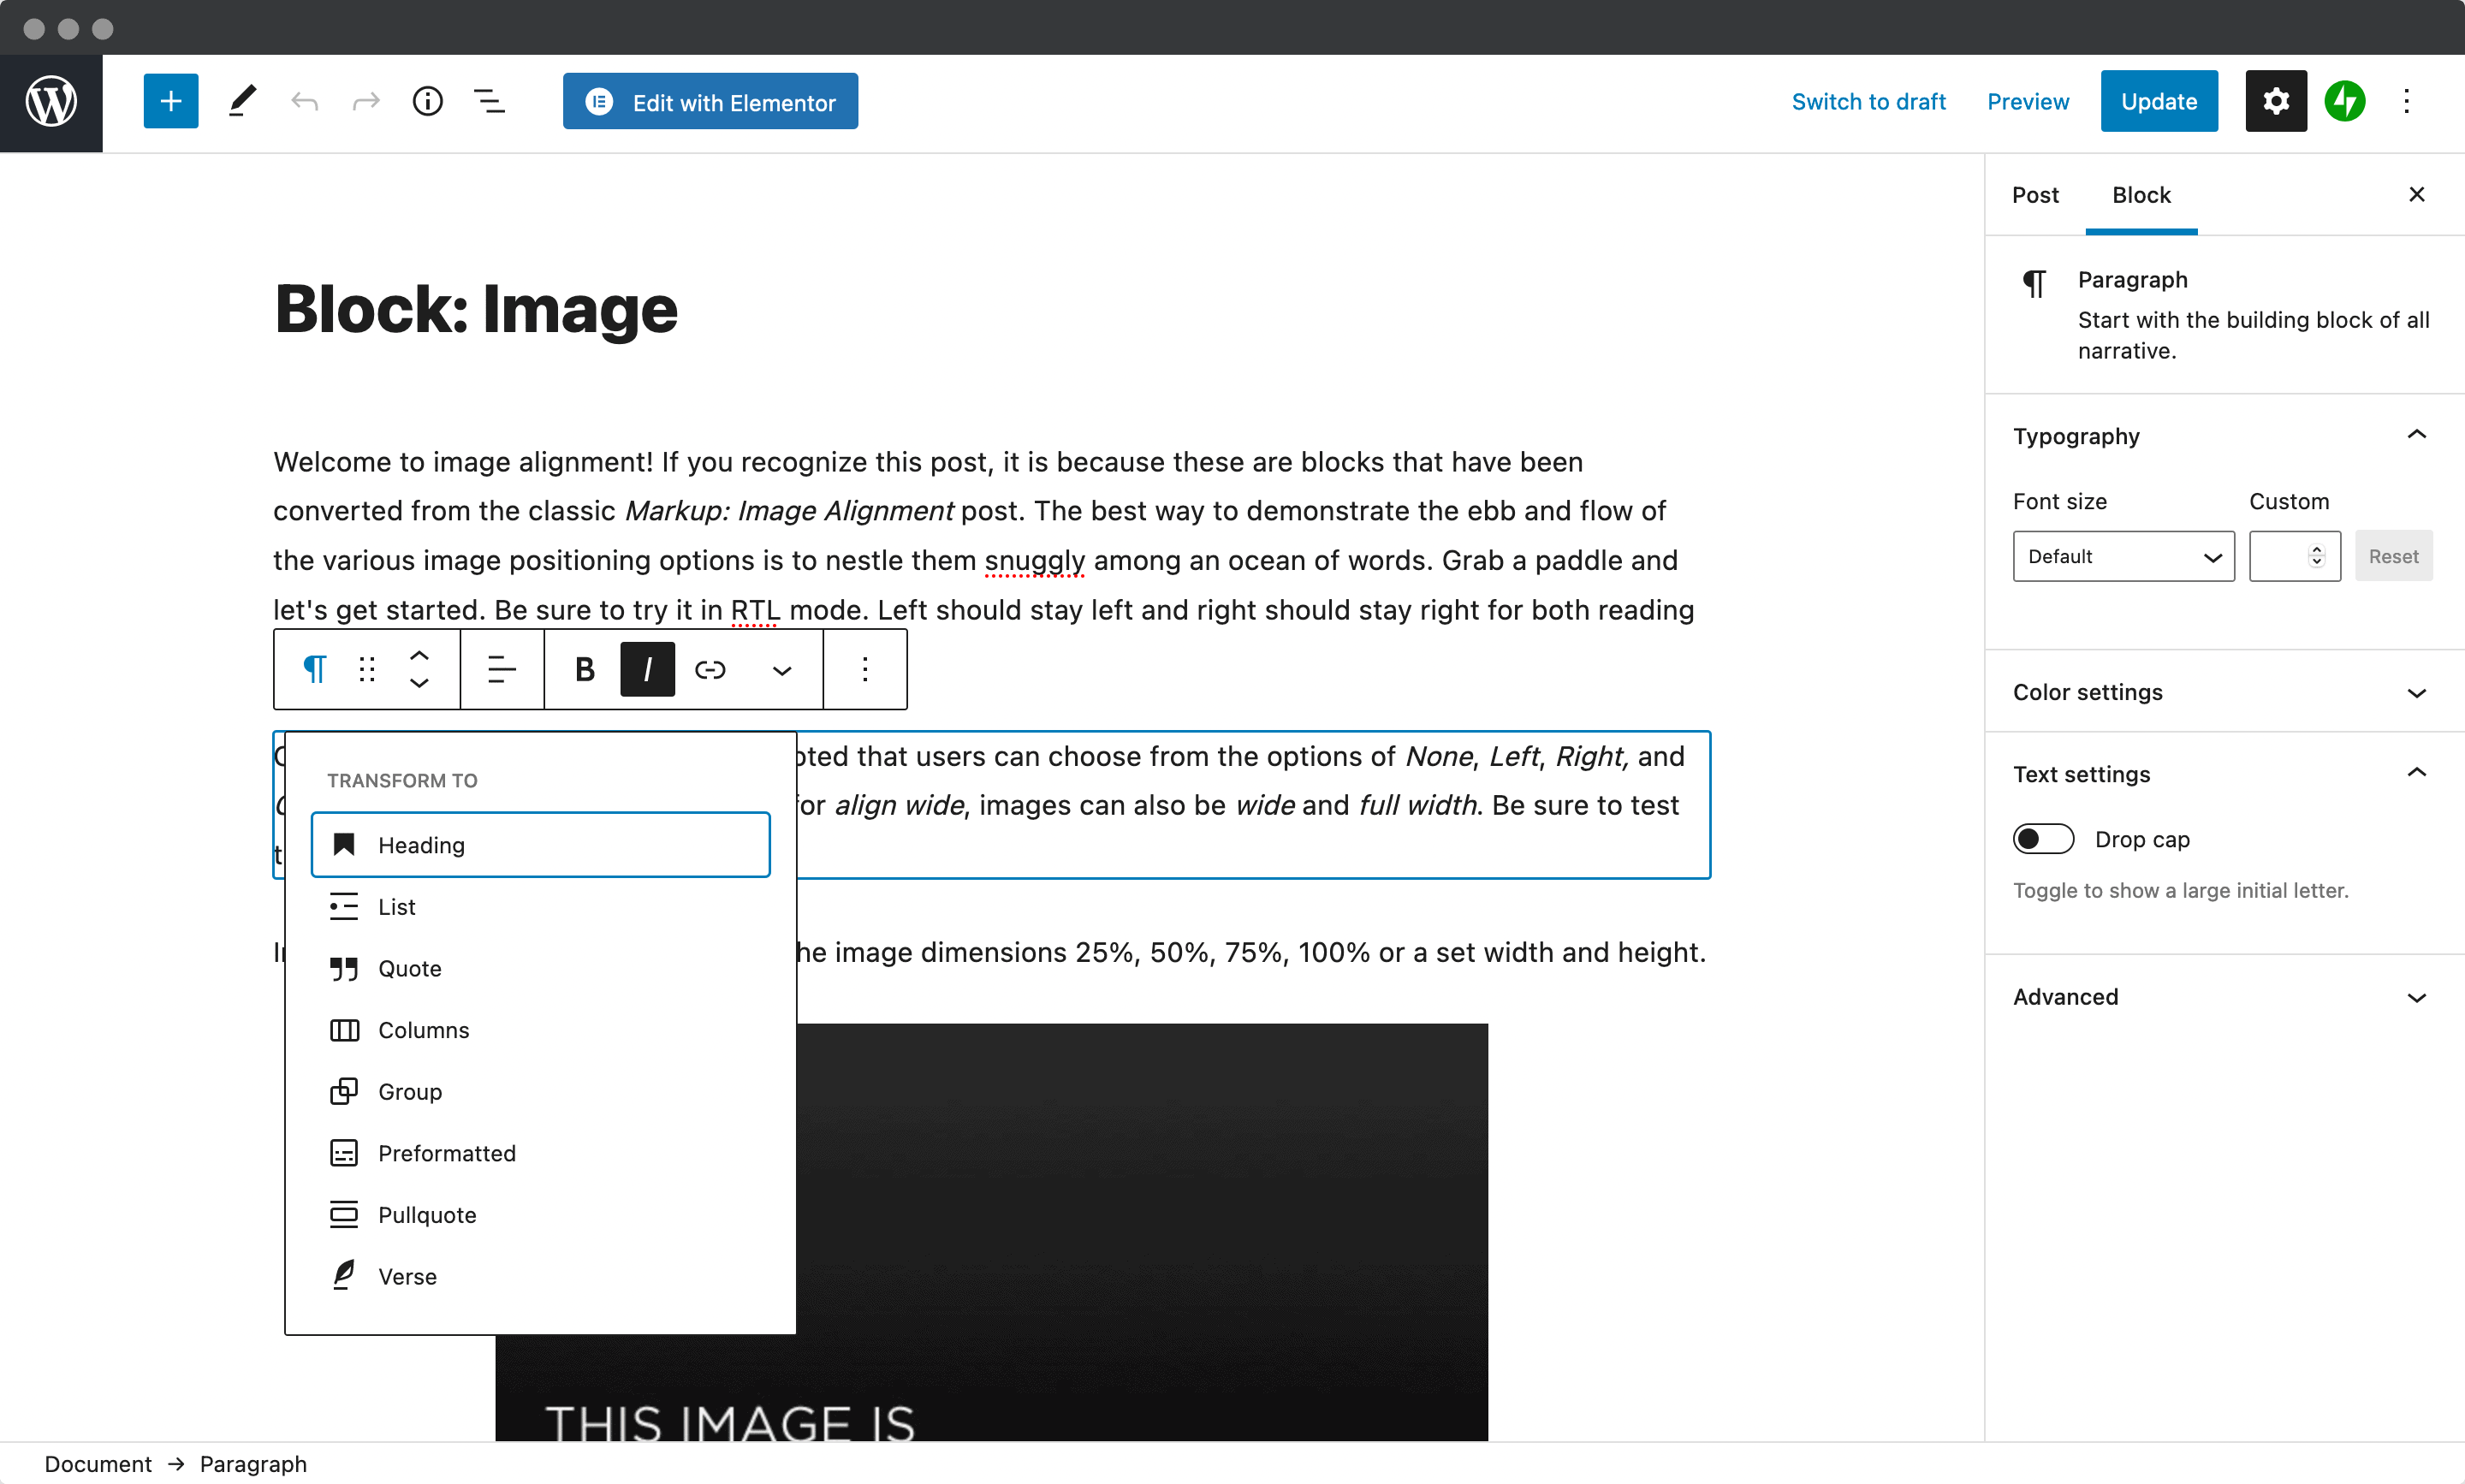
At the same time, you’ll also want to consider which page builder plugin to use. If you’re creating any other type of WordPress site, we’d suggest using the Block Editor. It’s become more robust over time, and is going to be central to Full Site Editing (FSE) with the platform in future:
For creating funnels in WordPress though, you’ll need something that already has the functionality you need. We’ve covered lots before, but Elementor takes the prize in our opinion:
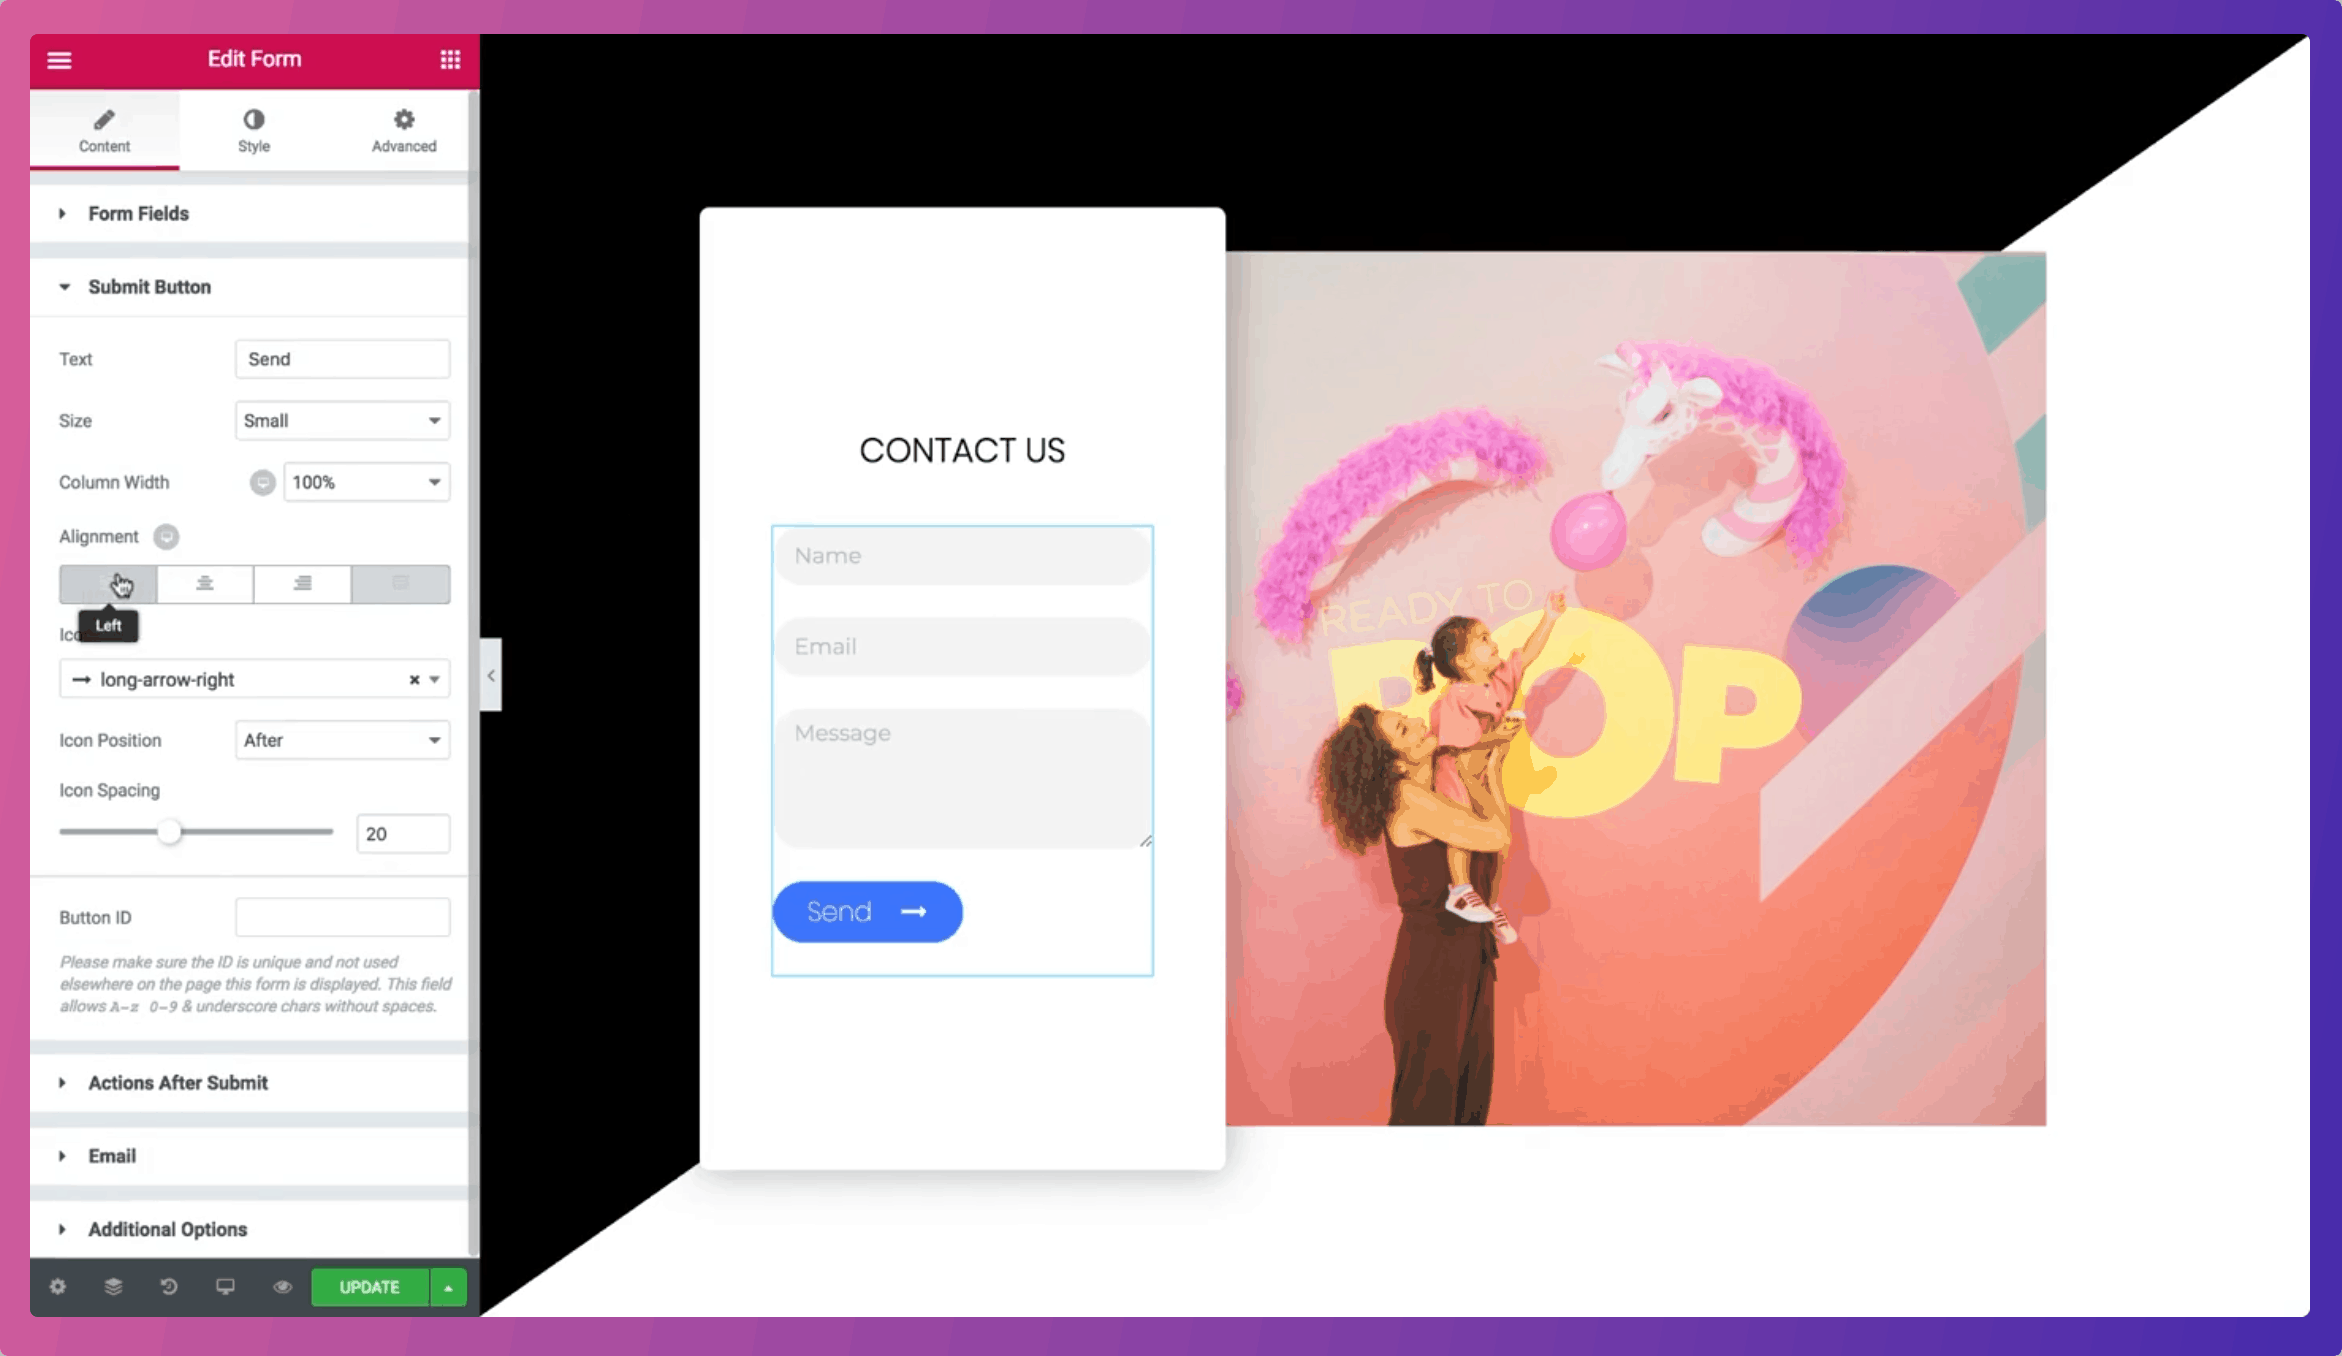
It offers a free version that could be all you need. Though, the premium version provides much more to help you create funnels in WordPress. For our needs, Elementor also kills two birds with one stone. The Pro version also includes a blank starter theme, which is ideal as we can build a funnel on top of it.
Once you’ve purchased a plan, we’ll walk you through the steps you need to take.
1. Install Elementor and Elementor Pro
First, you’ll want to install the core Elementor plugin. This is the same one you’ll install if you were sticking with the free version of the page builder. Installing and activating the plugin is the same as any other.
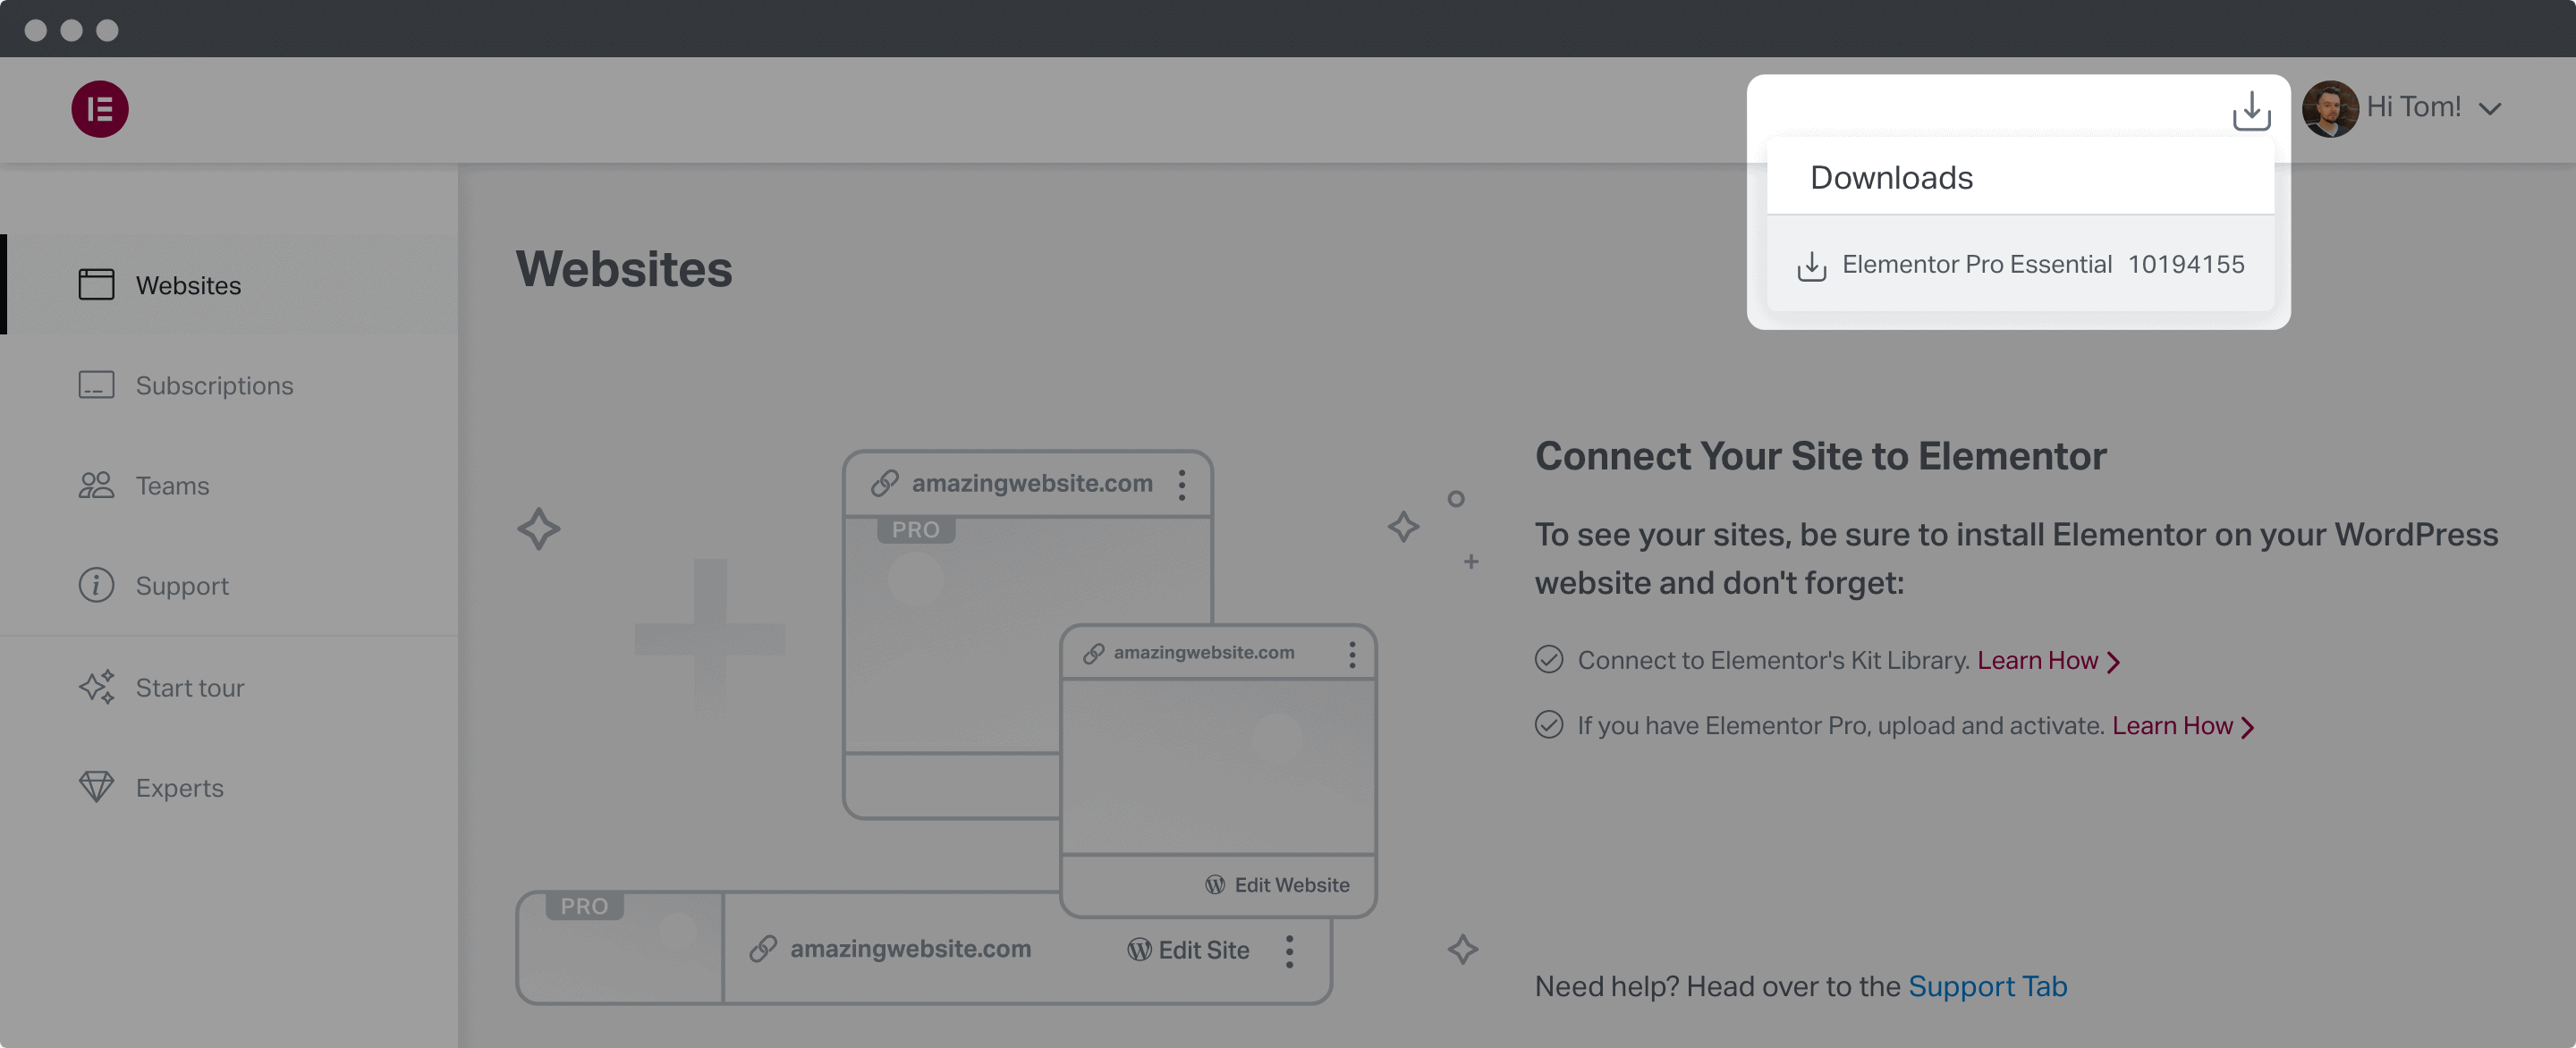
To access the Pro features, you’ll need to download the ZIP file from the Elementor website. Access your Elementor dashboard, and click the link next to your profile picture:
From here, head back to your WordPress dashboard and go to the Plugins > Add New screen:
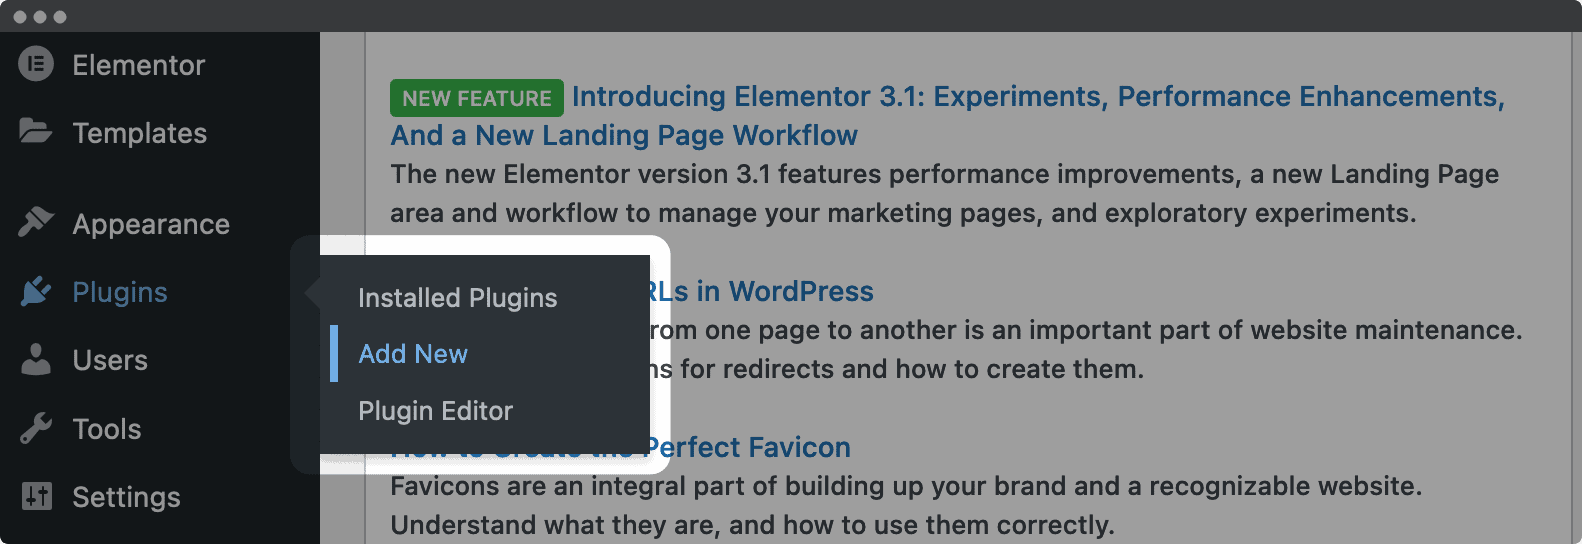
At the top, you’ll see the Upload Plugin button next to the page title. Clicking this will open a file uploader:
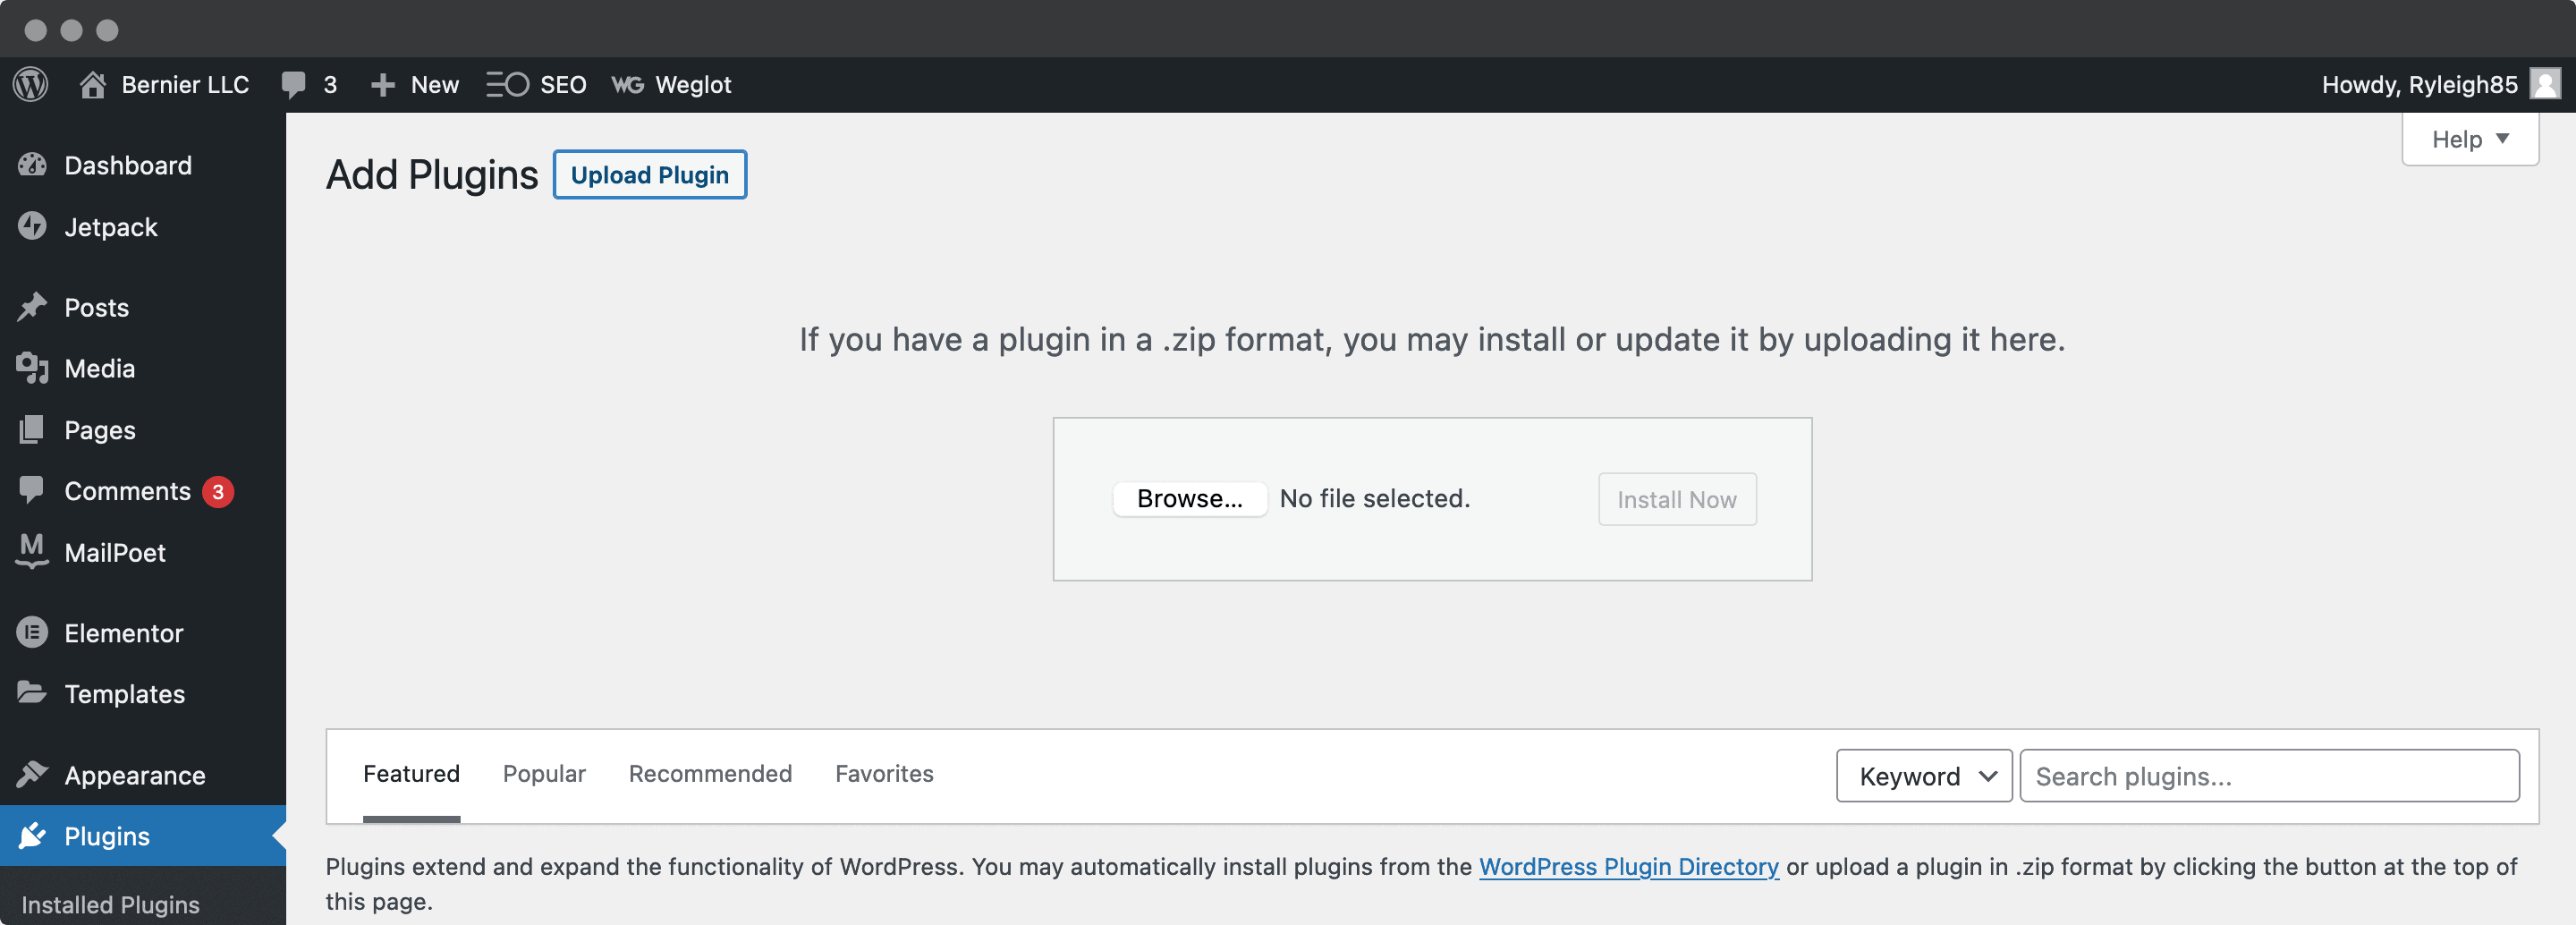
From here, browse to your ZIP file, uploaded it, and click Install Now. Click the Activate Plugin button to finish the install, and you’re almost done.
2. Connect Your Site to Elementor
Before you carry on, it’s a good idea to connect your site, so that you get the full range of features. To do this, you’ll find a link at the top of the Plugins screen:
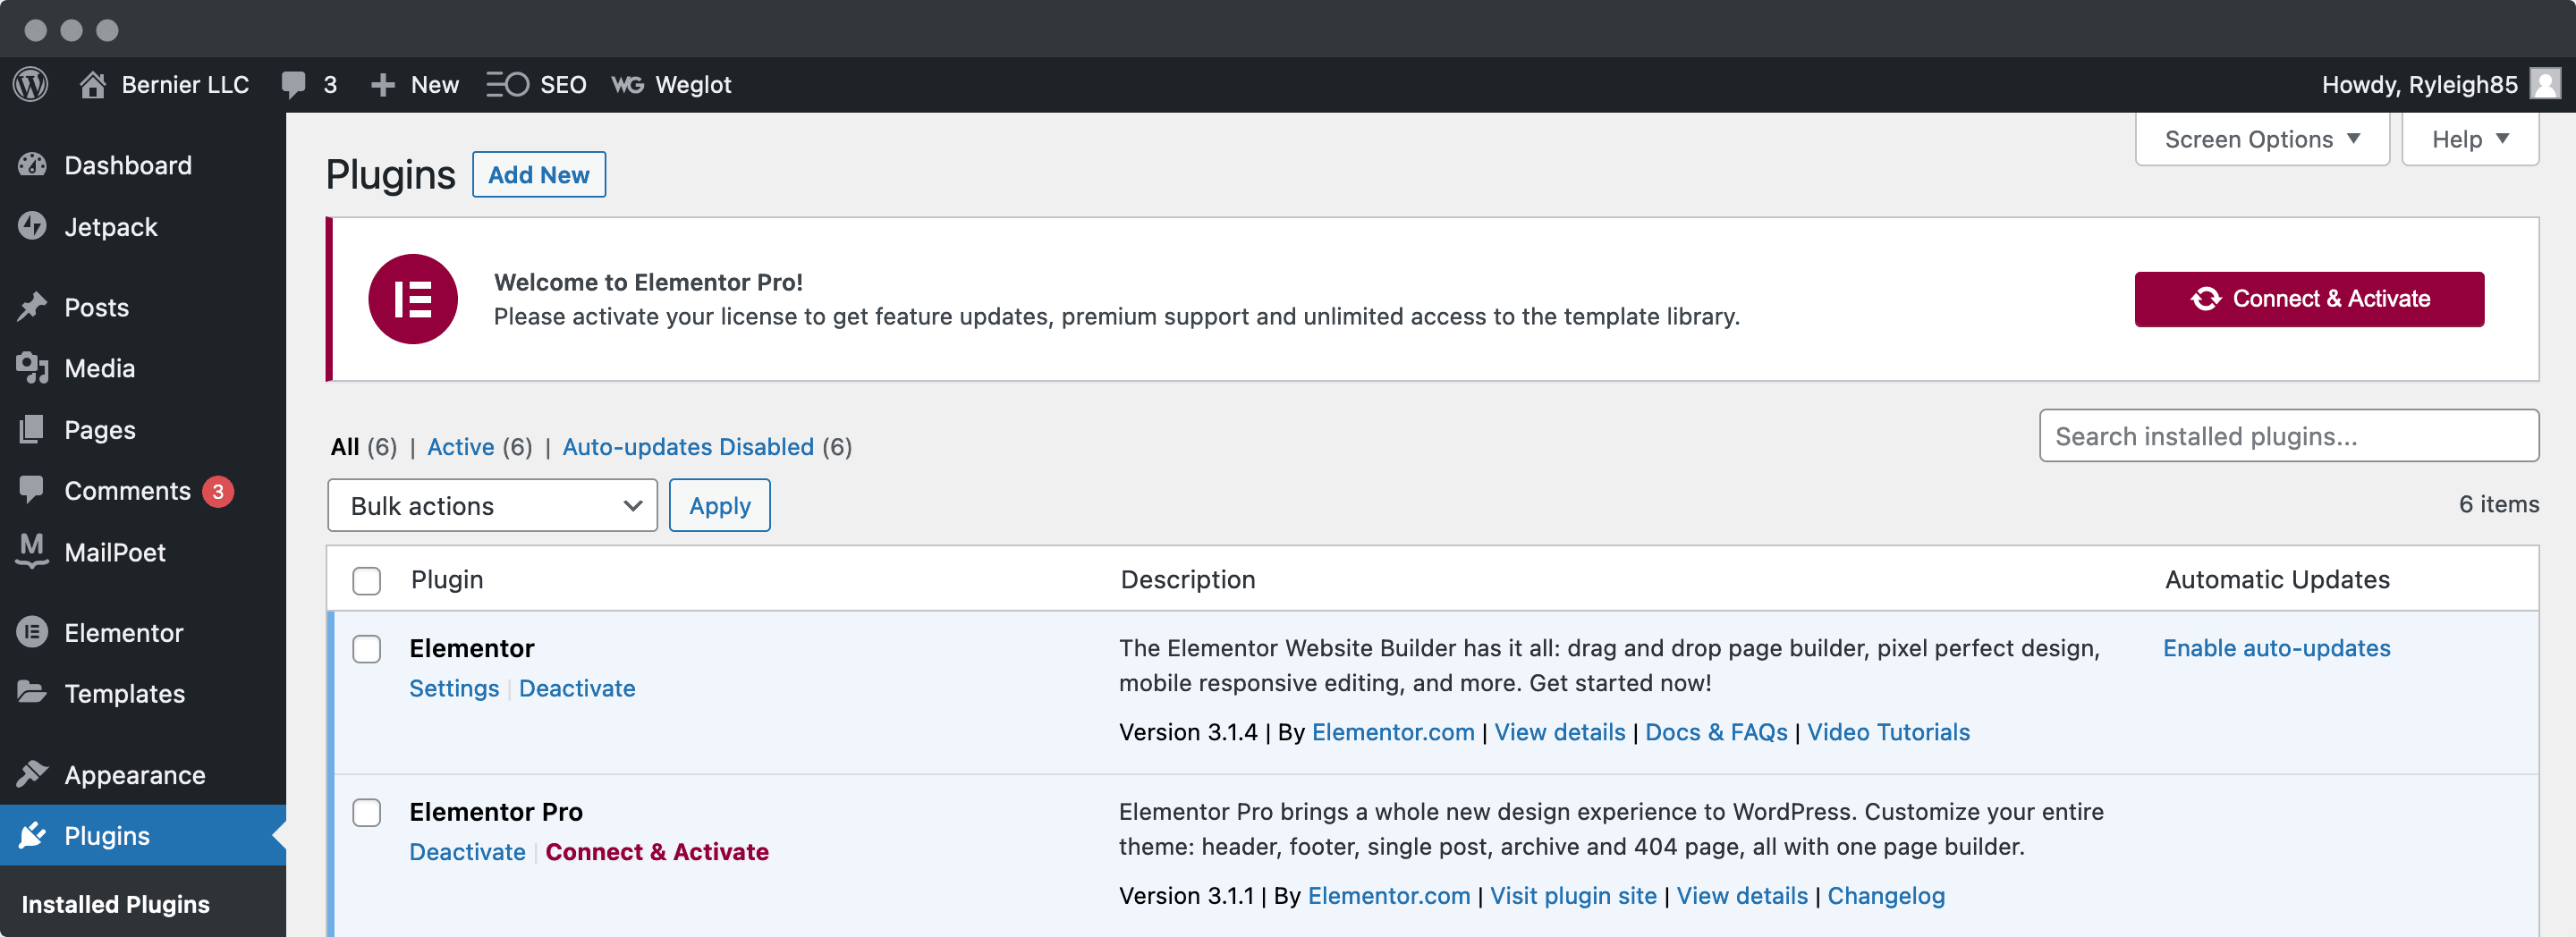
Clicking this will bring you to a splash page asking you to connect and activate your site:
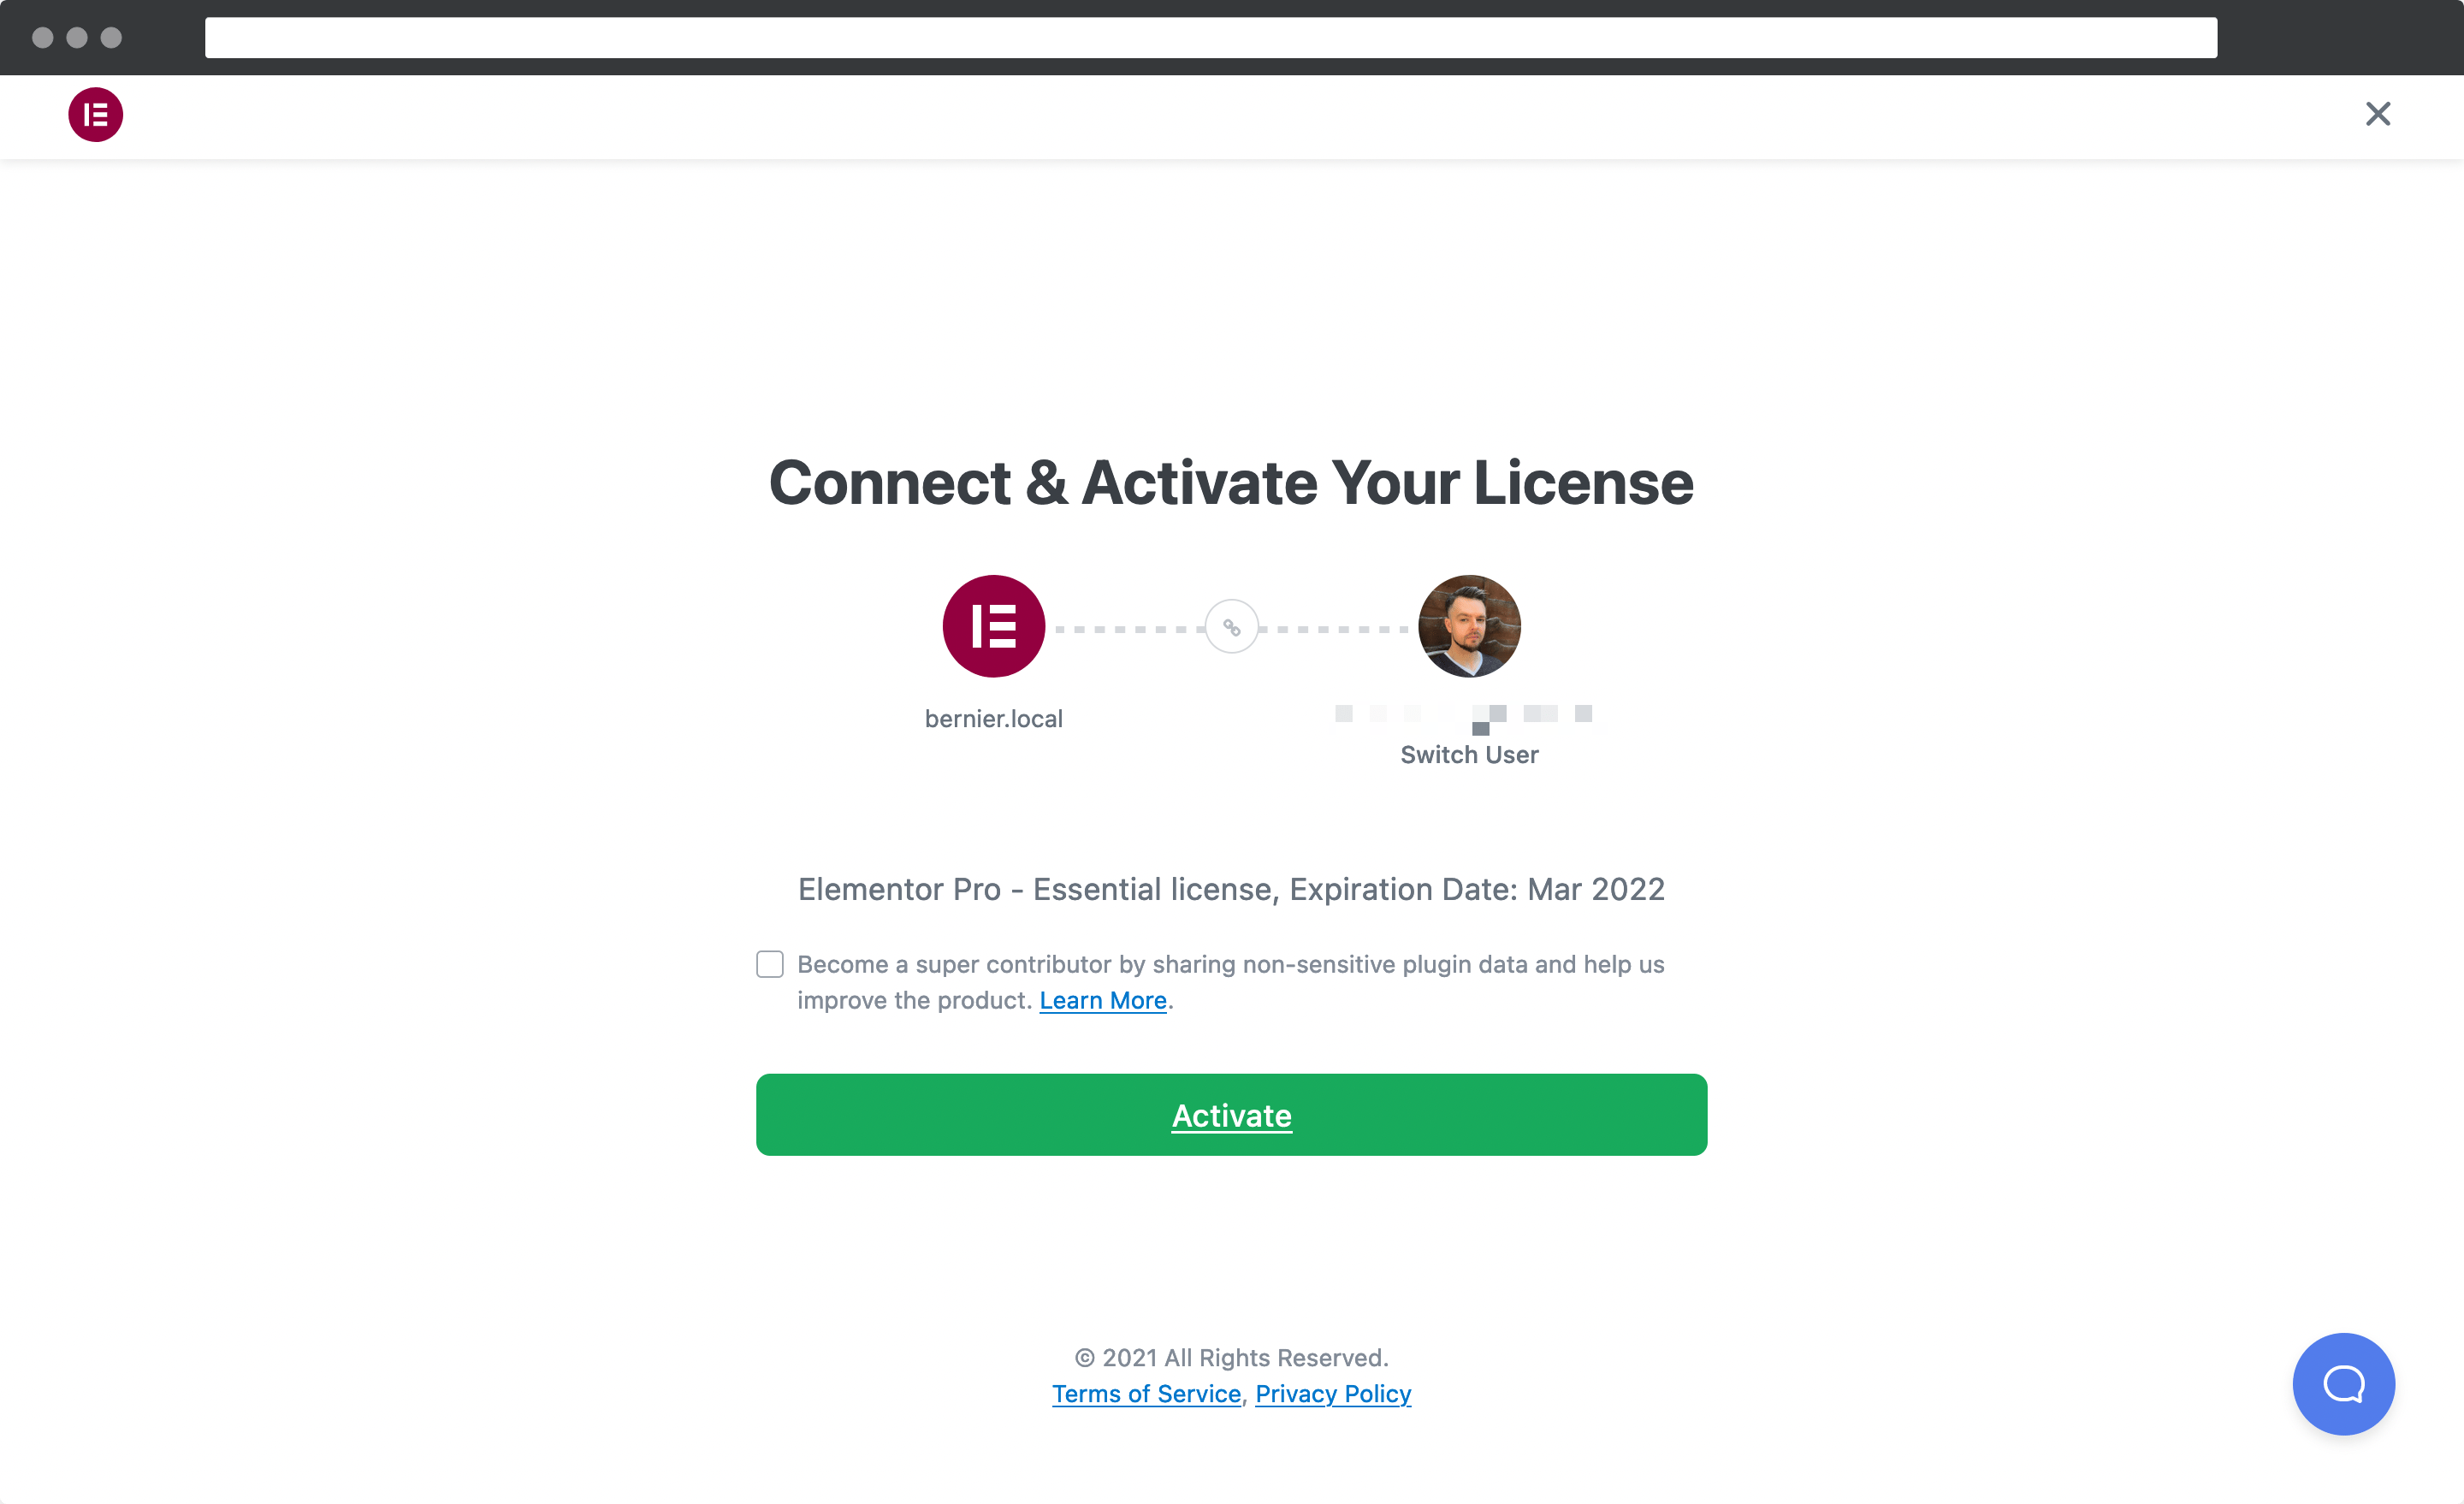
Of course, you’ll want to click this button. Within seconds, you’ll be brought back to your WordPress dashboard with a success confirmation:
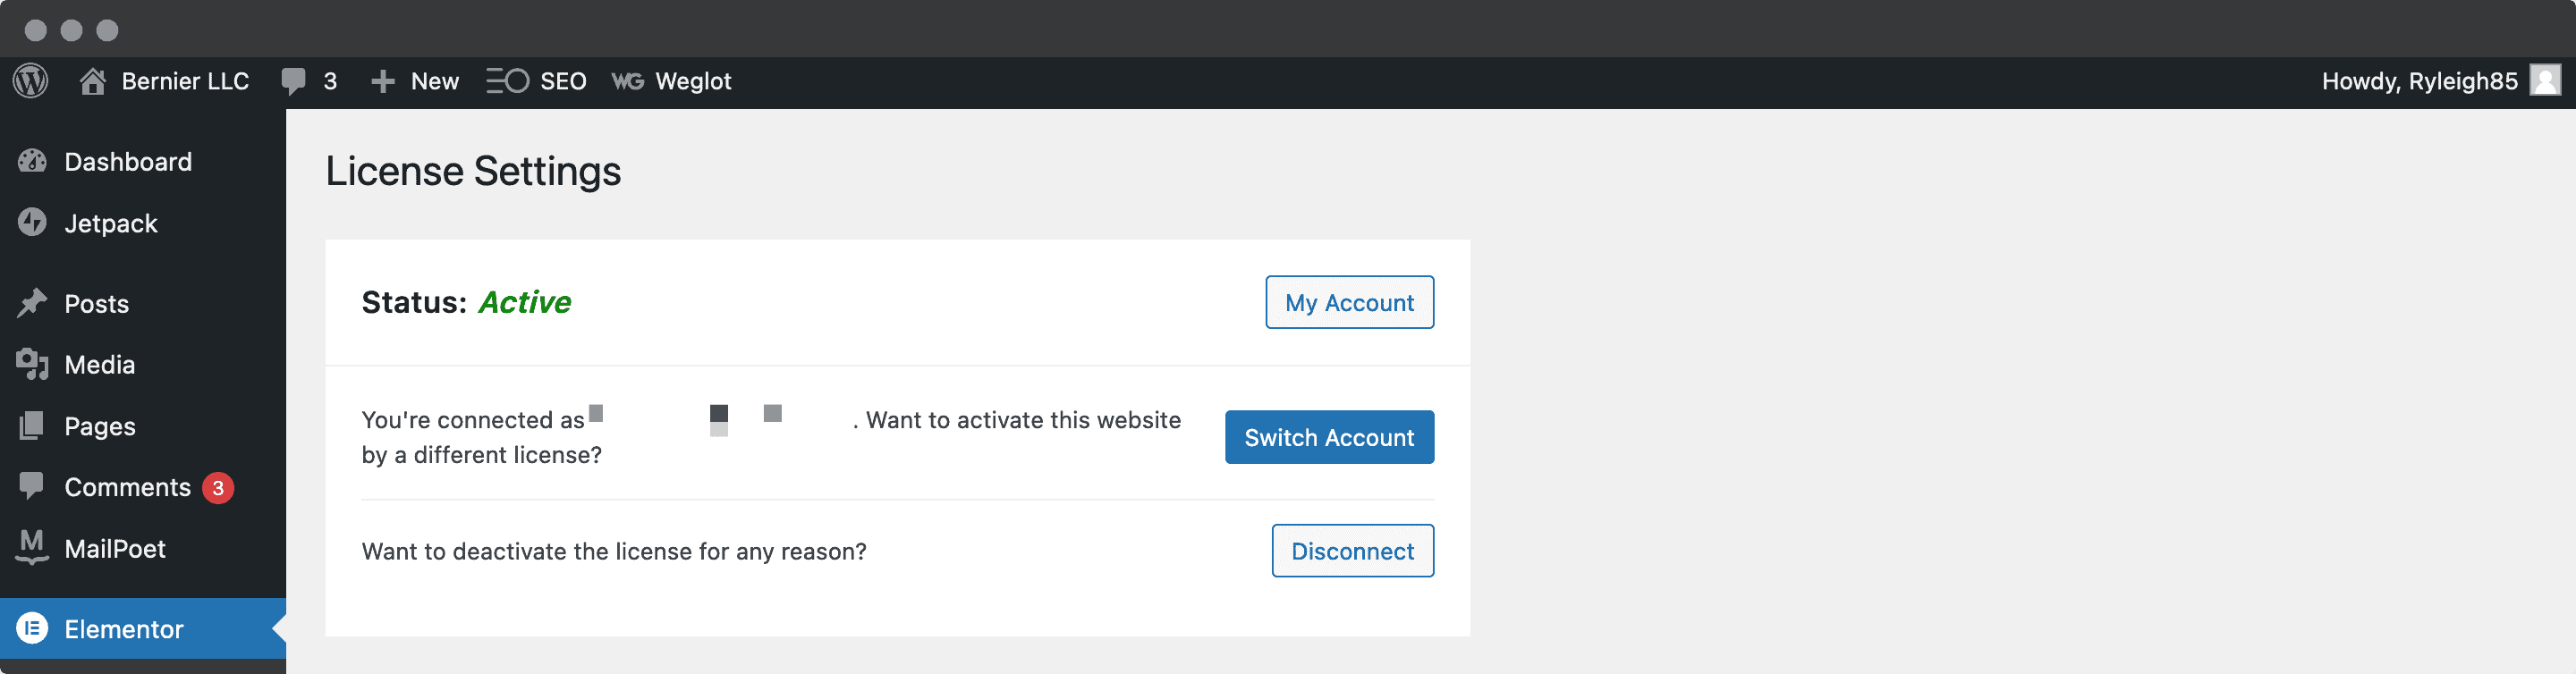
At this point you’re ready to rock and roll. Up next is installing the starter theme.
3. Install the Hello Starter Theme

Elementor offers a blank starter theme to help you use the page builder to create your ideal site. To grab it, head to the Appearance > Themes page within WordPress, and click the Add New button.
Next, search for “Hello Elementor”. You should only see on theme pop up. Once you click the Install button, WordPress will do its thing:
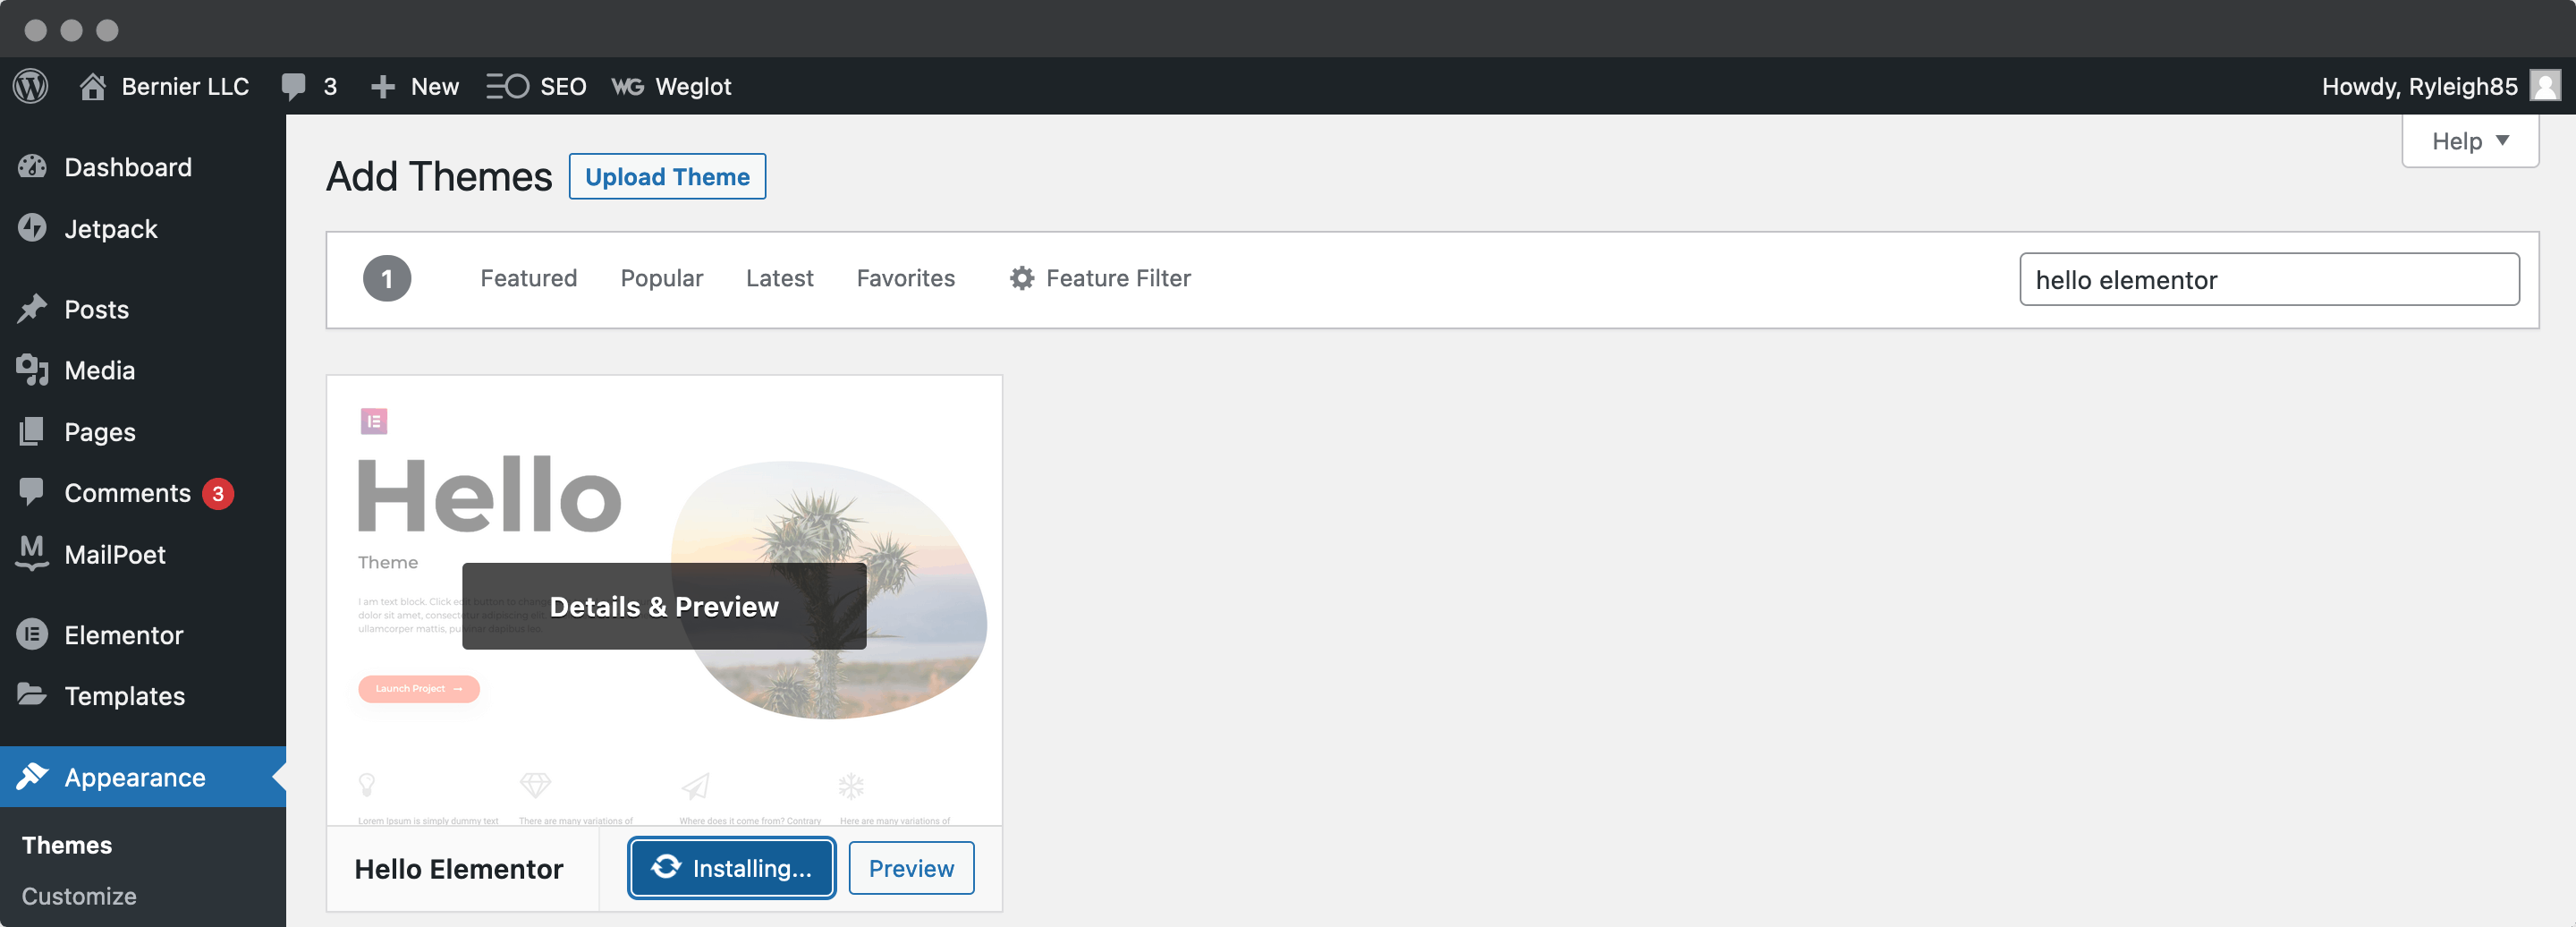
Finally, click Activate and your work here (for now) is done!
4. Choose a Suitable Site Template
Before you move on, it’s worth getting your site’s design in order. While you could do this at any point, now is a good time, before you get into designing your funnel.
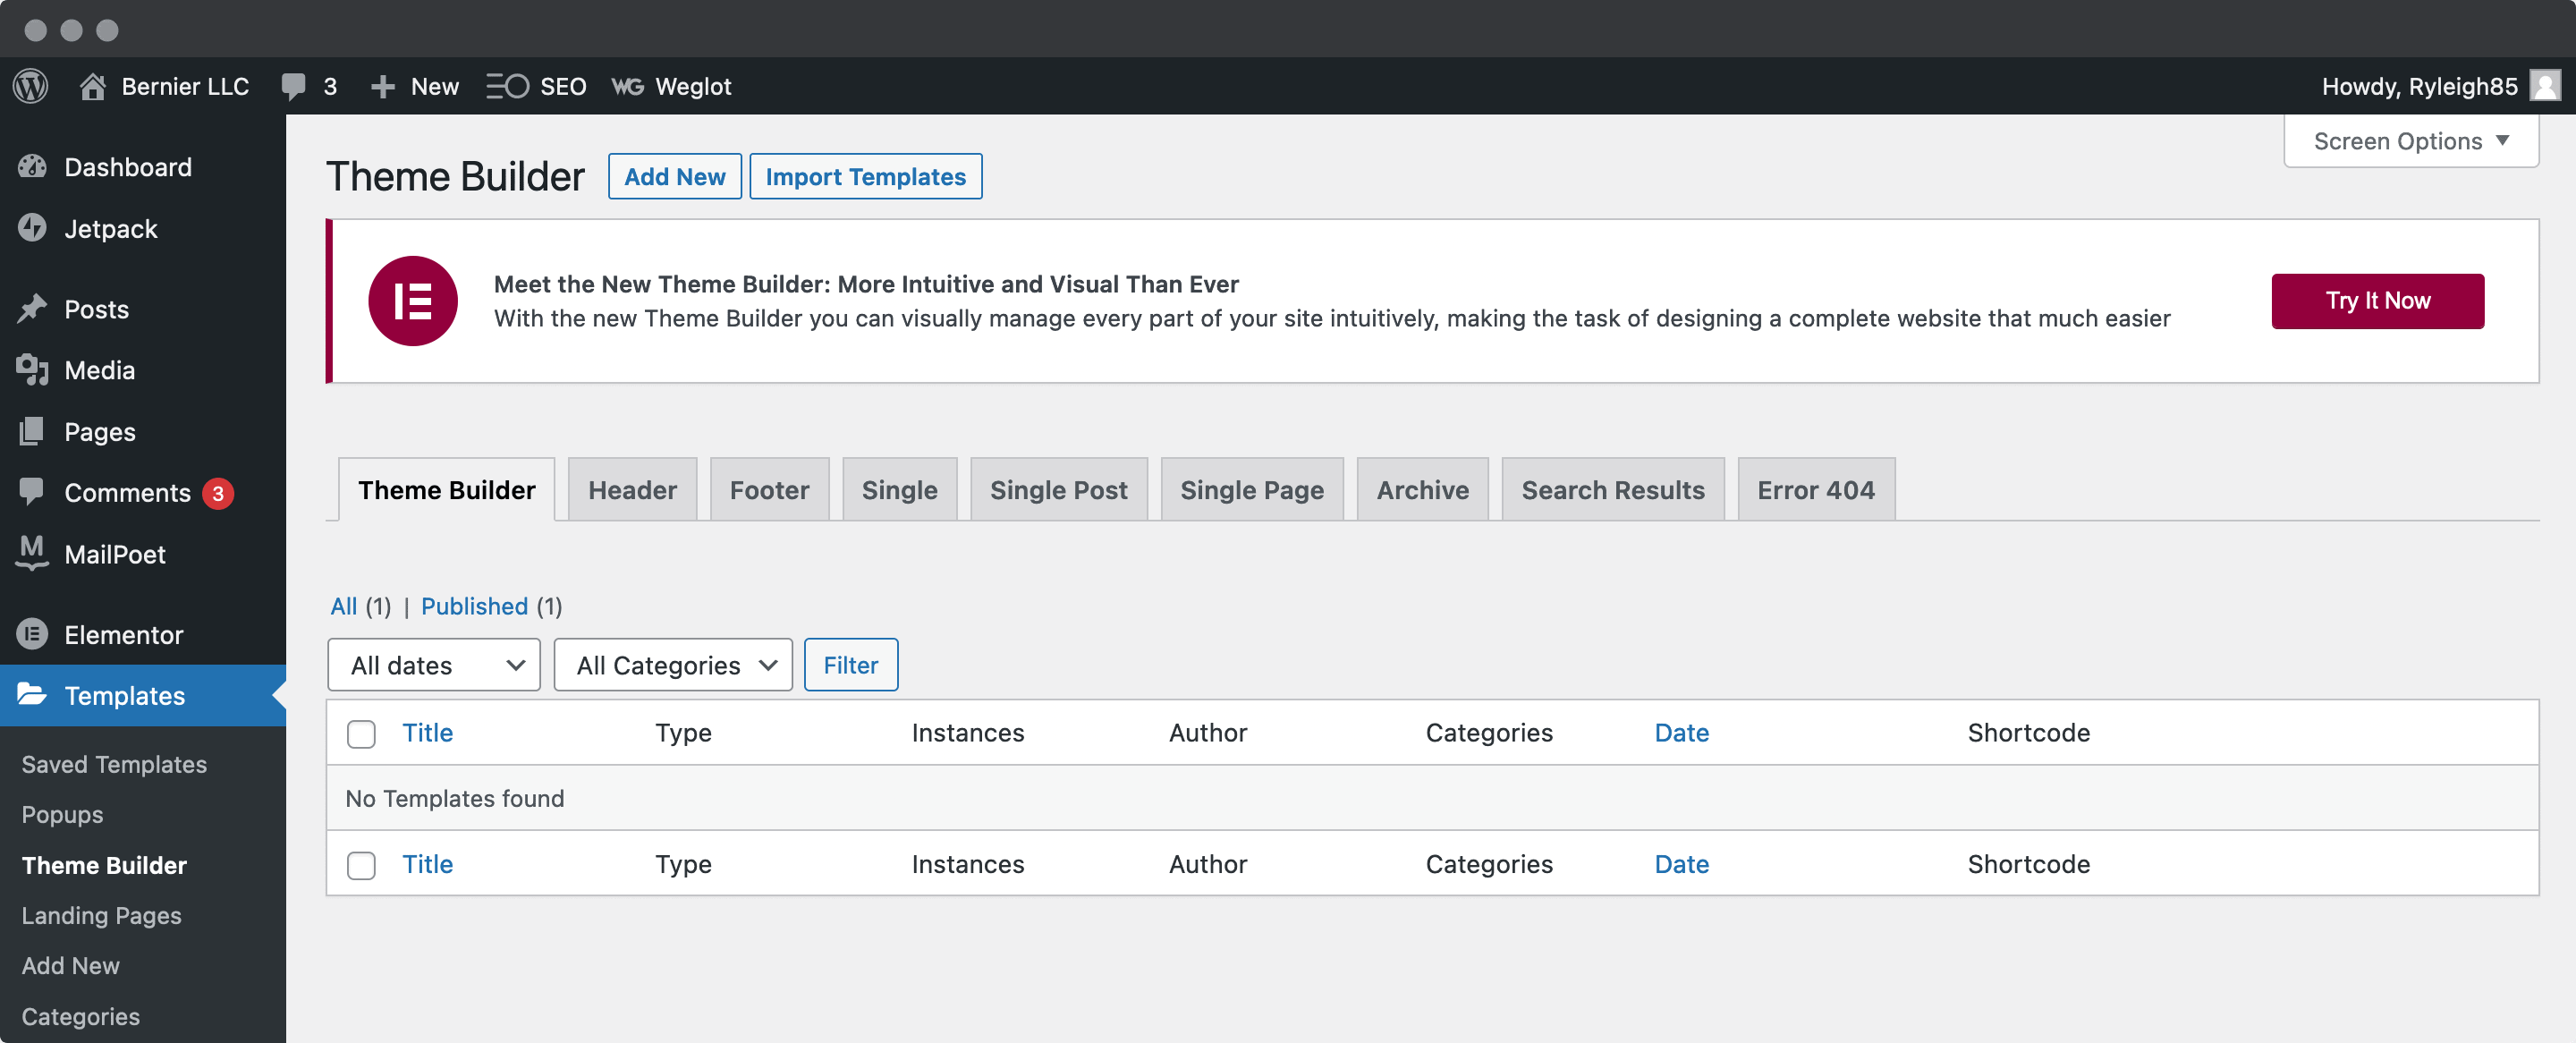
For this you’ll use the Theme Builder. In WordPress, head to the Templates > Theme Builder page. This will show you a near empty screen, but it won’t be for long after clicking the Add New button.
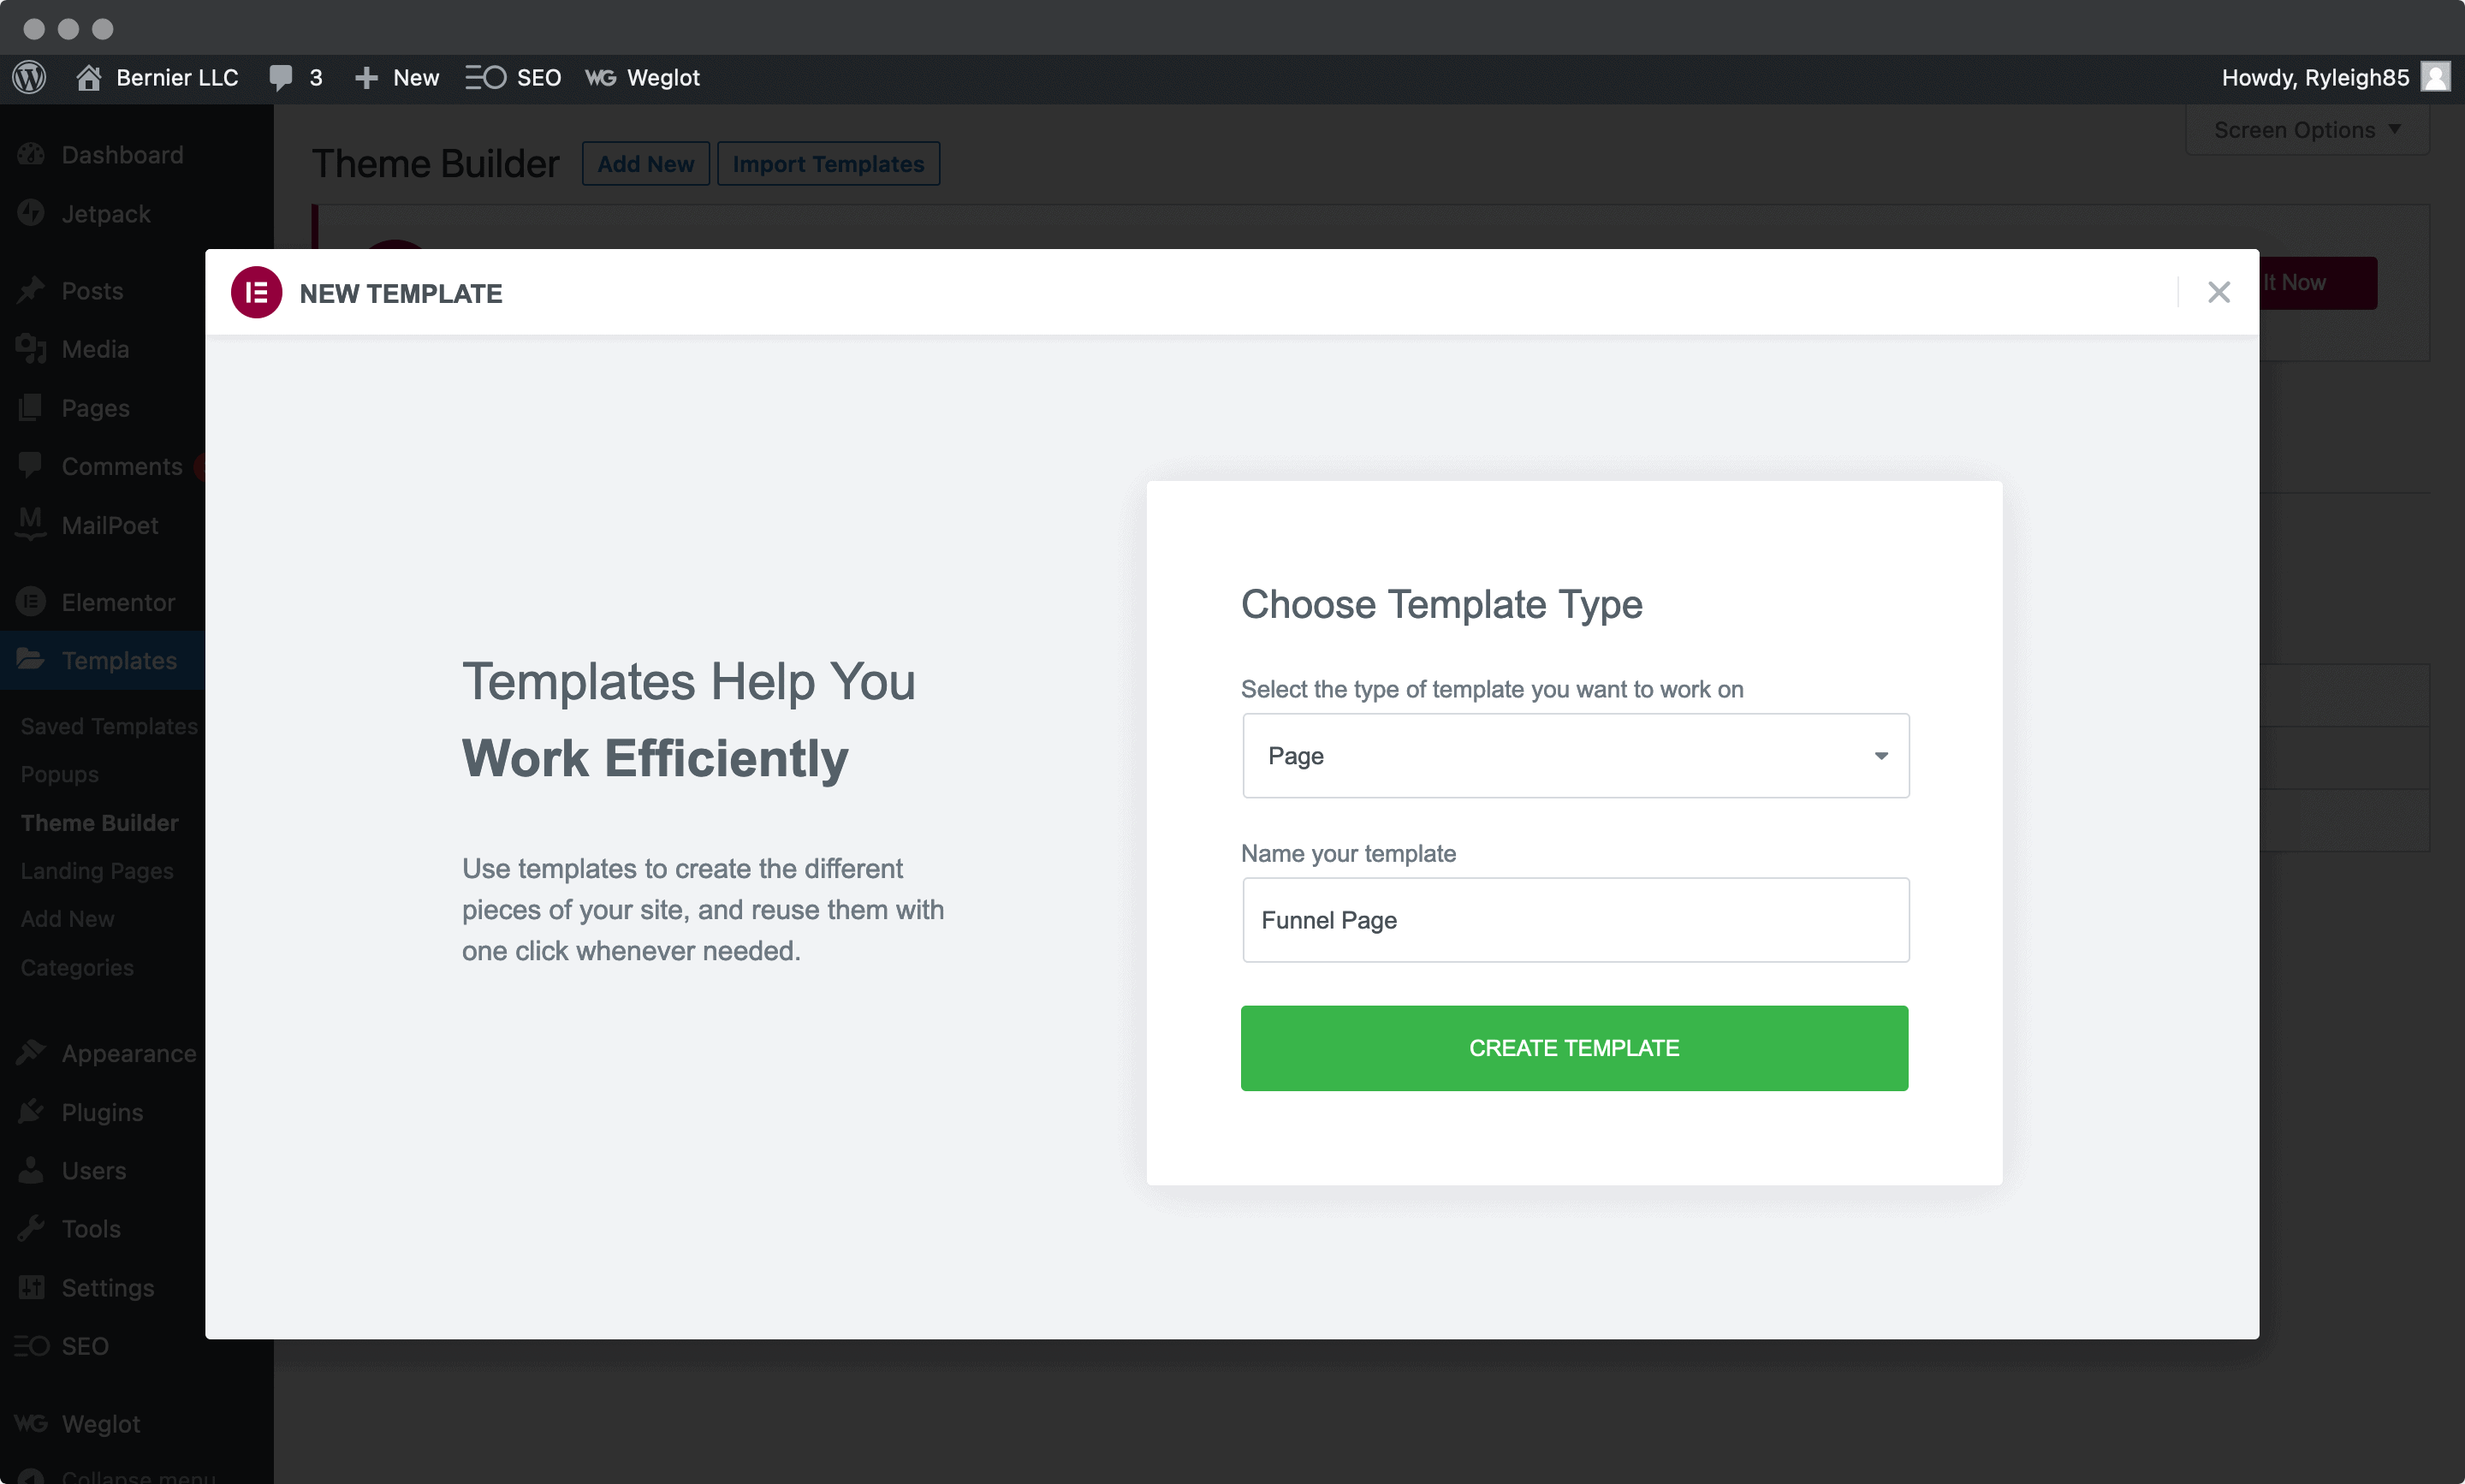
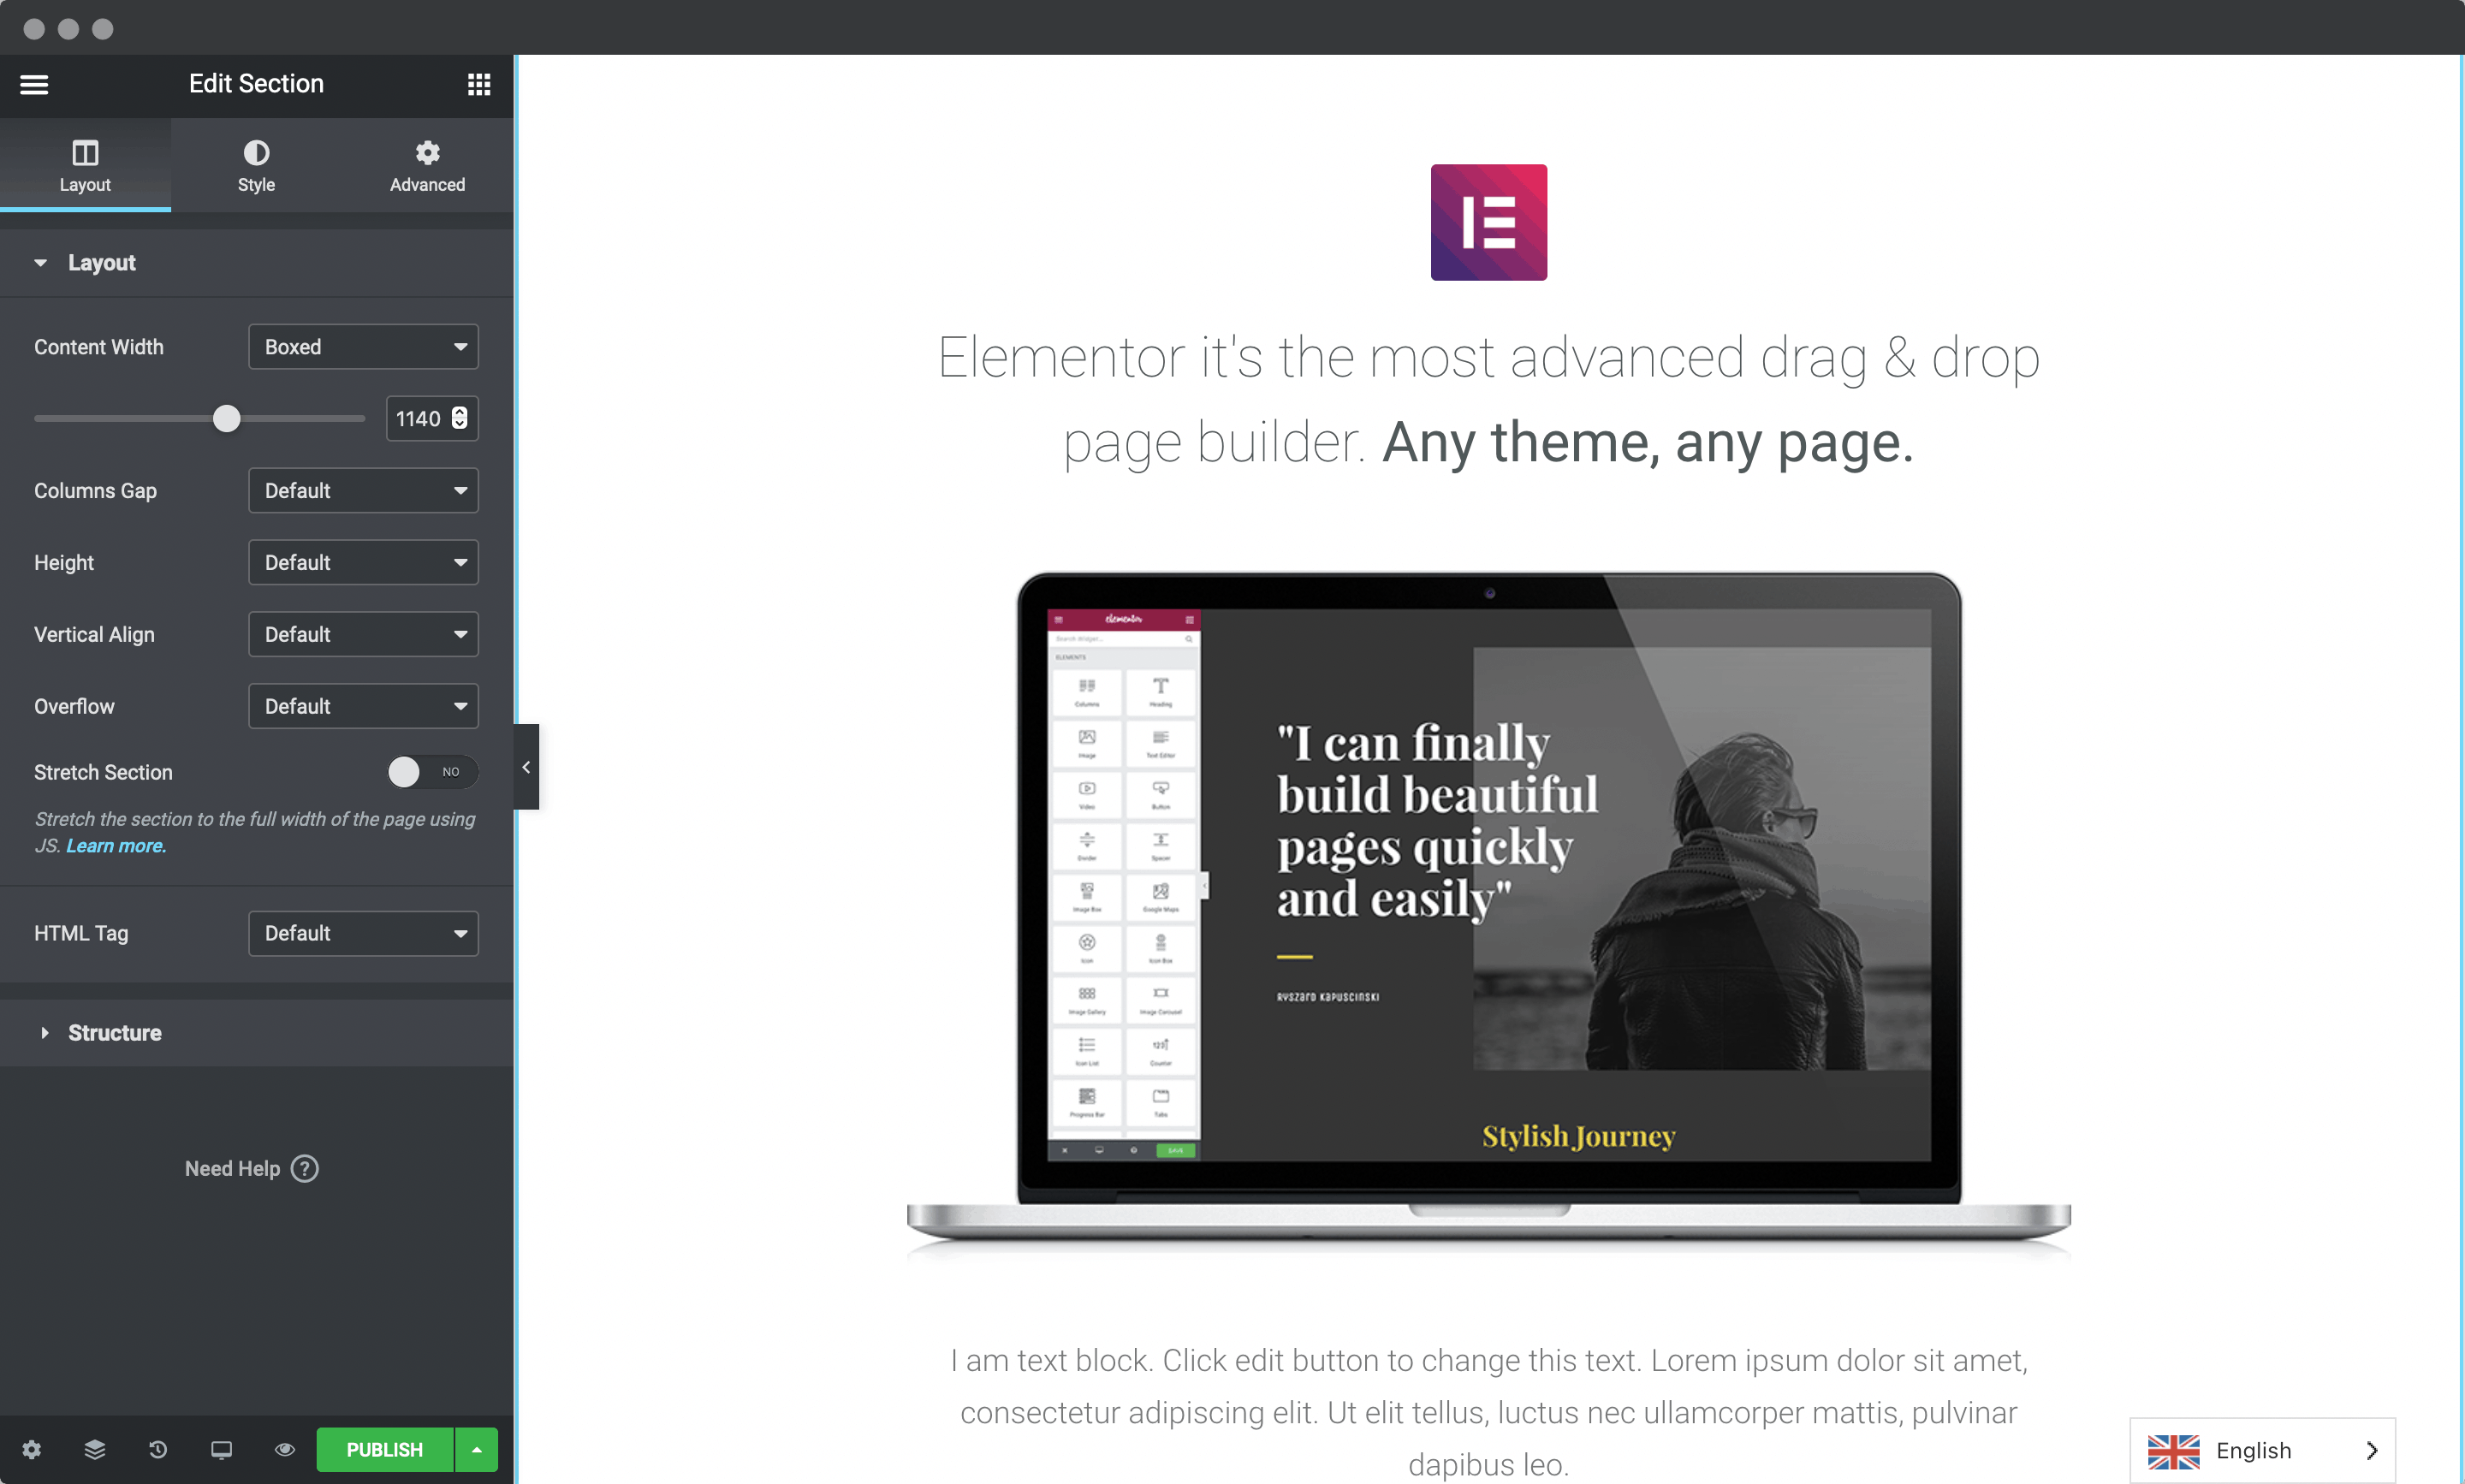
You’ll see a dialog screen pop-up, where you can choose what type of template to use, and name it:
Once you click to confirm, the Elementor editor will open, showing a near blank page:
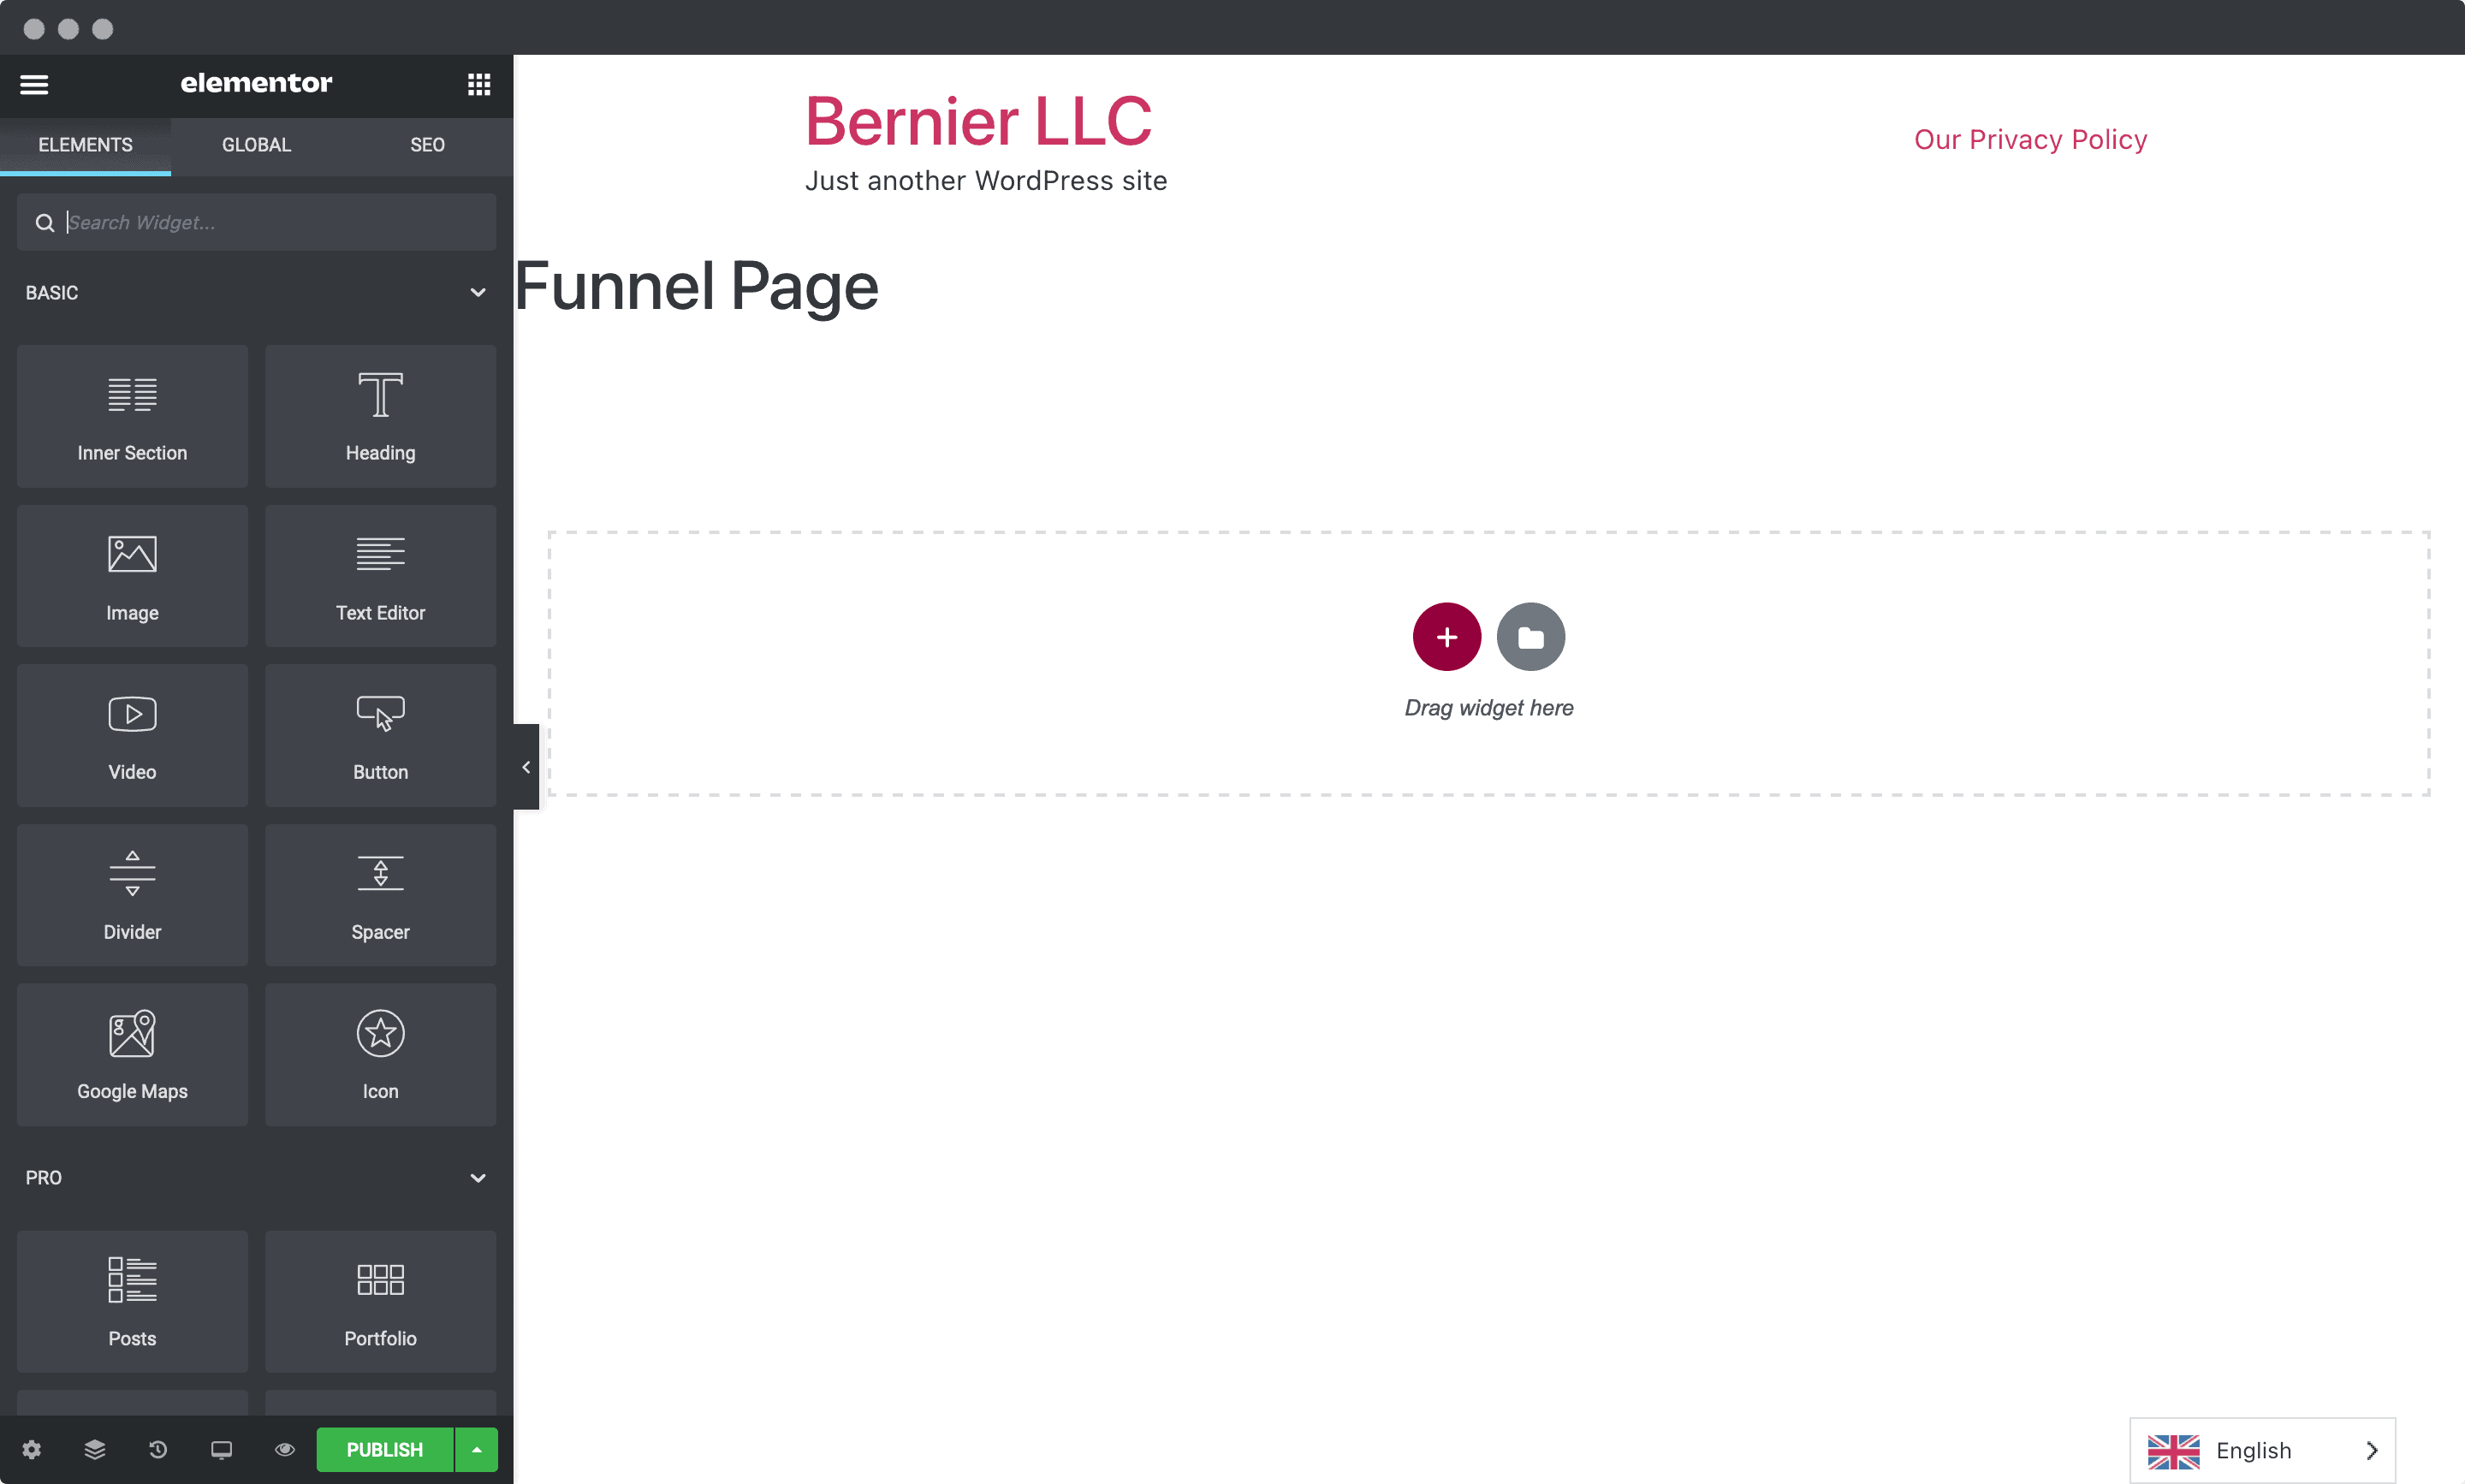
Next, hover over the folder icon on the live preview. This is where you select your page template:

This will show a library of suitable templates to import. For our example, we’re choosing a product page, but you can choose whatever suits your business:
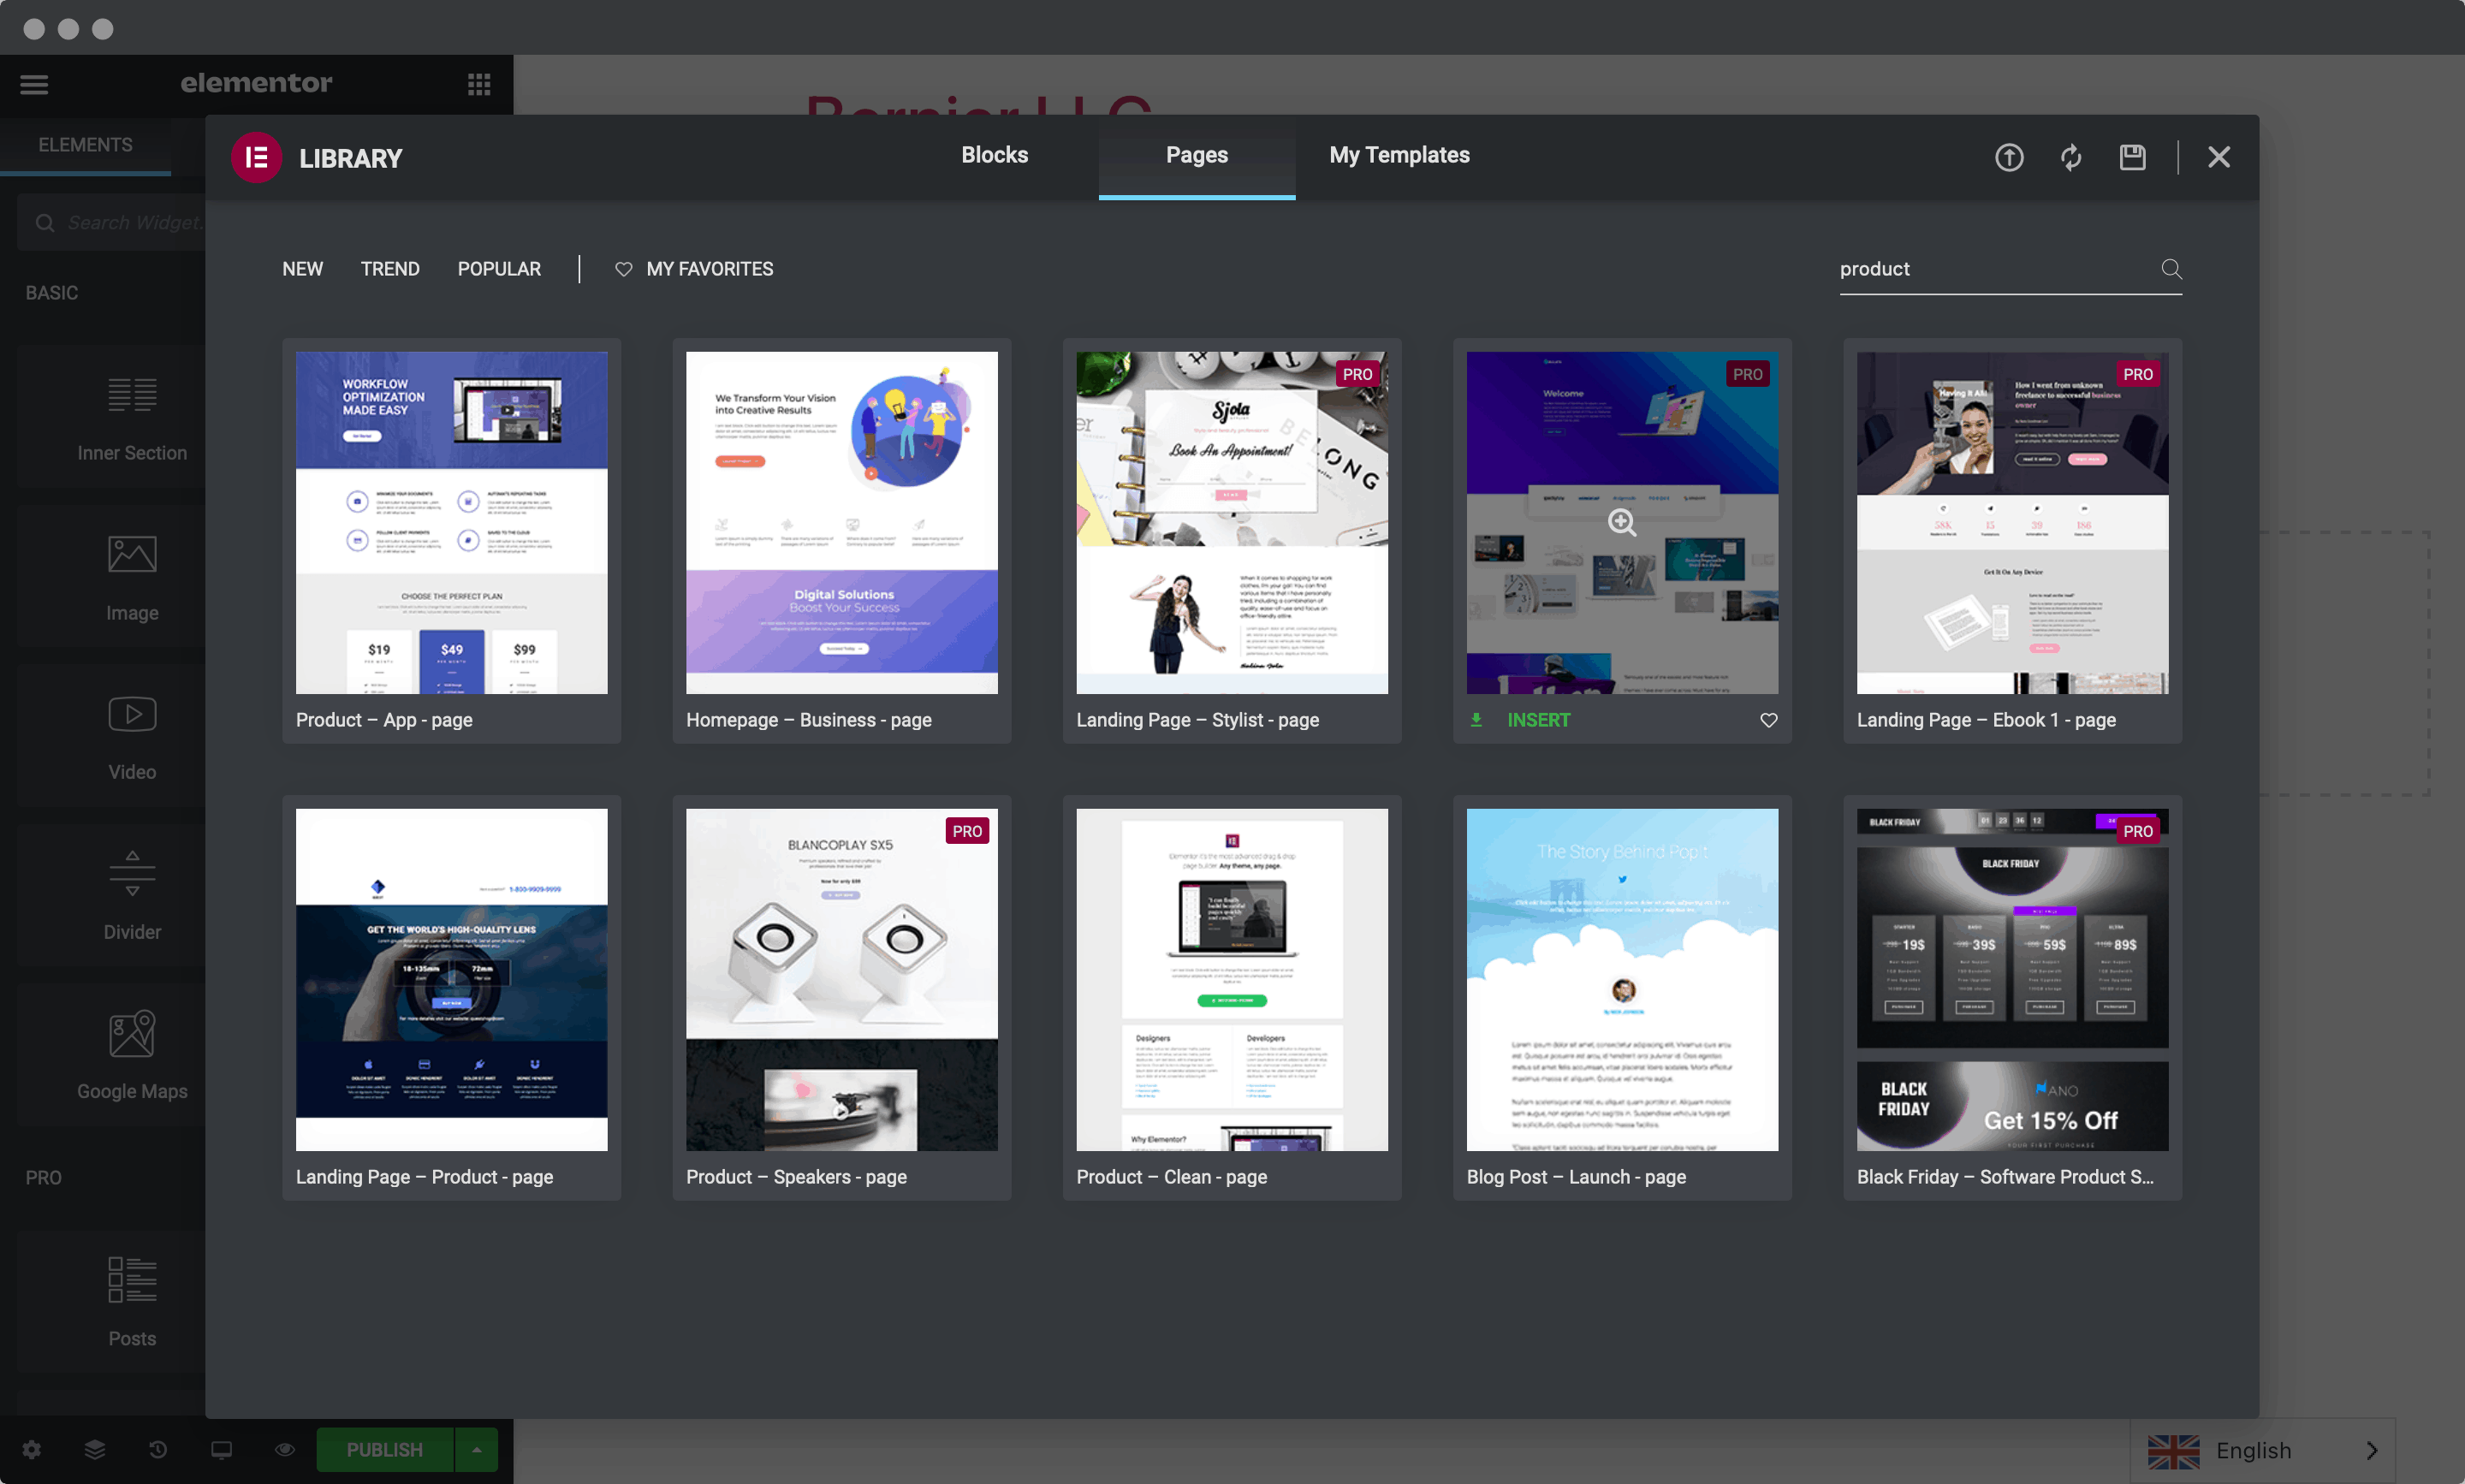
Once you hover over the template and click Insert, your page will update:
At this point, you can leave your site be. We’ll come back to Elementor later, but for now, you need to add eCommerce functionality.
3. Install Your Favorite eCommerce Plugin
As we mentioned, WordPress doesn’t come with eCommerce functionality out of the box. This isn’t a problem though – there are plenty of plugins available to add it in.

WooCommerce is the leading eCommerce plugin for WordPress, and we’ve covered it on the blog in the past. For our purposes, it won’t serve as much more than a payment gateway. Still, you could use the plugin in a greater capacity once you’re fully up and running.
Let’s show you how to set it up.
1. Install the WooCommerce Plugin and Run the Onboarding Wizard
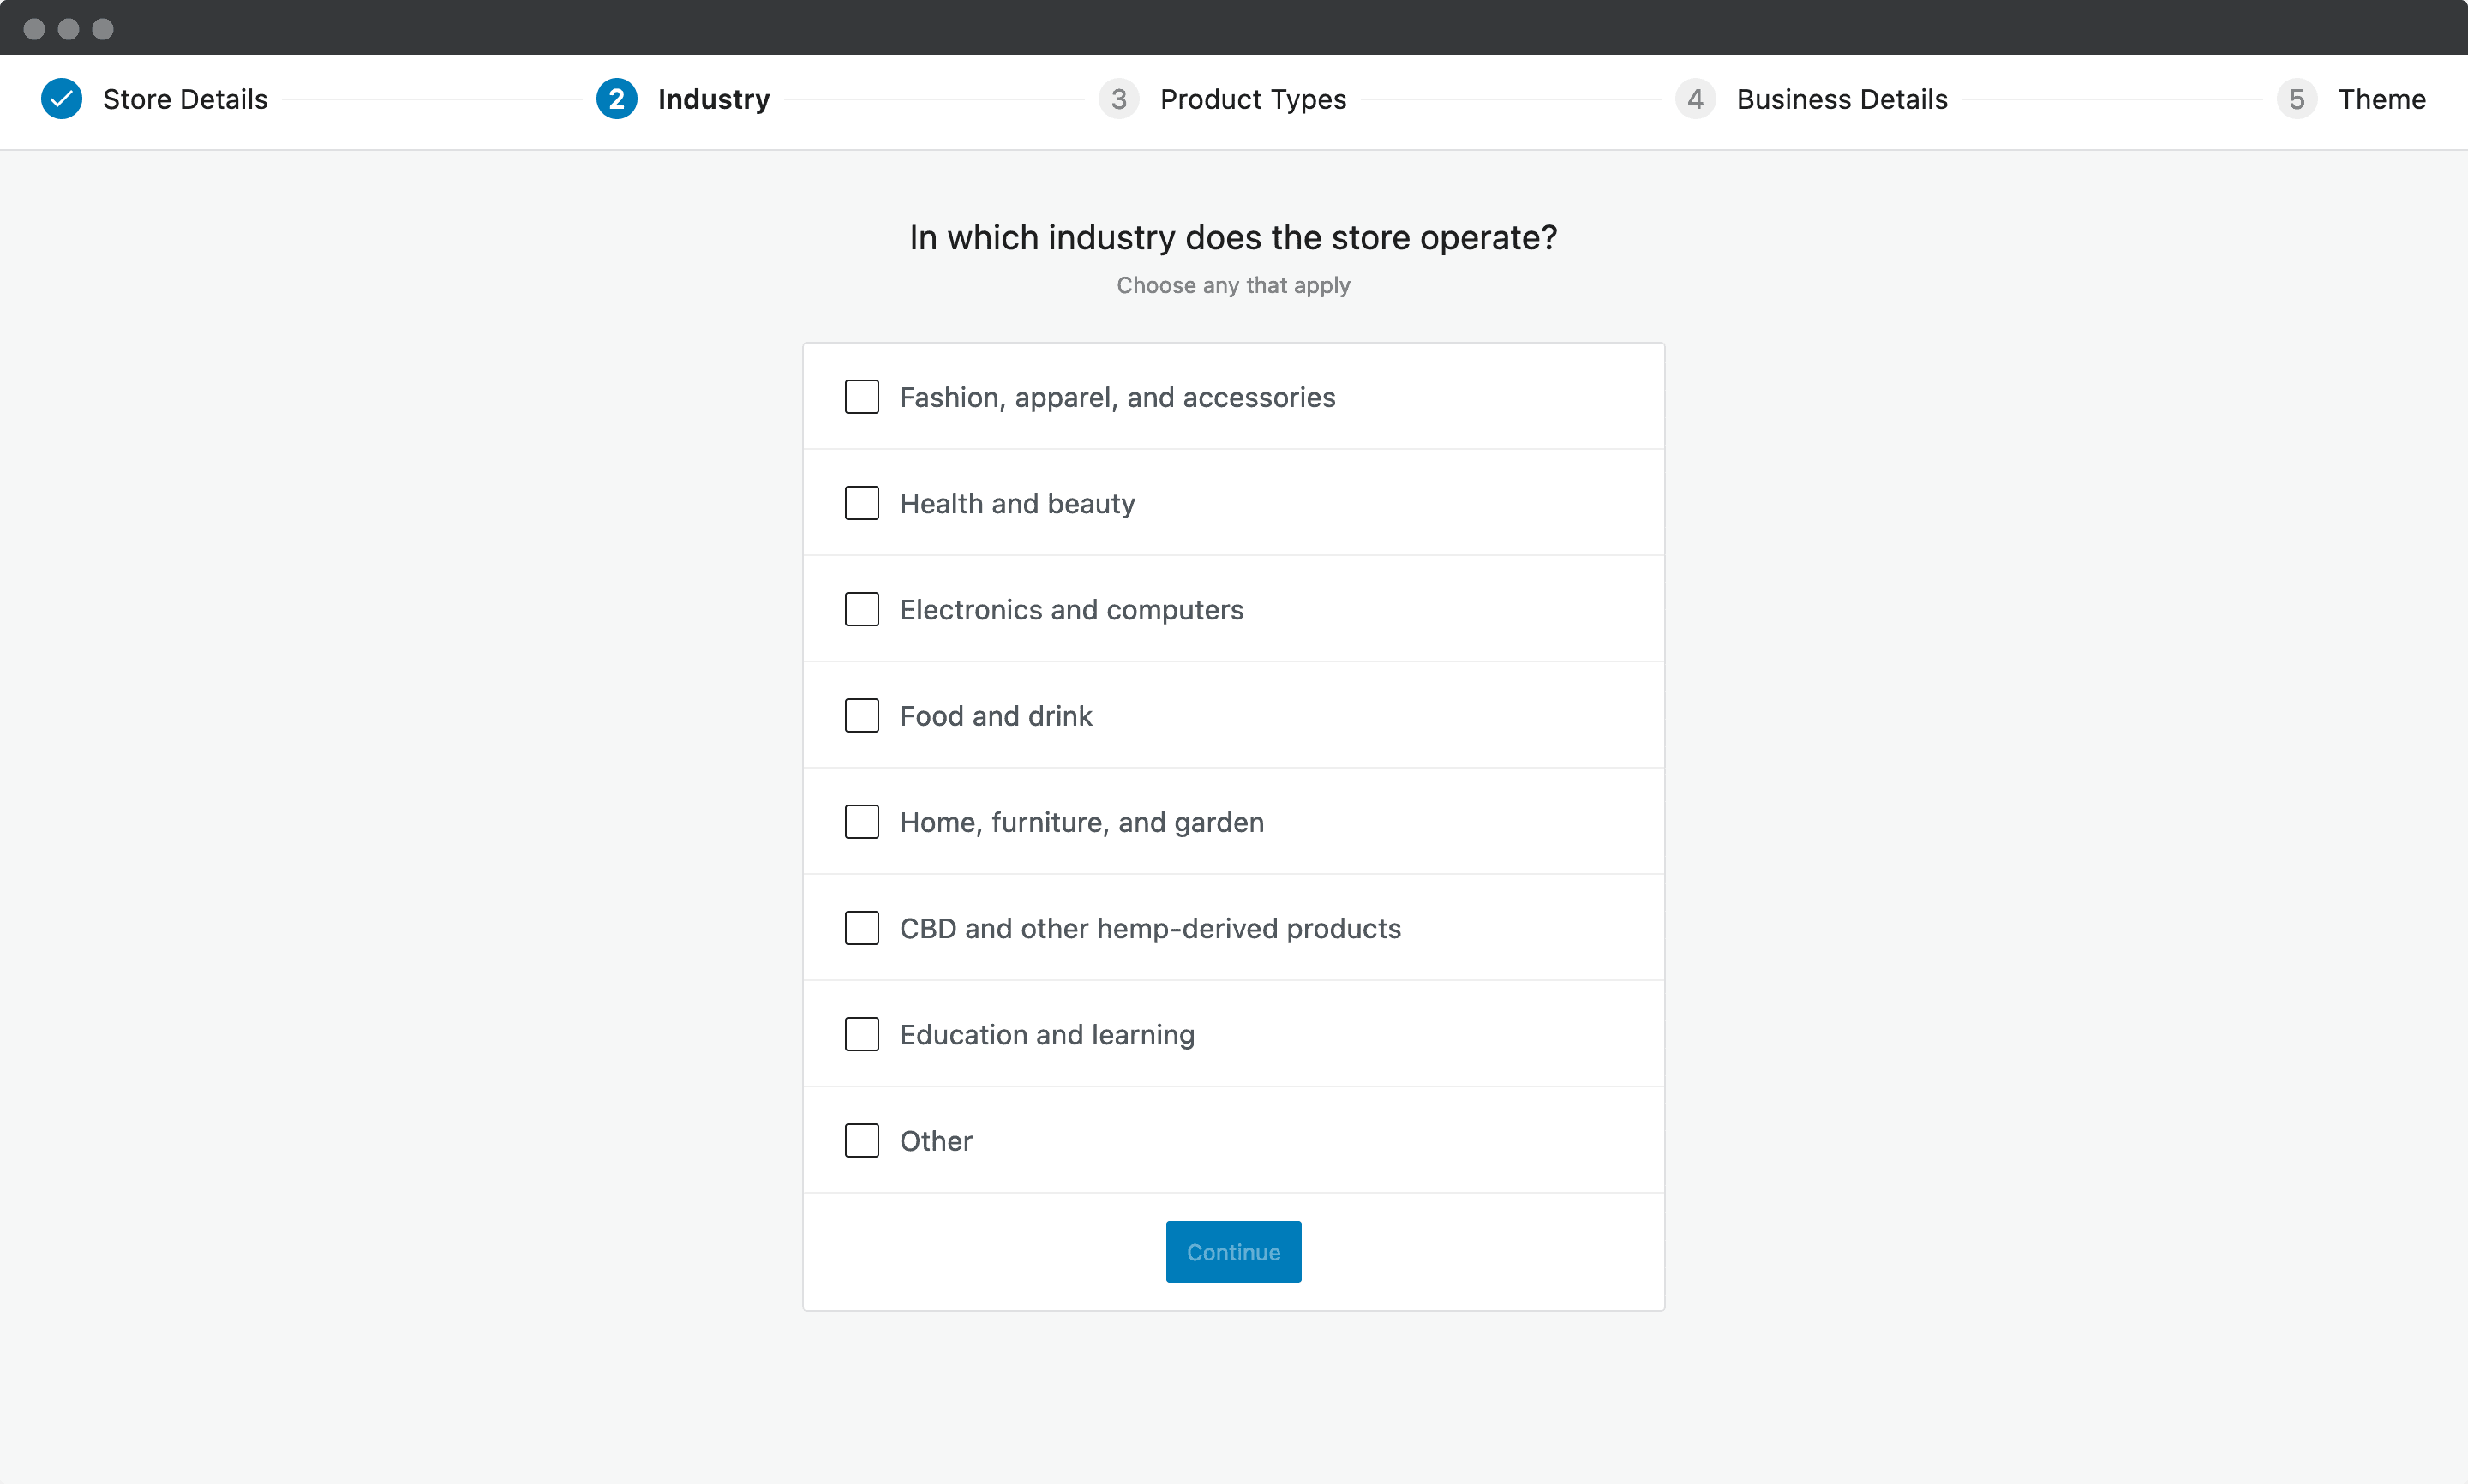
WooCommerce can be installed like any other free WordPress plugin. Once you’ve done that, you’re given a five-step process to get WooCommerce set up. First, enter your store’s details, then pick an industry:
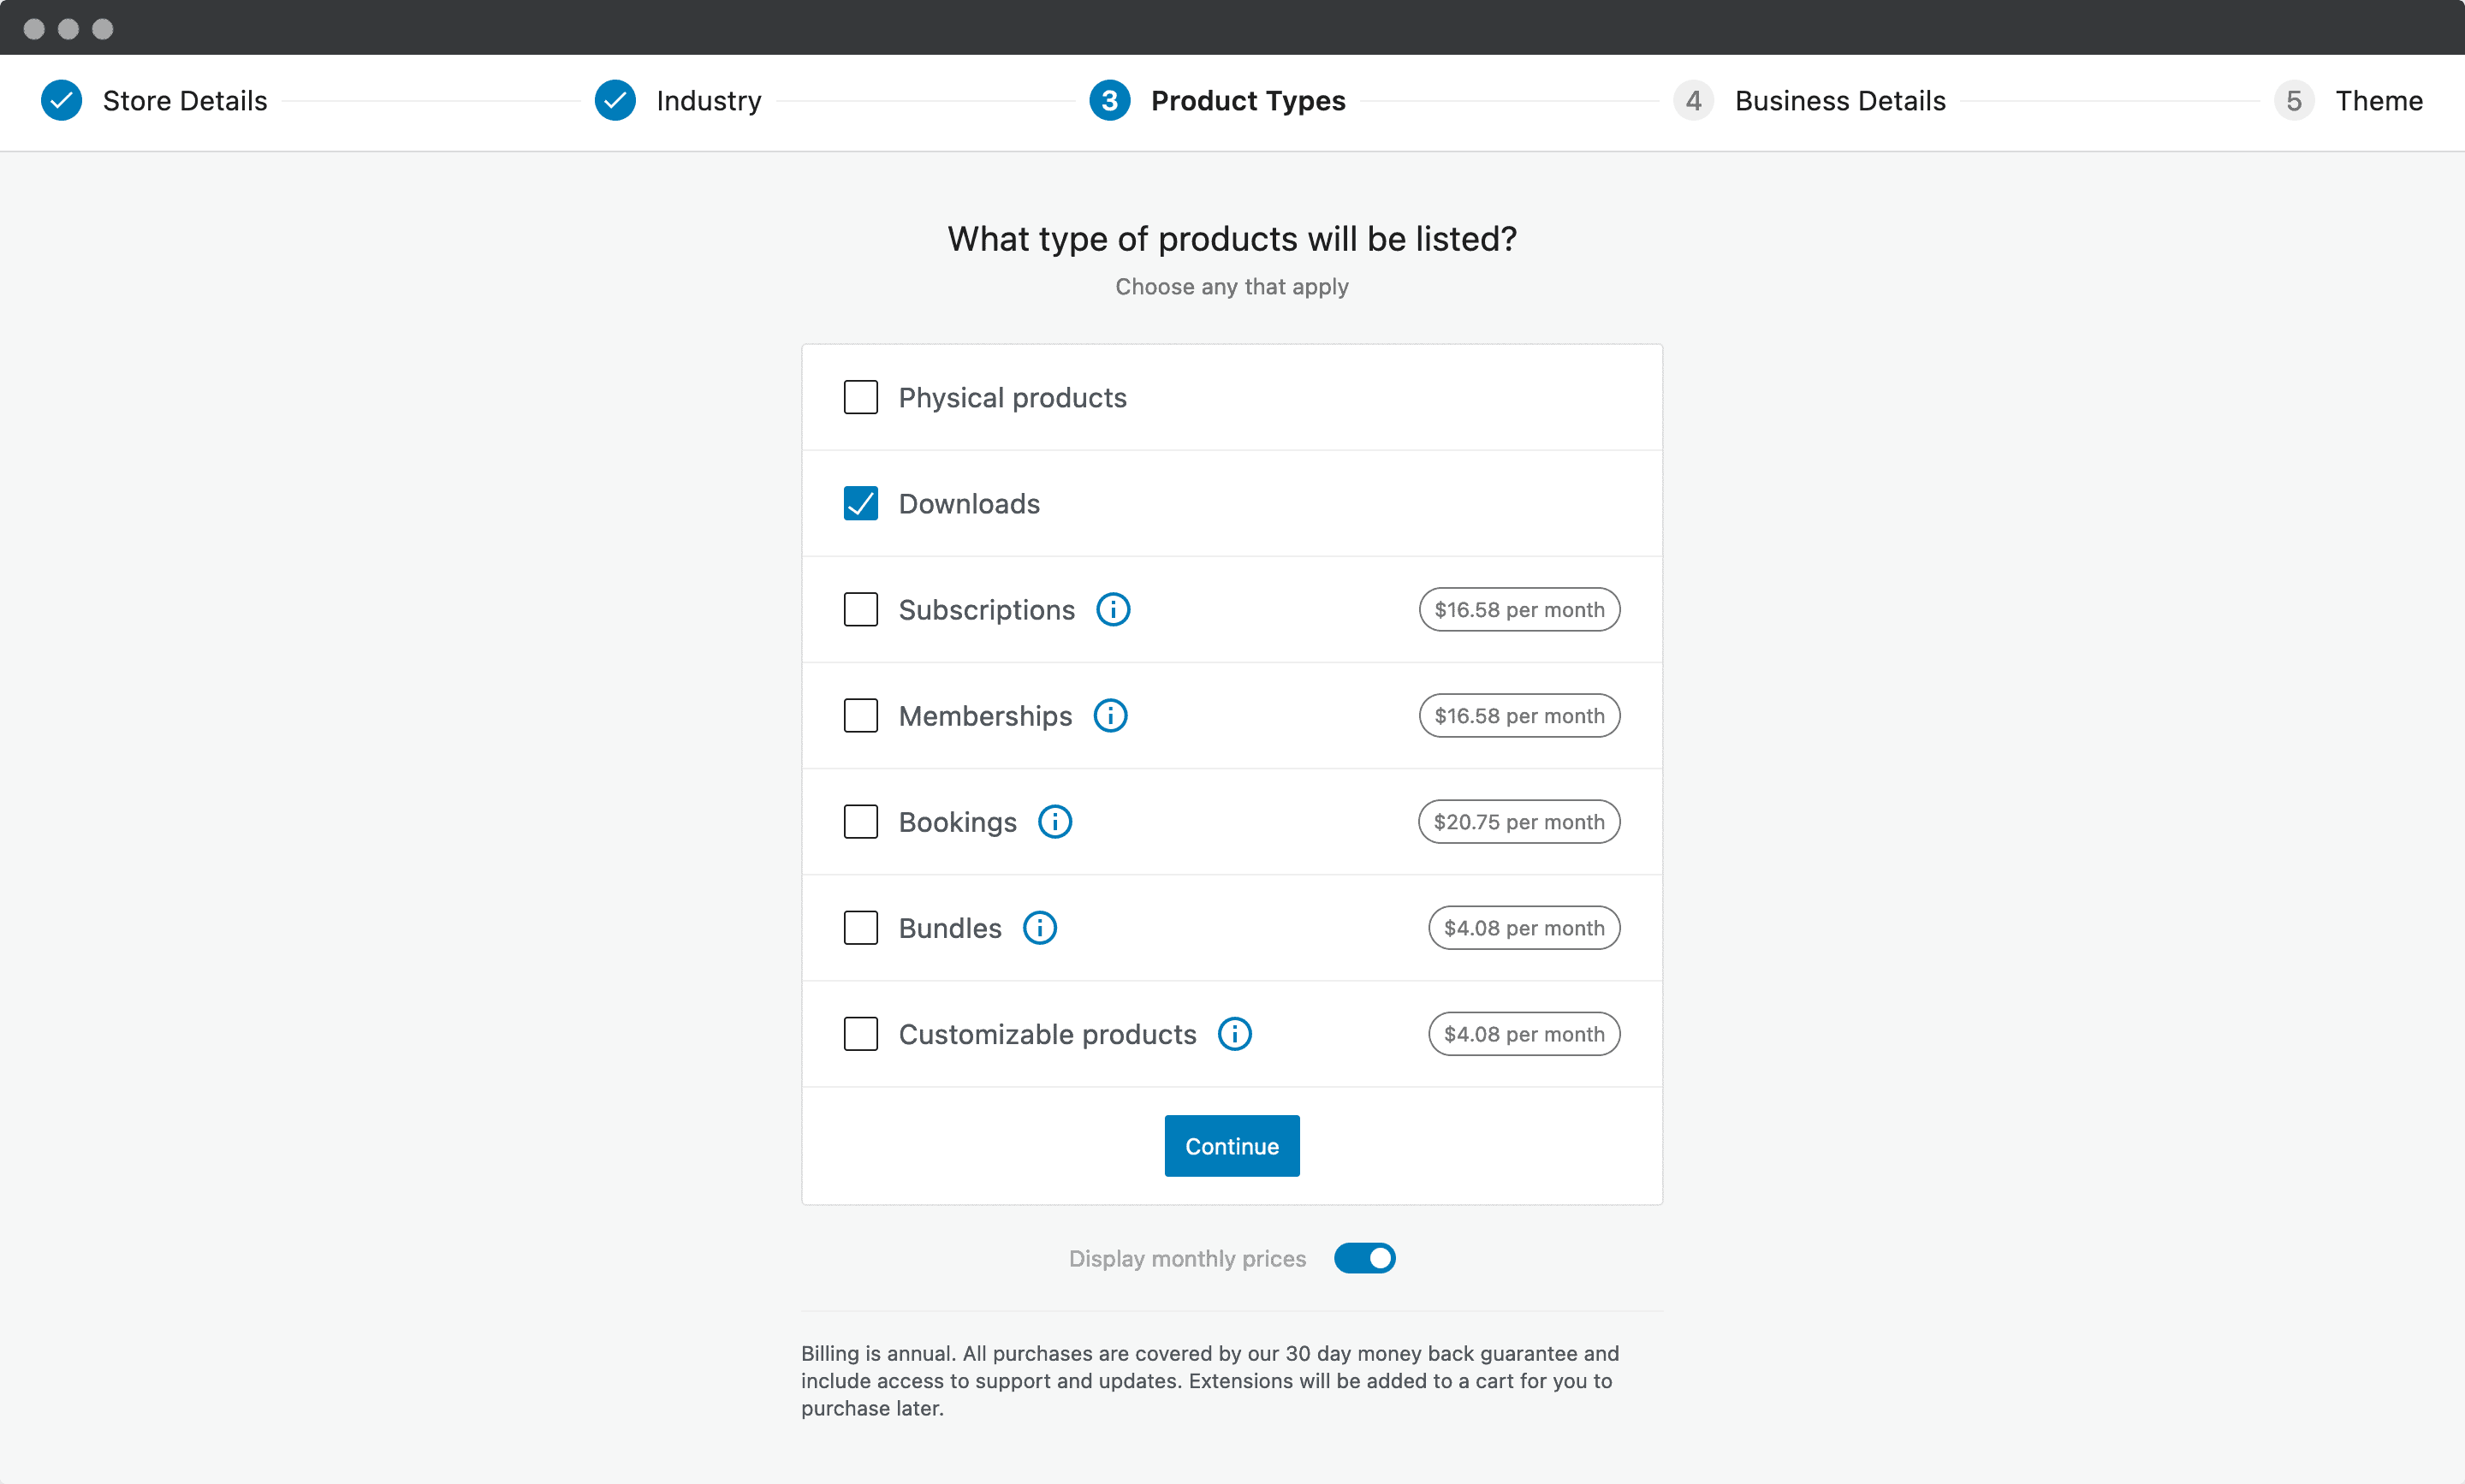
For the Product Types screen, choose either Physical products or Downloads depending on what you’re selling. The other options come with an additional cost attached that aren’t needed in our case.
For the Business Details screen, you can fill in the relevant information on the initial page, but make sure you flip over to the Free features tab and remove any functionality you don’t want to install.

In our case, the only required feature will be WooCommerce Payments, but you’re welcome to select whatever suits your business.
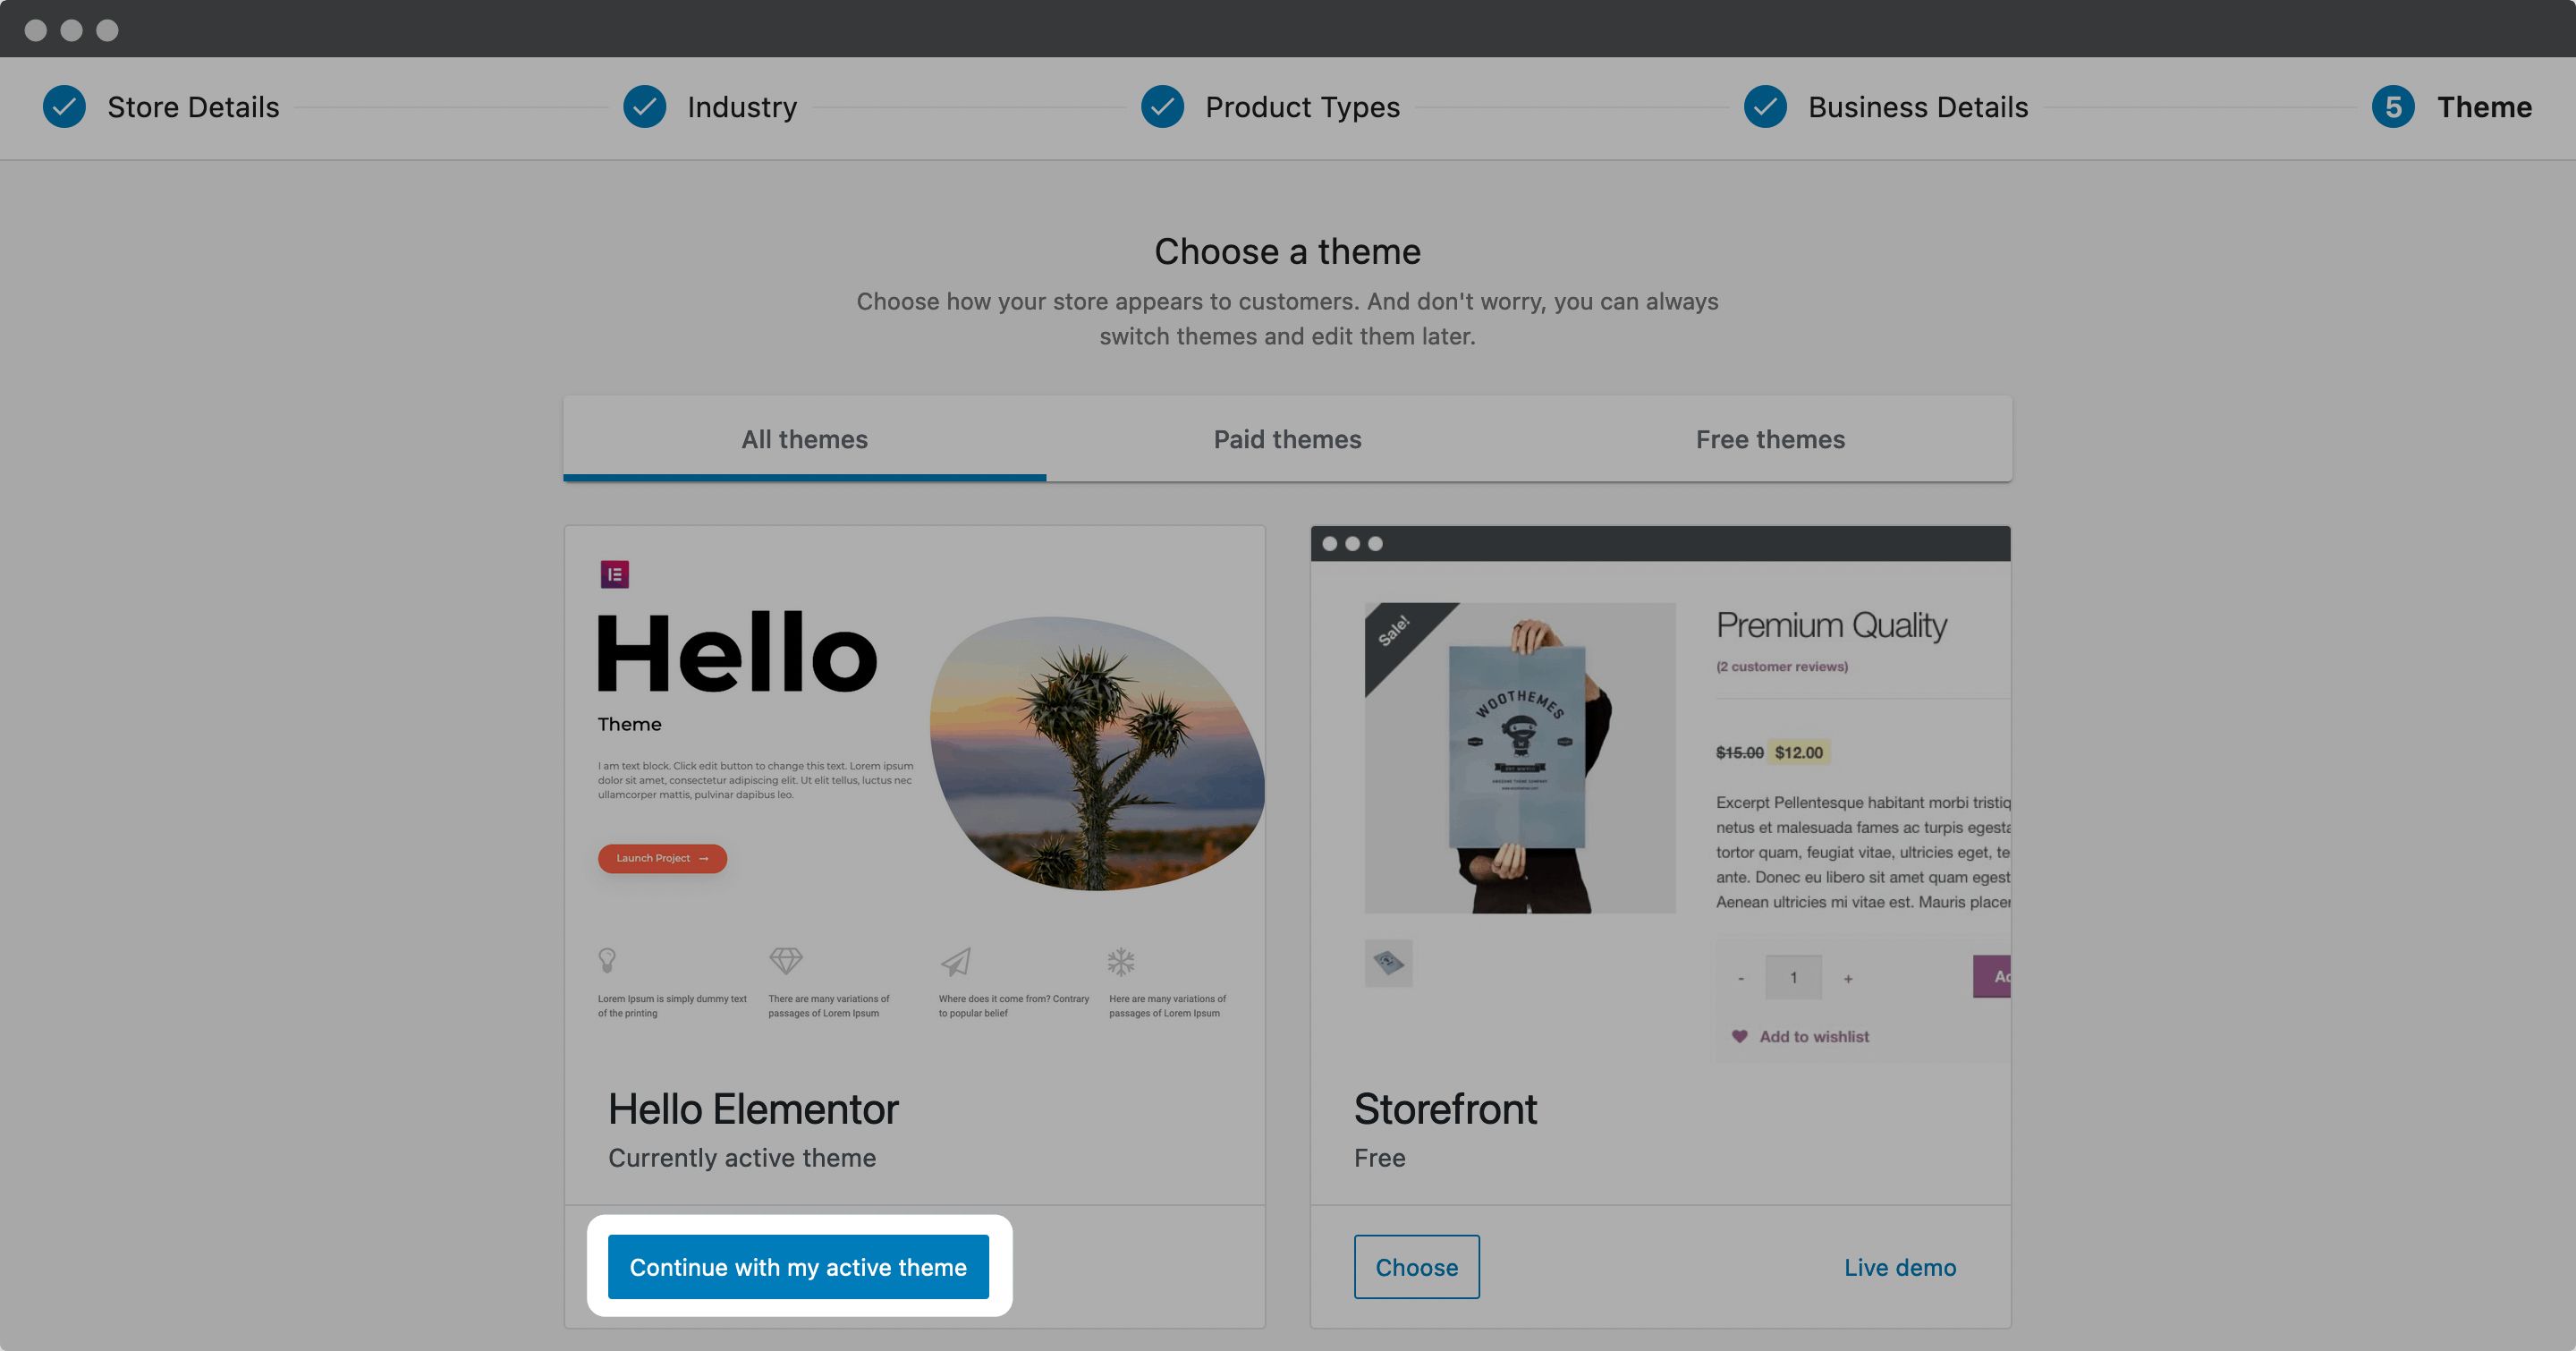
Finally, on the Theme page, click the button to Continue with my active theme.
Once you’re done, you can move onto adding products. Note that you’ll also want to activate WooCommerce Payments. The process is unique depending on your chosen gateway, but it’s intuitive and requires verification by filling in a few fields.
2. Add Products to Your WooCommerce Installation
Adding products isn’t going to be like a usual online store, because your funnel will do the heavy lifting. As such, some fields that would normally be vital are only placeholders.
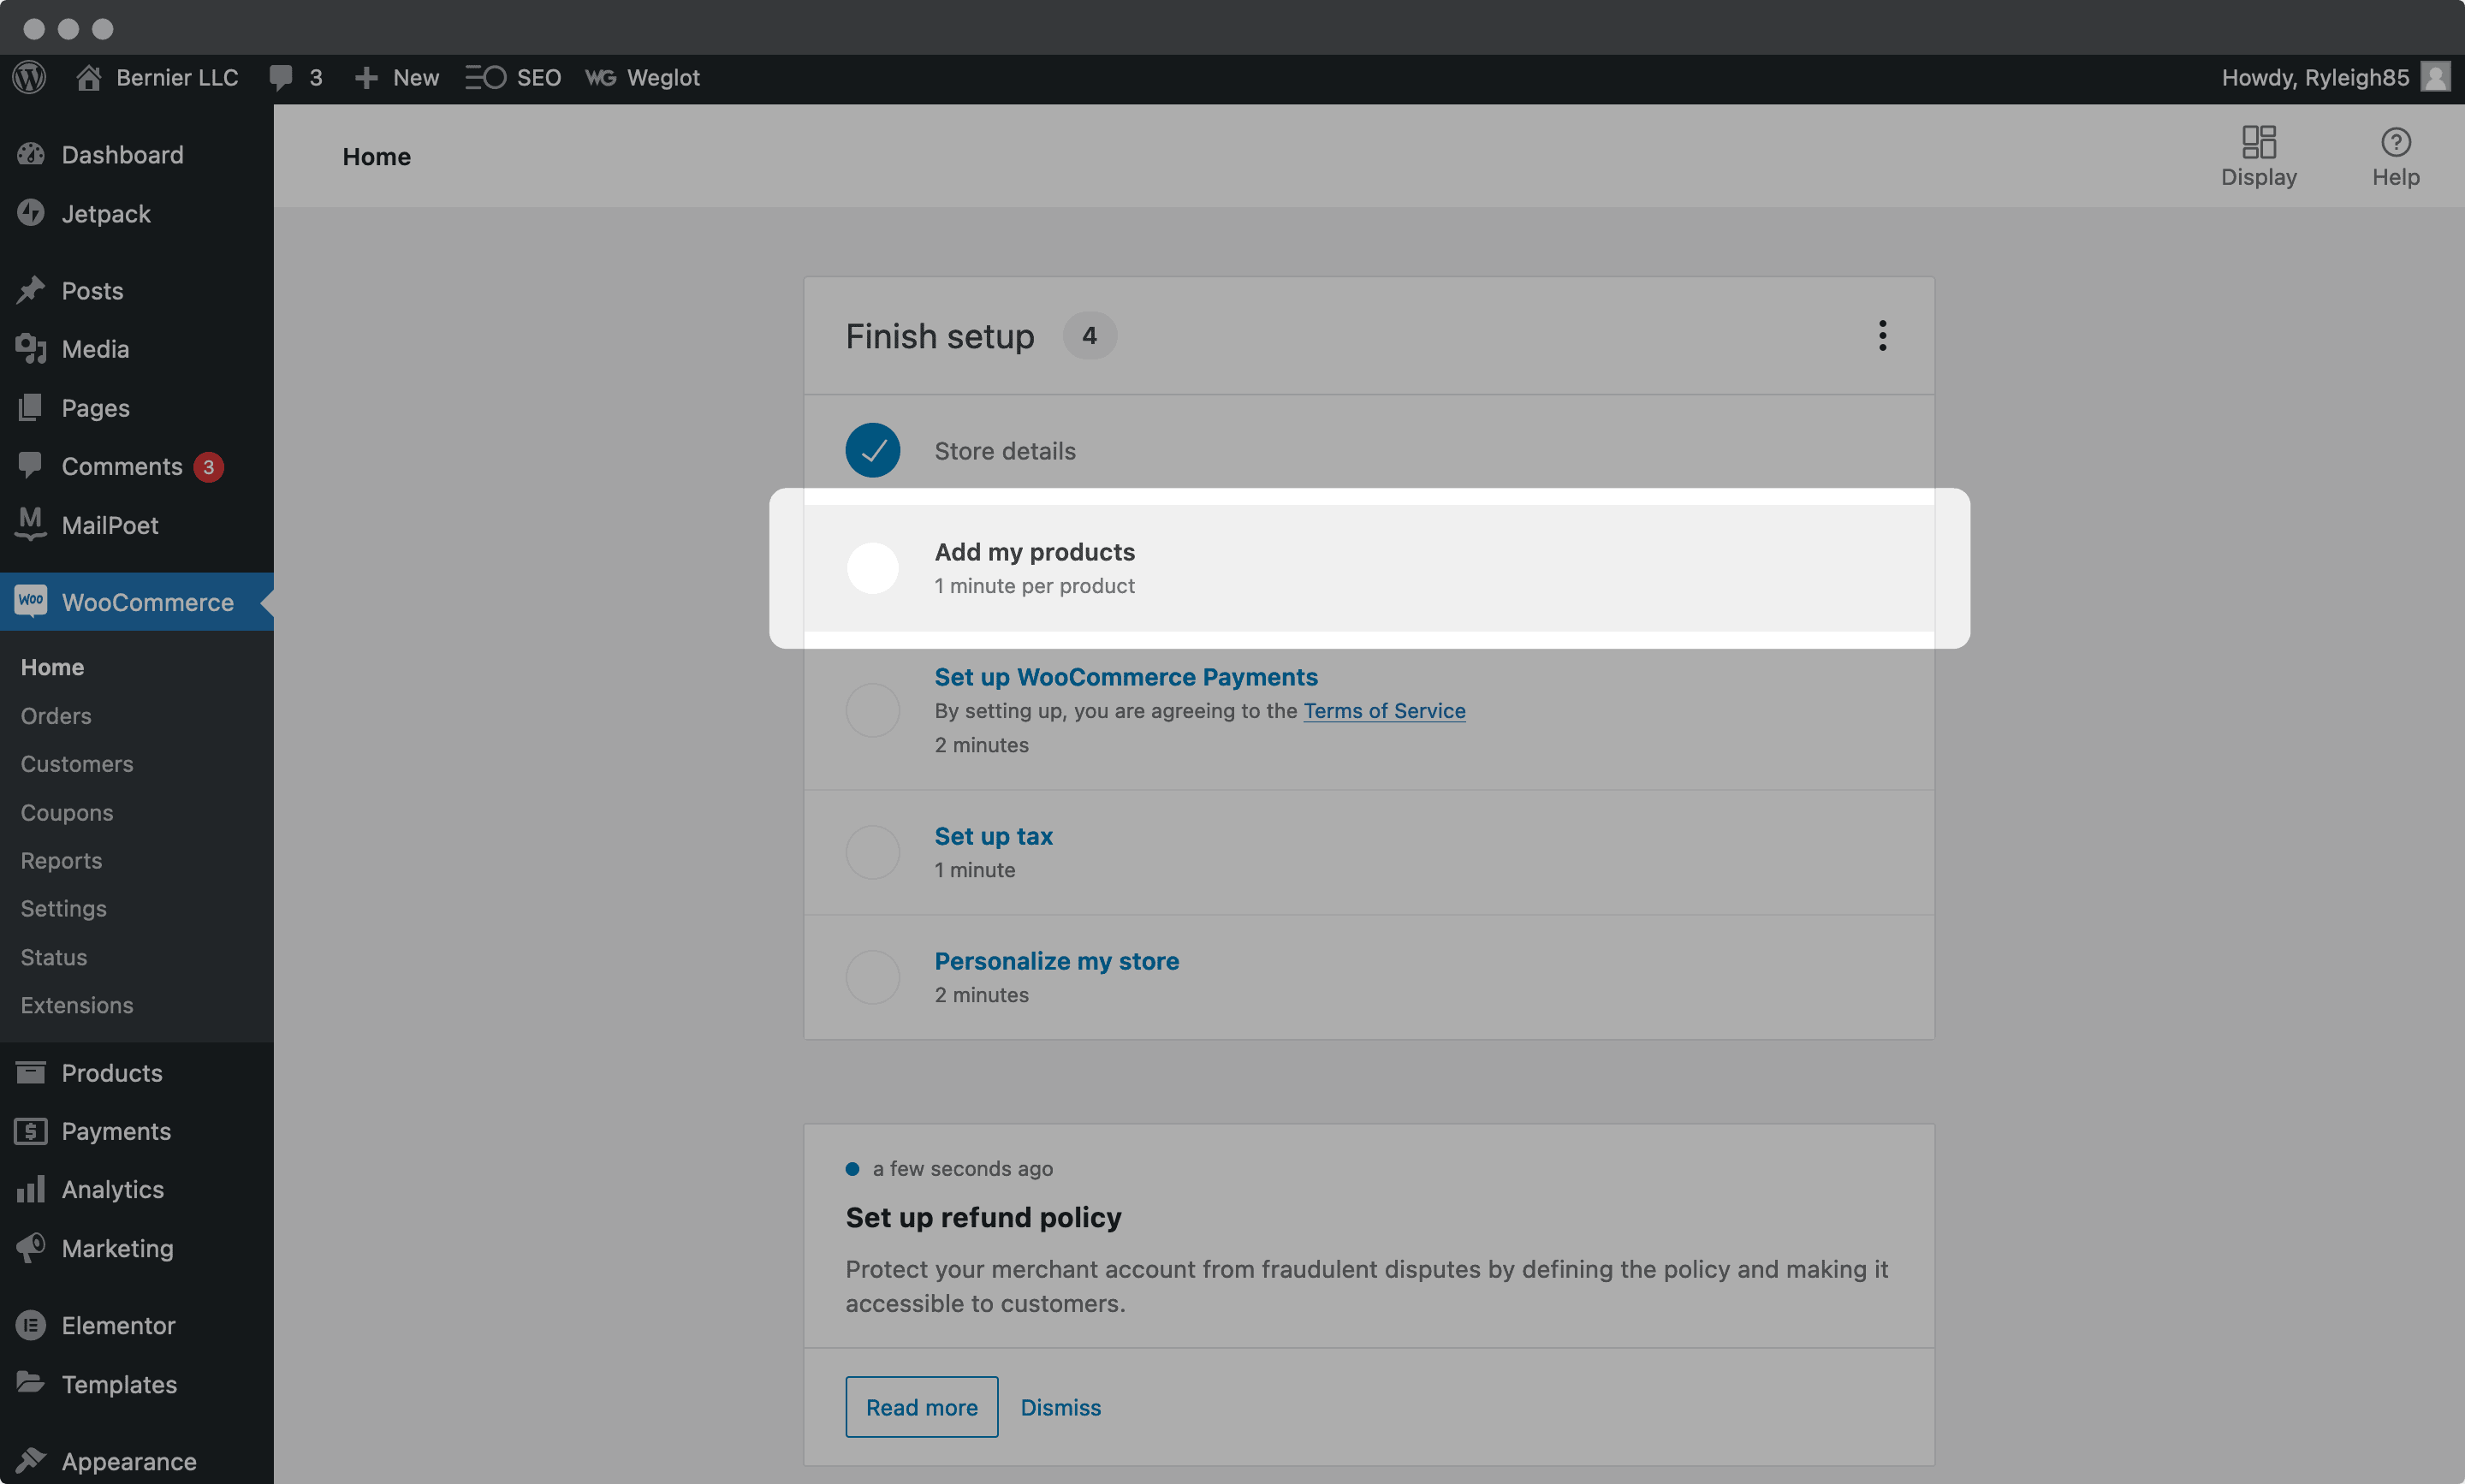
To add a new product, go to the WooCommerce > Home screen in WordPress, and click Add my products:
You’ll want to choose to add products manually, and on the edit screen, enter a descriptive title and blurb. Once you’ve done that, scroll down to the Product Data meta box:

Here, you can enter the price of your product, and check the Virtual and Downloadable boxes if your product is digital. For physical items, filling the appropriate fields for size is recommended.
You can now Publish your page. At this point, you’re ready to create your funnel, starting with installing the plugin.
4. Purchase and Install the CartFlows Plugin
As with many aspects of WordPress, there are a bunch of plugins that can offer you the functionality you need. In our case, we’re going to skip to the chase and recommend CartFlows:

This is because it links with WooCommerce to let you create funnels in WordPress that can compete with dedicated platforms such as ClickFunnels and Systeme.
There’s plenty more in the box, but we’ll get to this in a later section. For now, let’s get the plugin installed.
The good news is that the process for CartFlows follows a similar one to Elementor:
- Install and activate the free, core version of the plugin.
- Purchase and download the ZIP file from CartFlows.
- Upload it to your WordPress site and activate the extension.
Once you’ve done this, you’re ready to create your first funnel.
5. Create a ‘Flow’
In CartFlows’ parlance, a flow is a funnel. At this point, you’ll have almost everything in place on your site, other than a new flow. Here’s how to do it.
1. Add a New Flow and Choose a Template
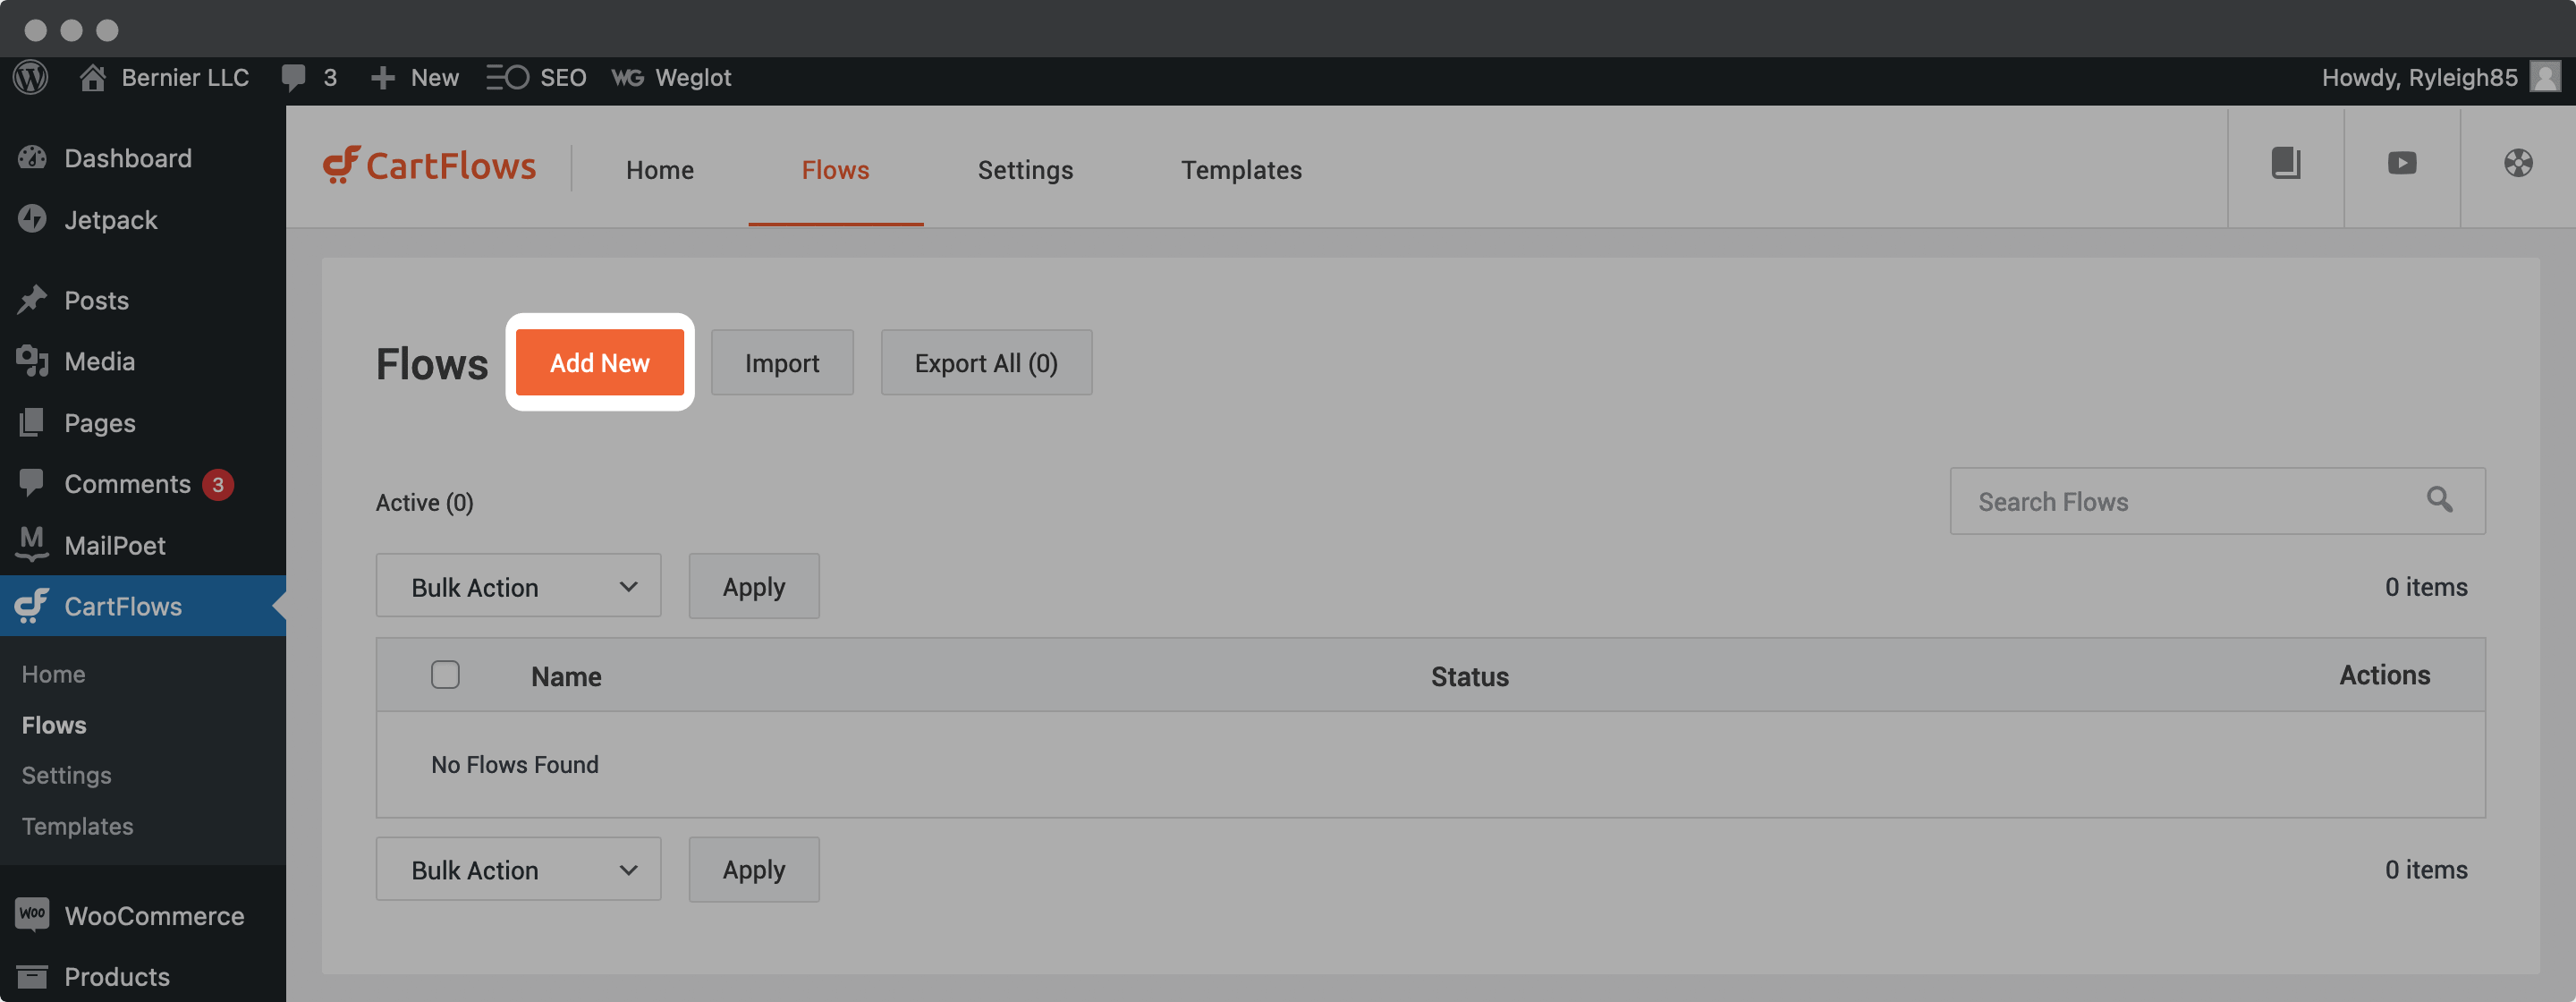
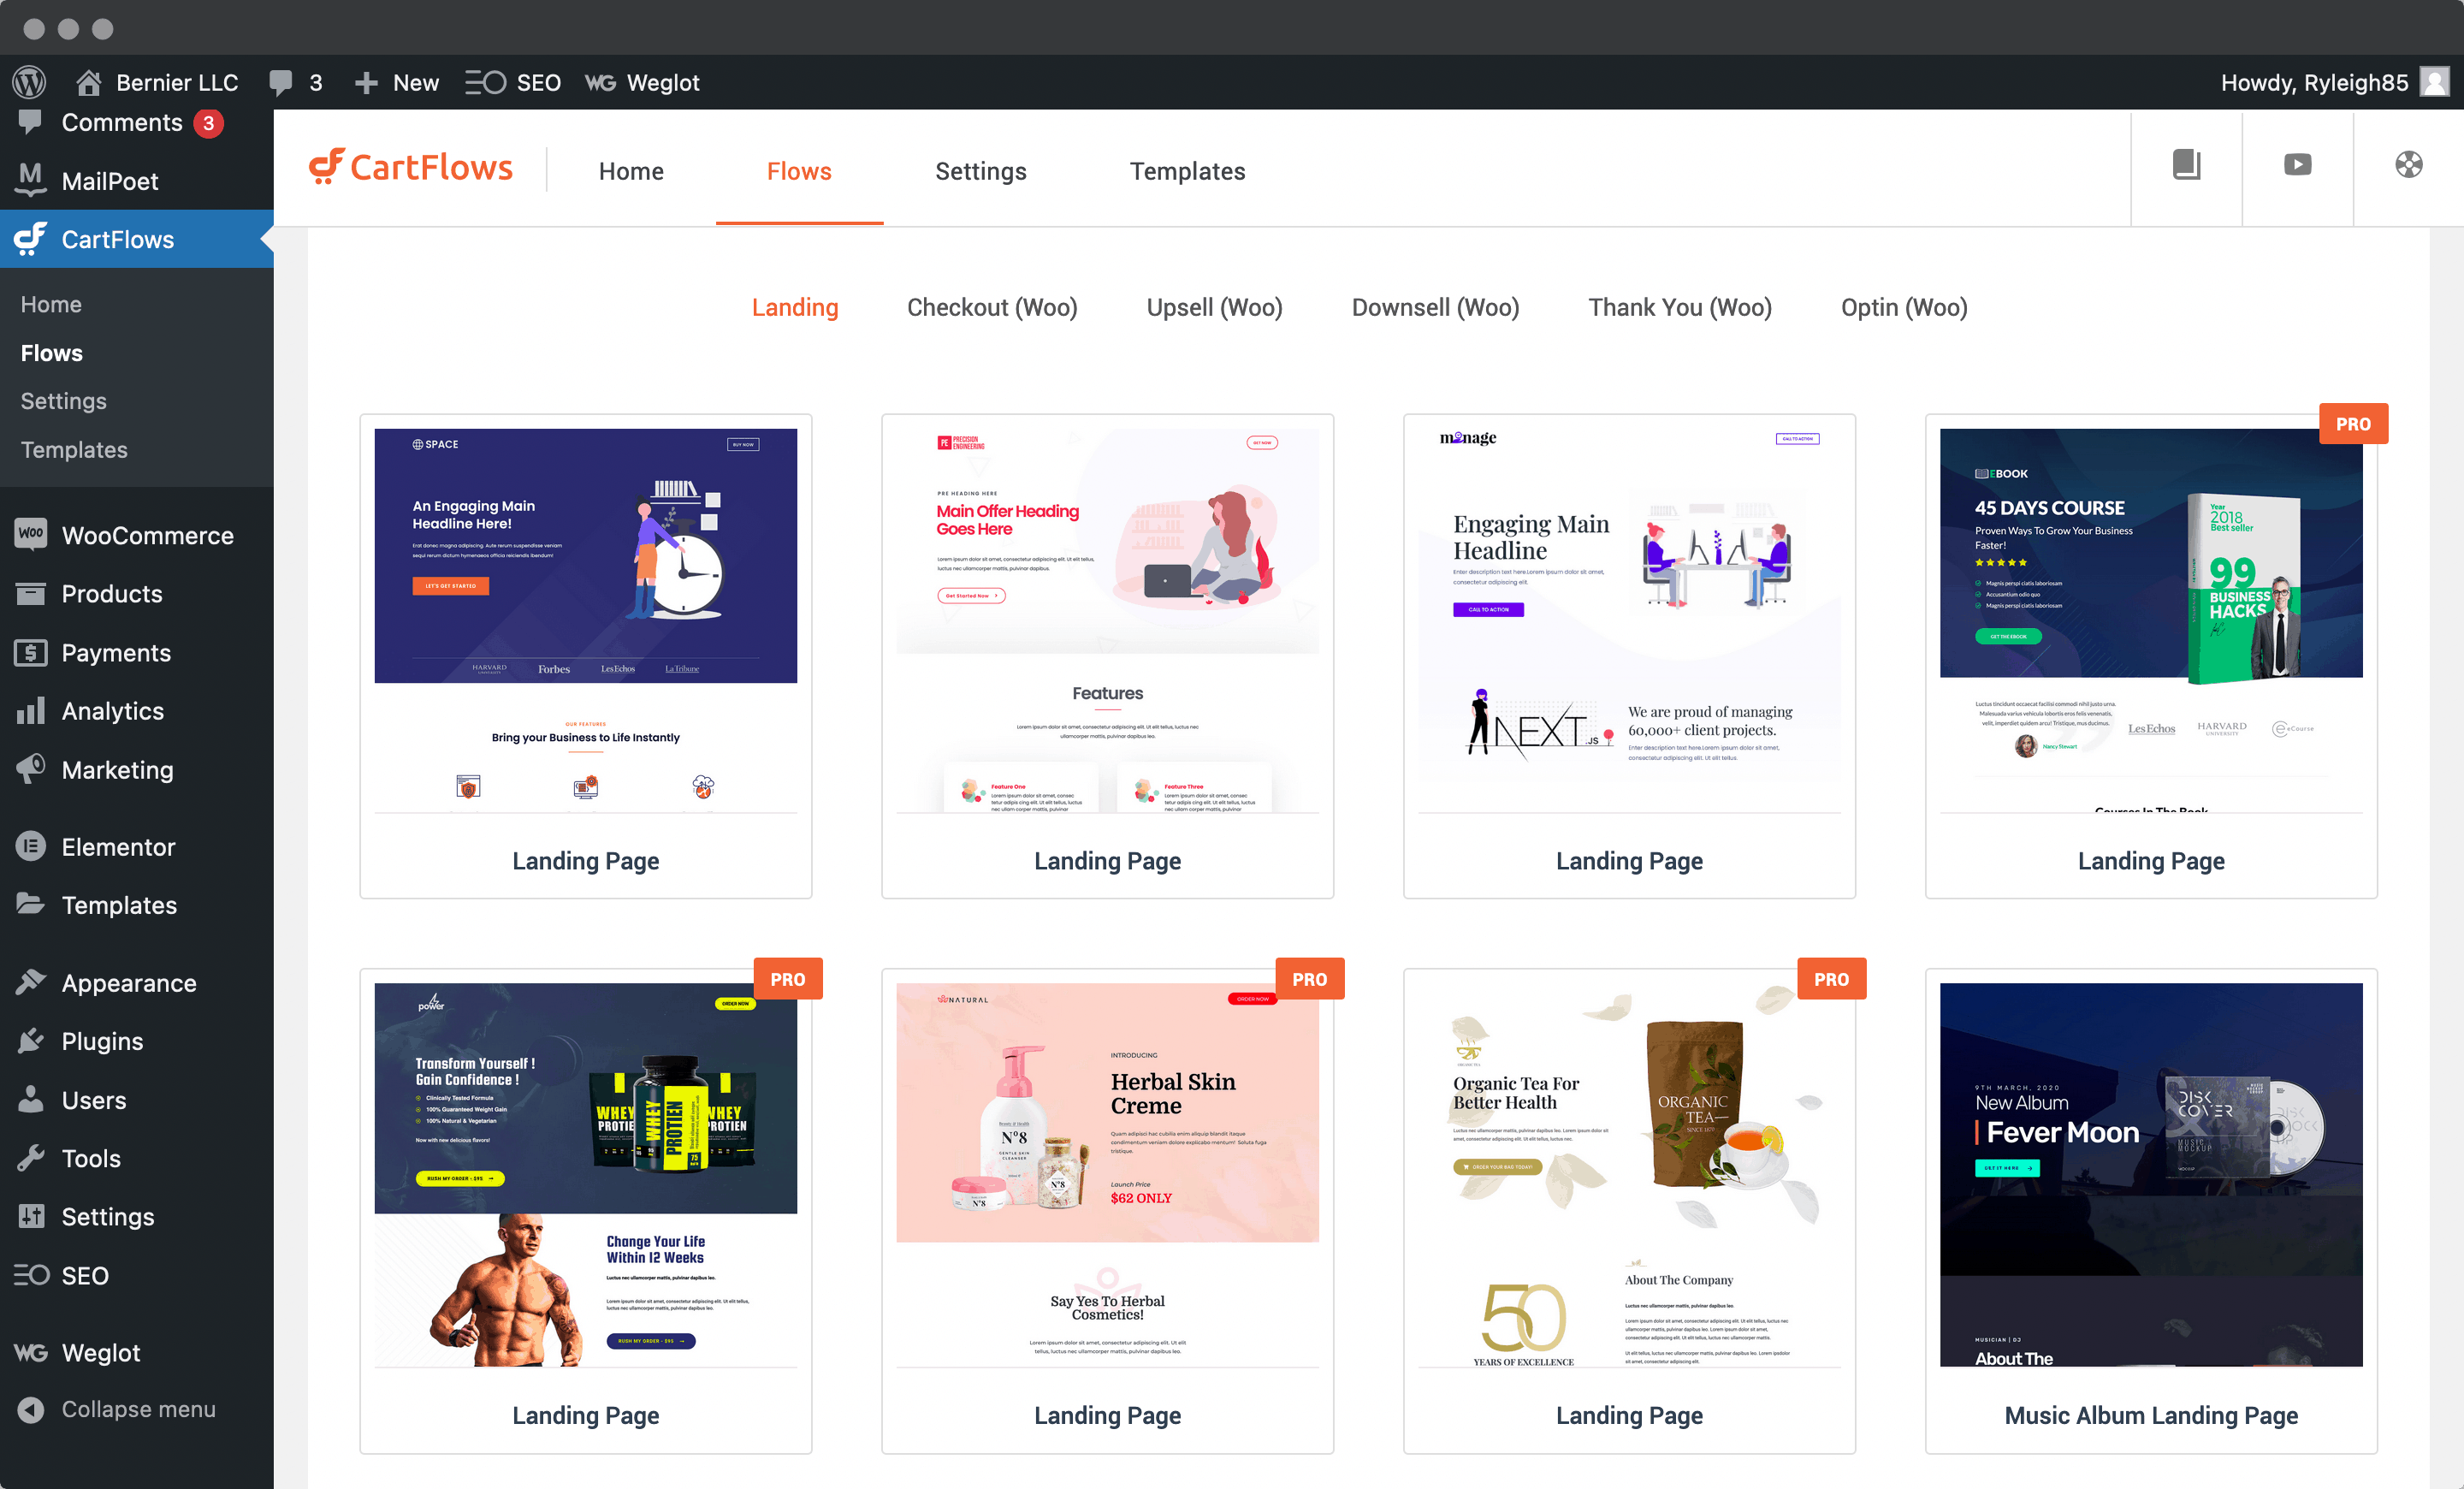
To add a new flow, head to the CartFlows > Flows page within WordPress, and click Add New:
You’ll be able to choose from a number of templates here or start from scratch. You’re welcome to choose the option that’s best for you, although we’re going to pick a predefined template.
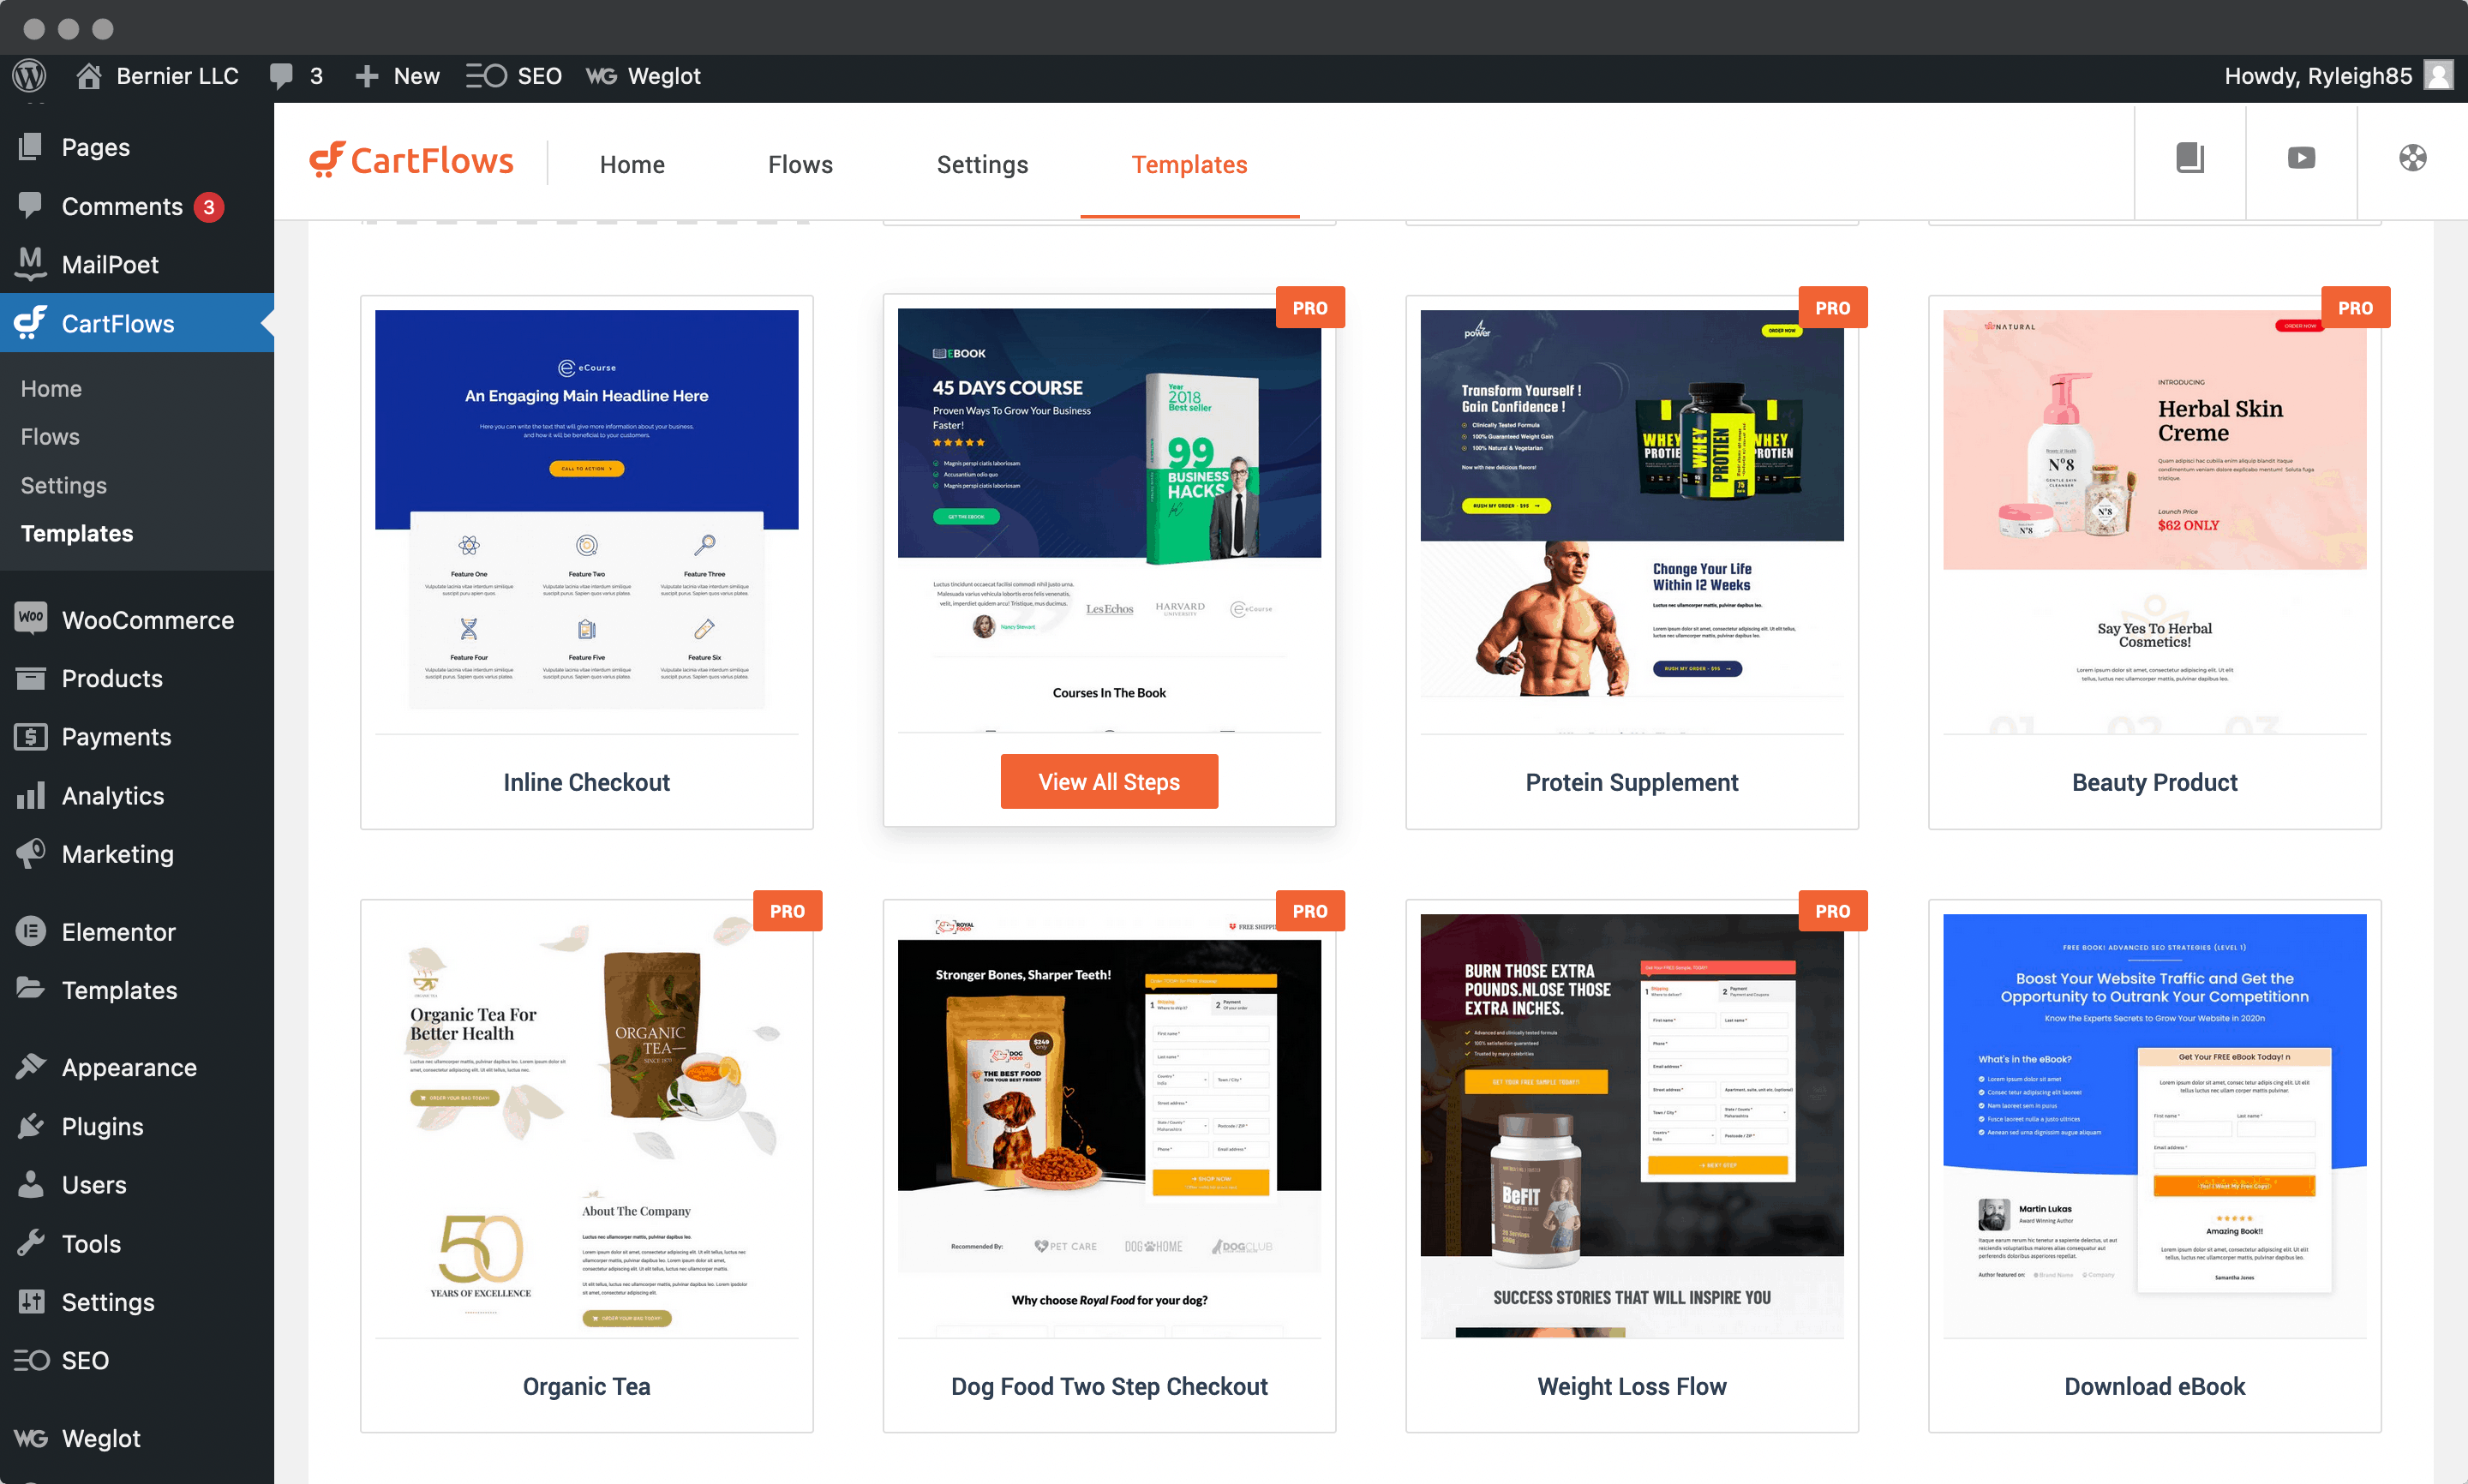
Clicking through, you’ll see that CartFlows shows you the steps and pages that make up your Flow. From here, click Import Flow. Next, choose a name for your Flow, and CartFlows will do the necessary.
2. Change the Order of Your Funnel and Add New Steps
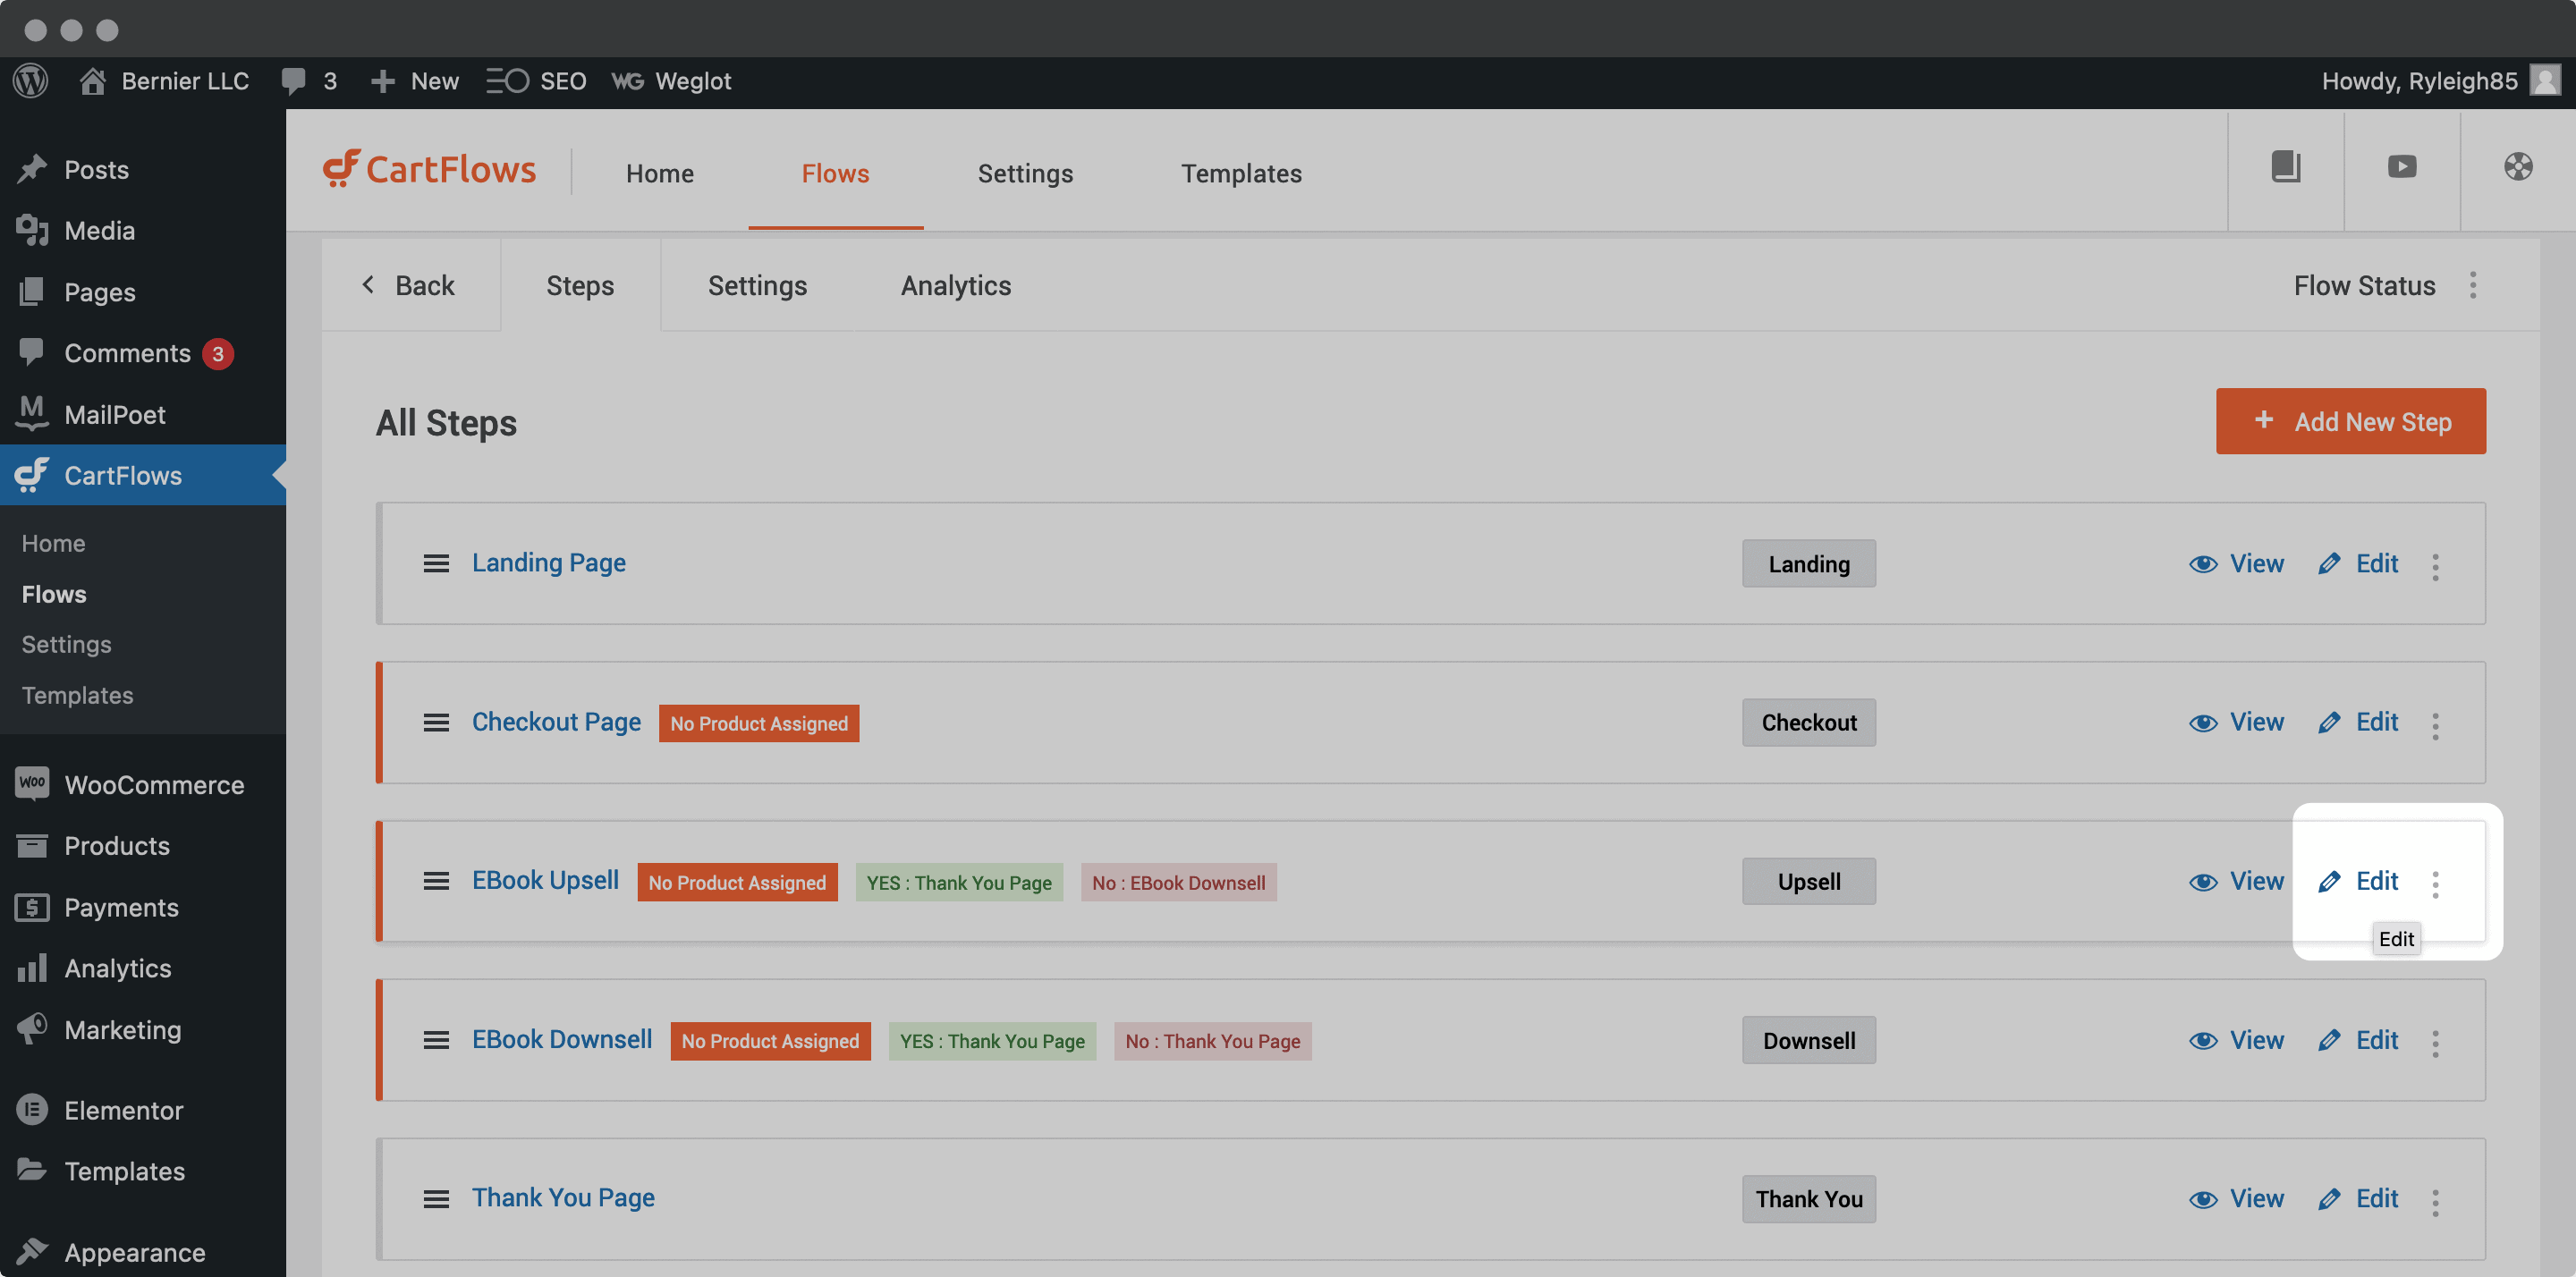
Once the Flow has been imported, you’ll be given an overview of every step.

We like that you get colored tags showing how the user will progress through your Flow. Even so, you might not like how the steps are presented. If you’d like to change the order, you can use the ‘hamburger’ icons to drag them around. It’s super quick to design your Flow to your exact requirements.
To add a new step, you can click either the orange button on the right-hand side of the screen, or the Add New Step box at the bottom of the page. Doing this brings you to a template screen, this time showing individual pages:
You’ll notice the templates are grouped into functions, so it’s easy to choose something suitable.
Once you import the new step, it will show in the overview, and you’ll be able to work with it as any other step.
3. Edit Your Funnel’s Design and Layout
It’s time to reintroduce Elementor. We’ll use it to edit the design and layout of your funnel’s pages, then use WooCommerce to take a look at the checkout.
To get started, click the Edit link on the step you’d like to enhance:
Next, click the Edit with Elementor button:
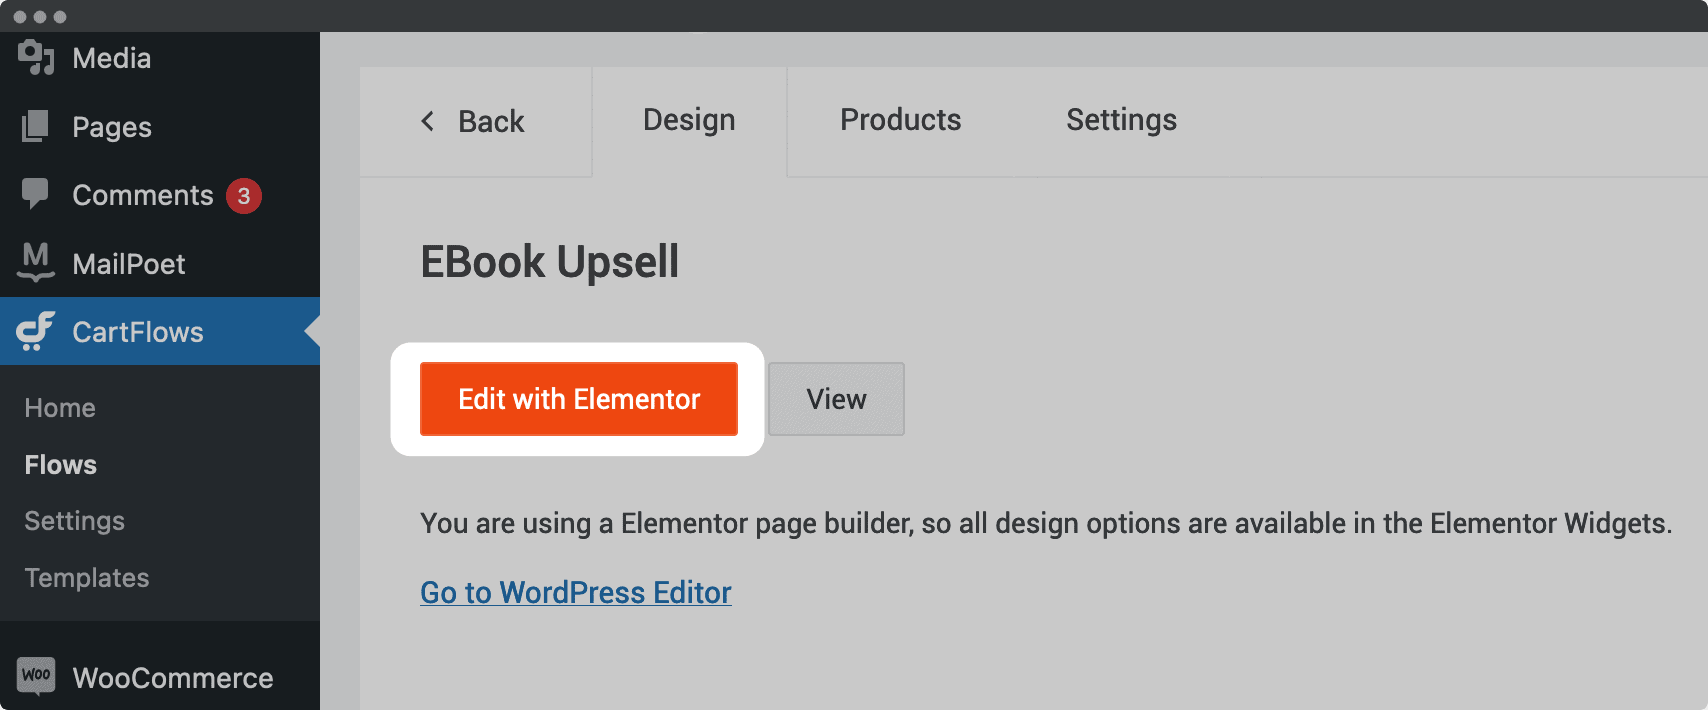
This will bring you back to the page builder’s edit screen. Here, feel free to tweak the layout to suit your taste and goals.
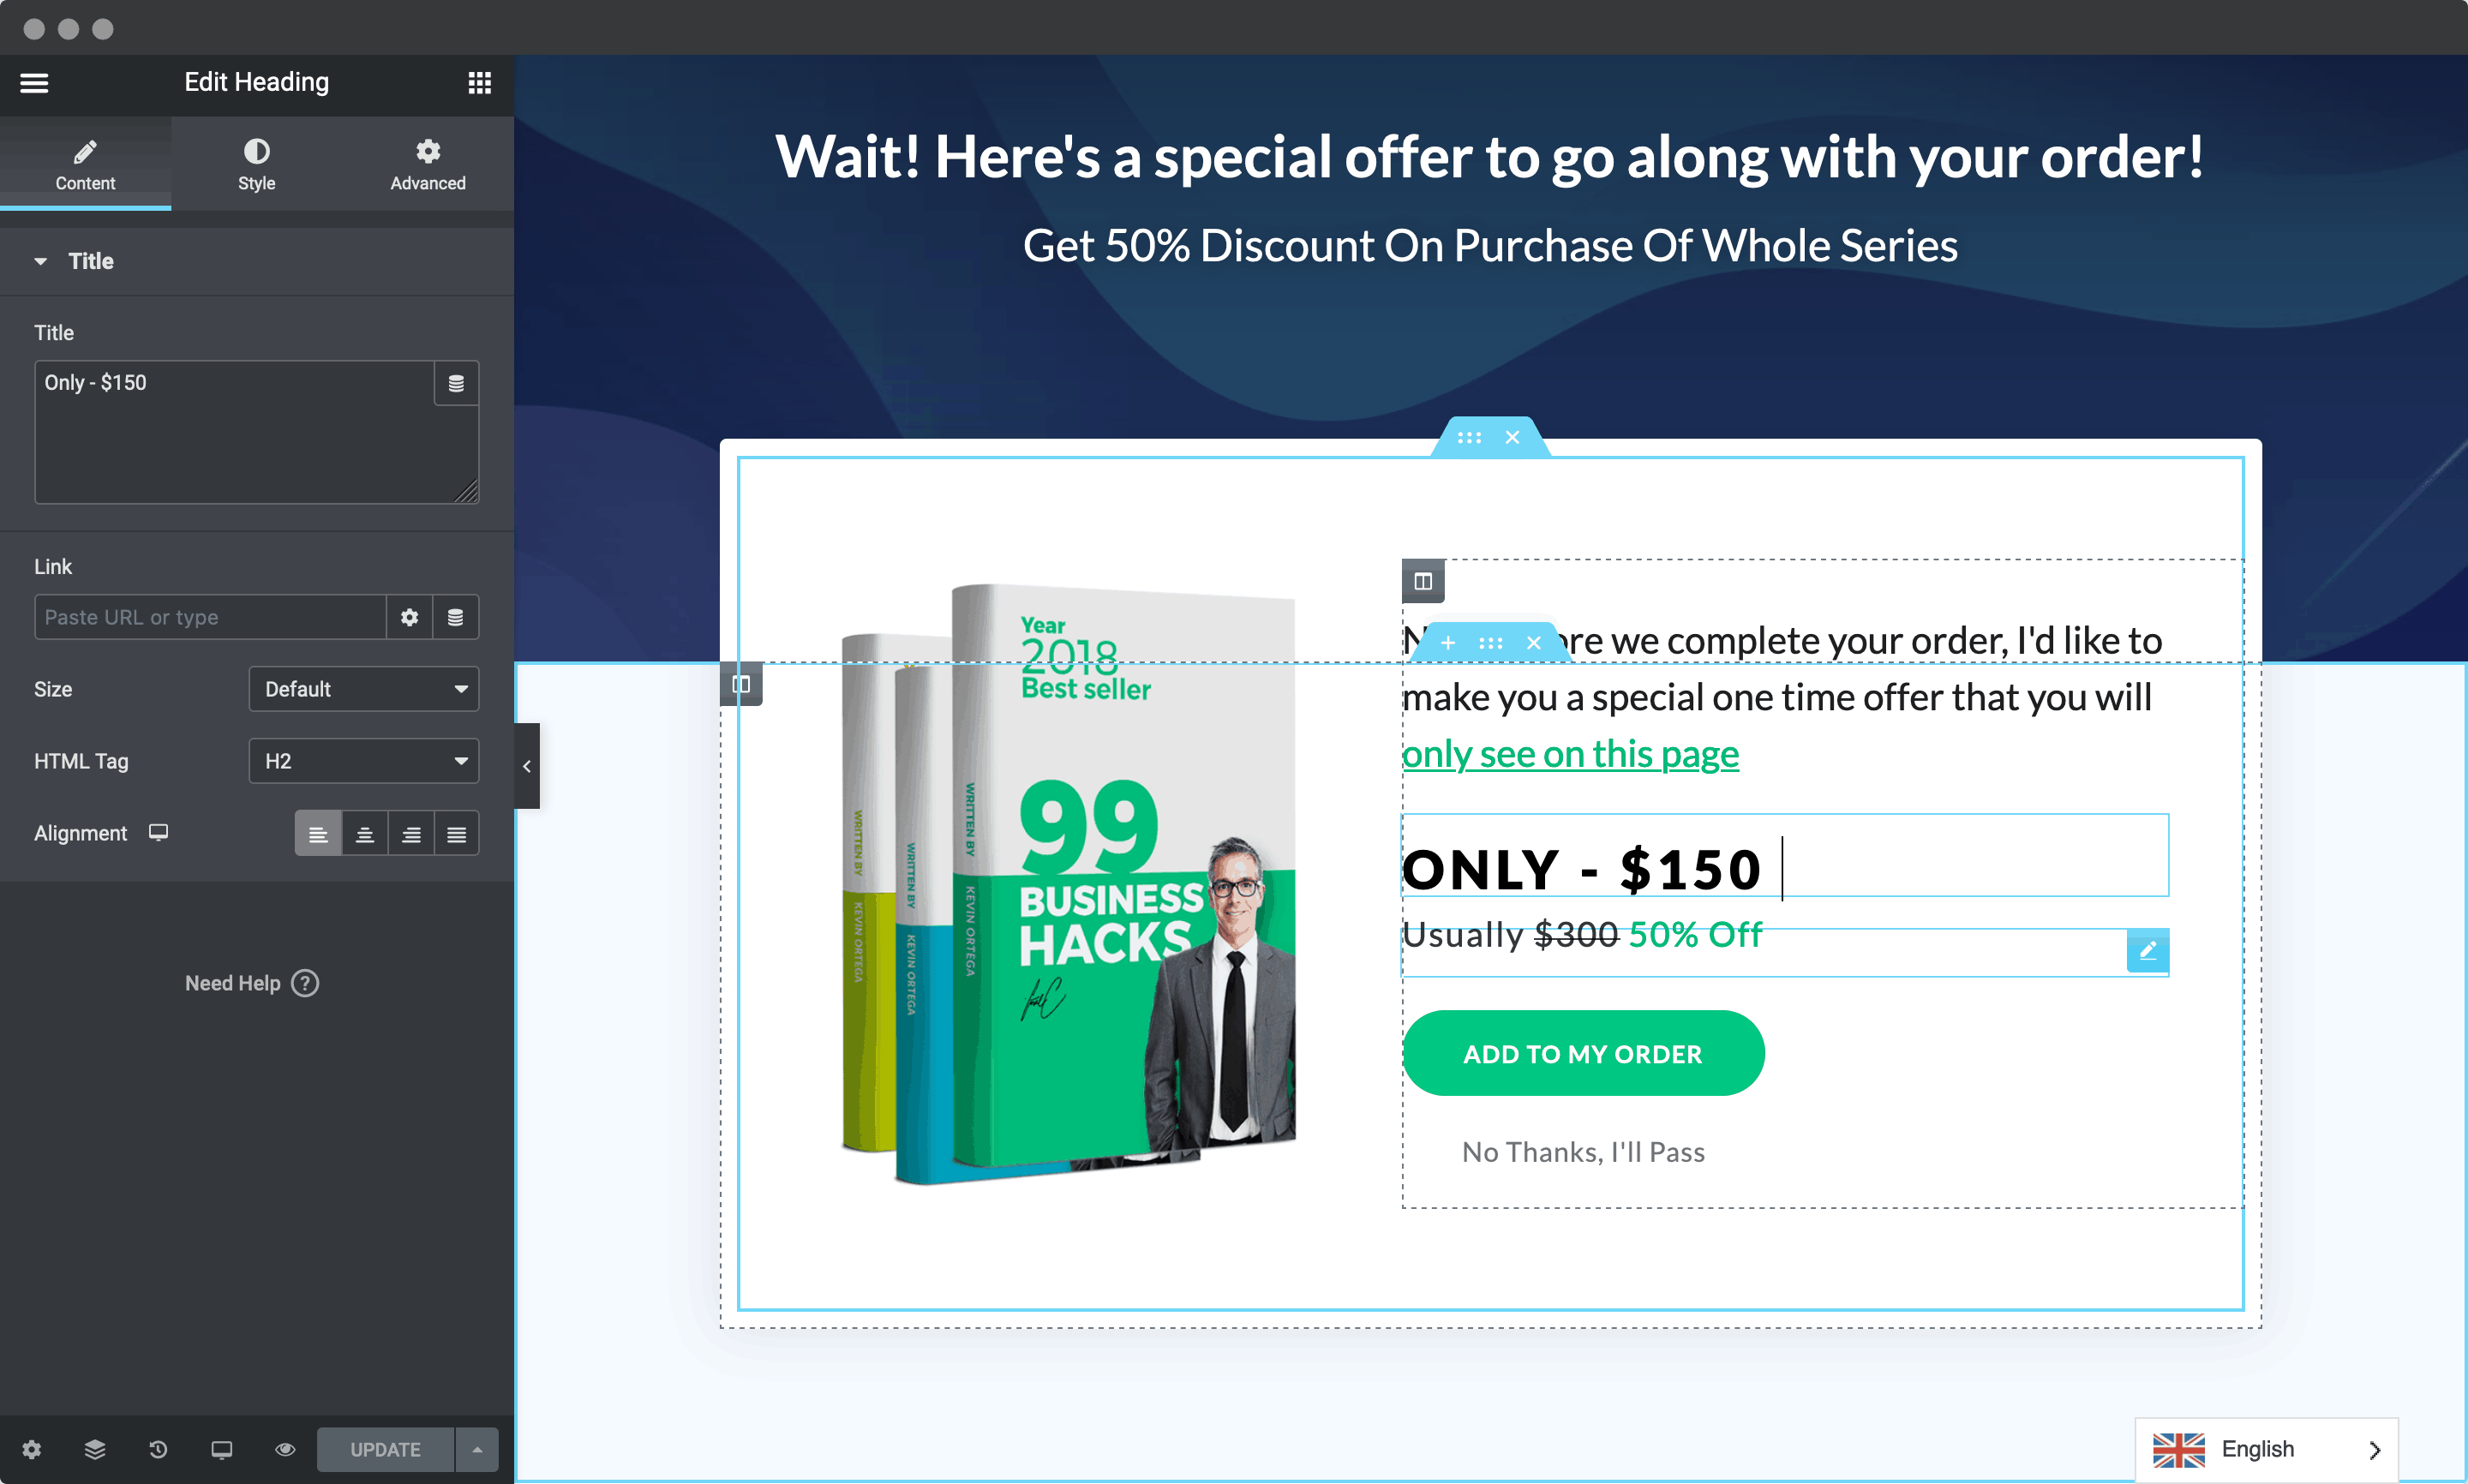
We can’t tell you how your own pages should look, although you’ll want to bear in mind that these templates are designed for success.
As such, we recommend ‘light touches’ while you’re learning the ropes. Once you have more experience, you’ll likely be able to create your own funnels and steps from scratch.
While you’ll use Elementor to work on the design of your page, you won’t want to touch the checkout section. Once you save your changes in the editor, we’ll look at this aspect next.
4. Edit Your Checkout Functionality
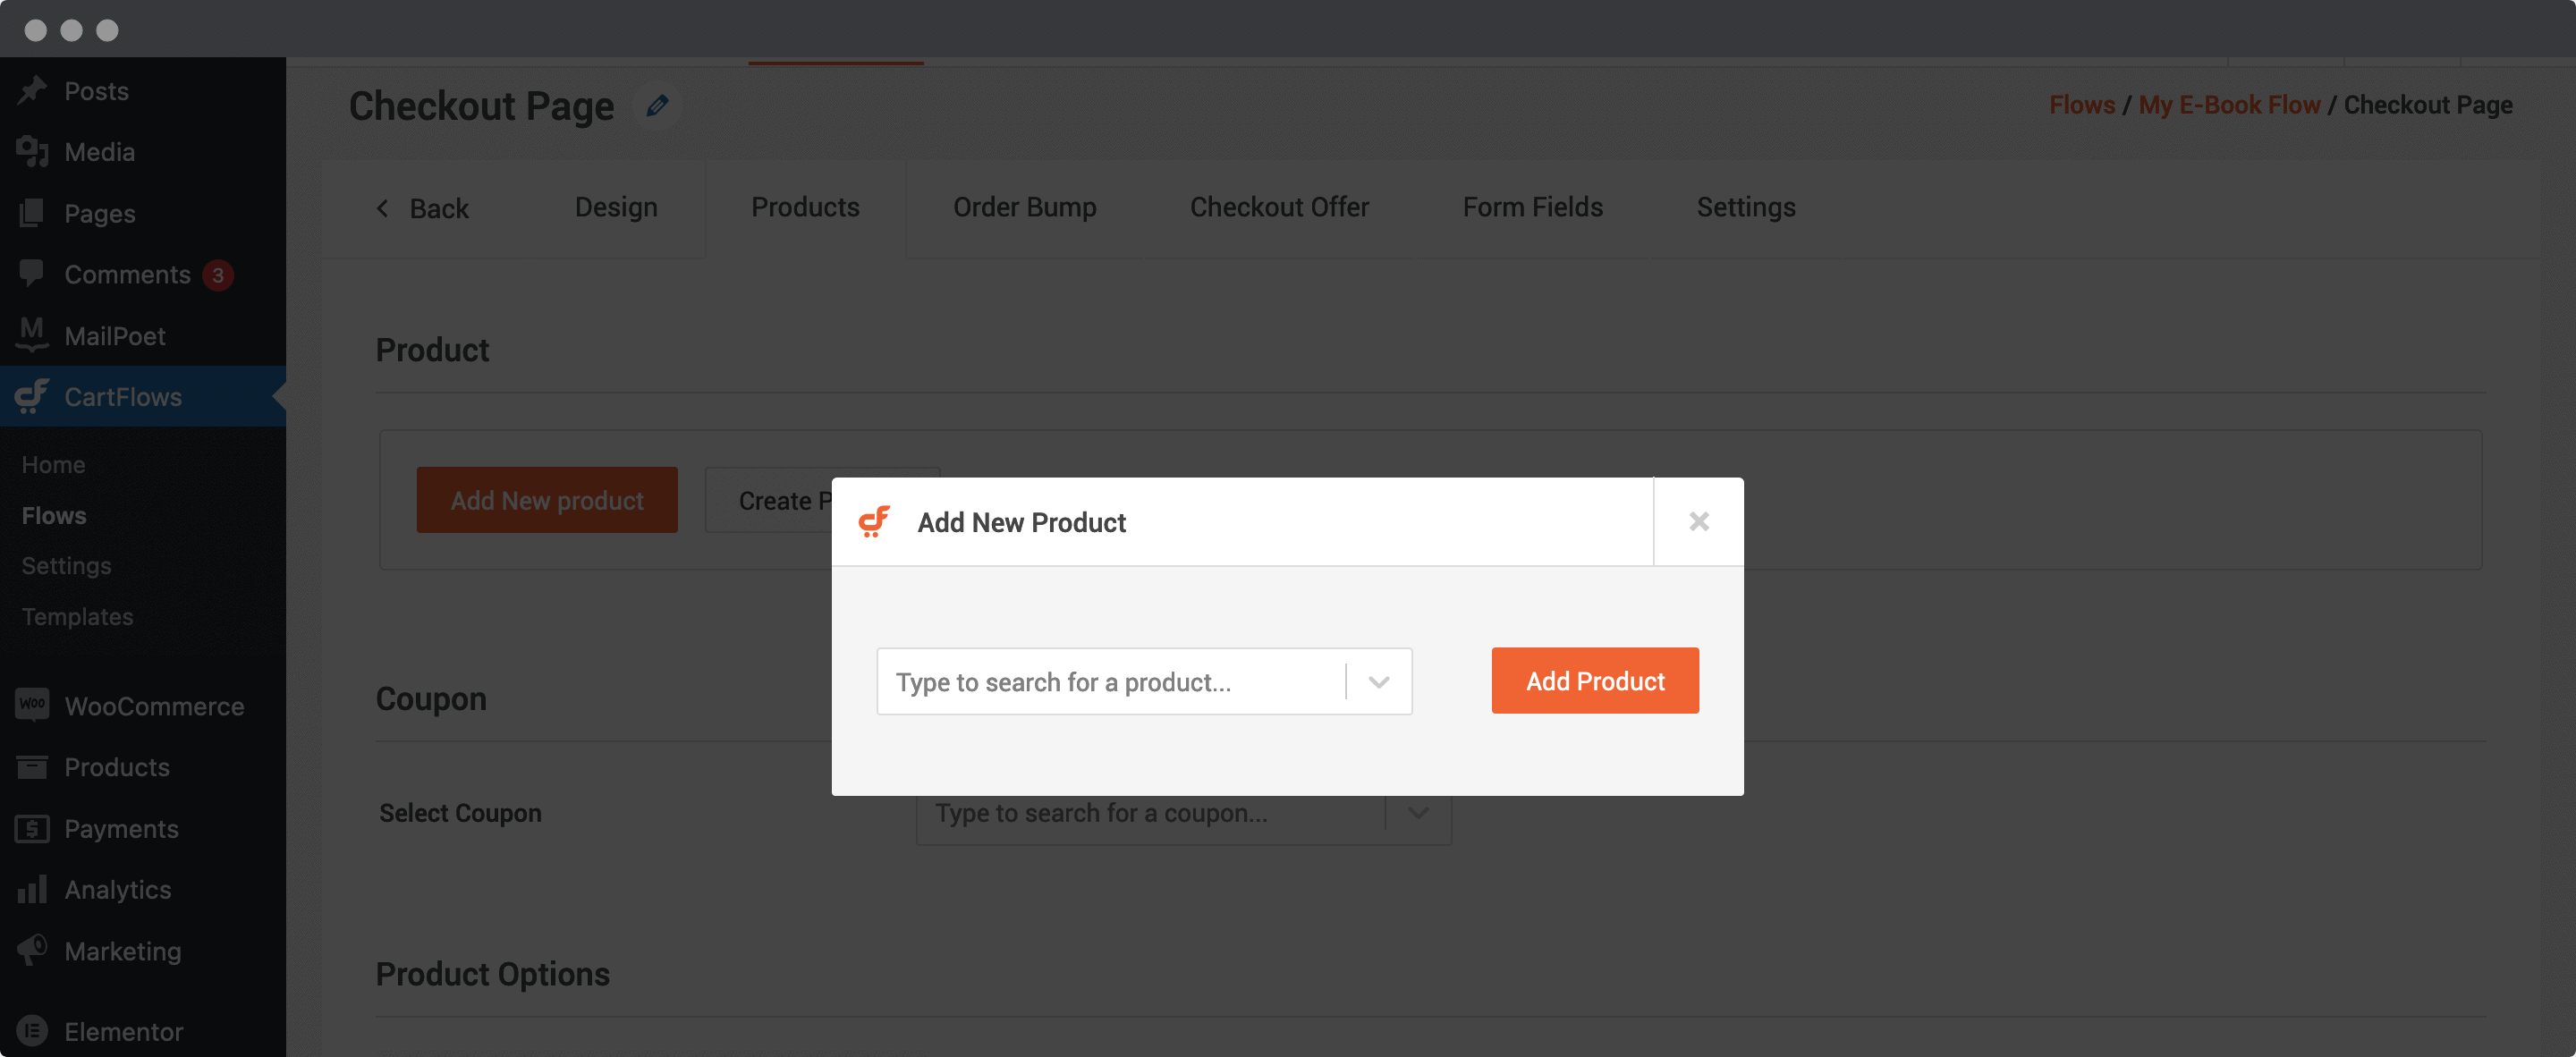
Finally, you may want to alter your checkout process. For this, click the Edit link for any Checkout page.
Here, choose the right product from the Products > Add New Product tab to link it to your step.
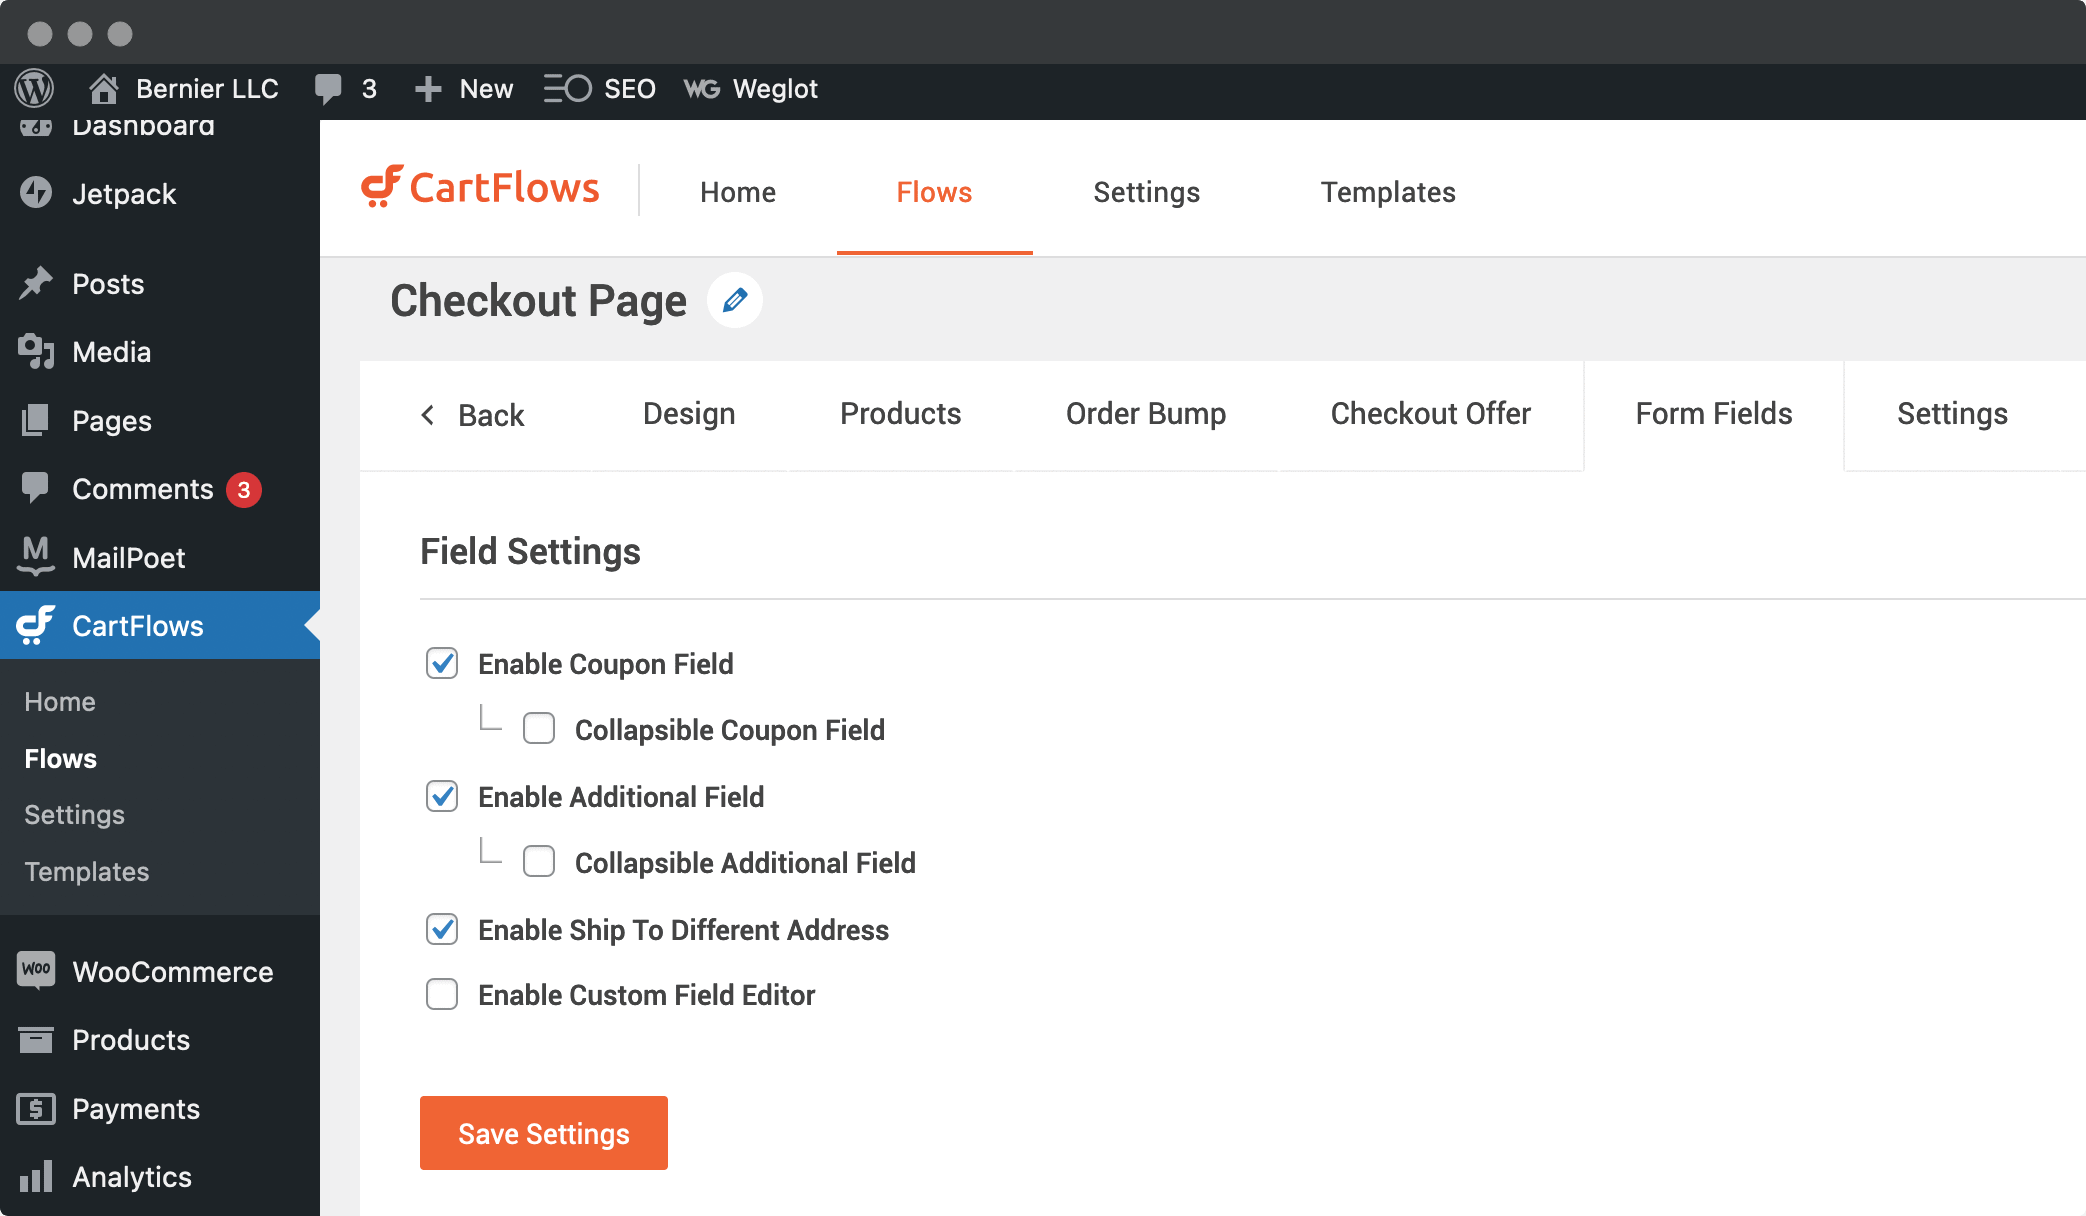
You can use the other tabs to further work on your design. For example, you can alter the fields on your checkout…:
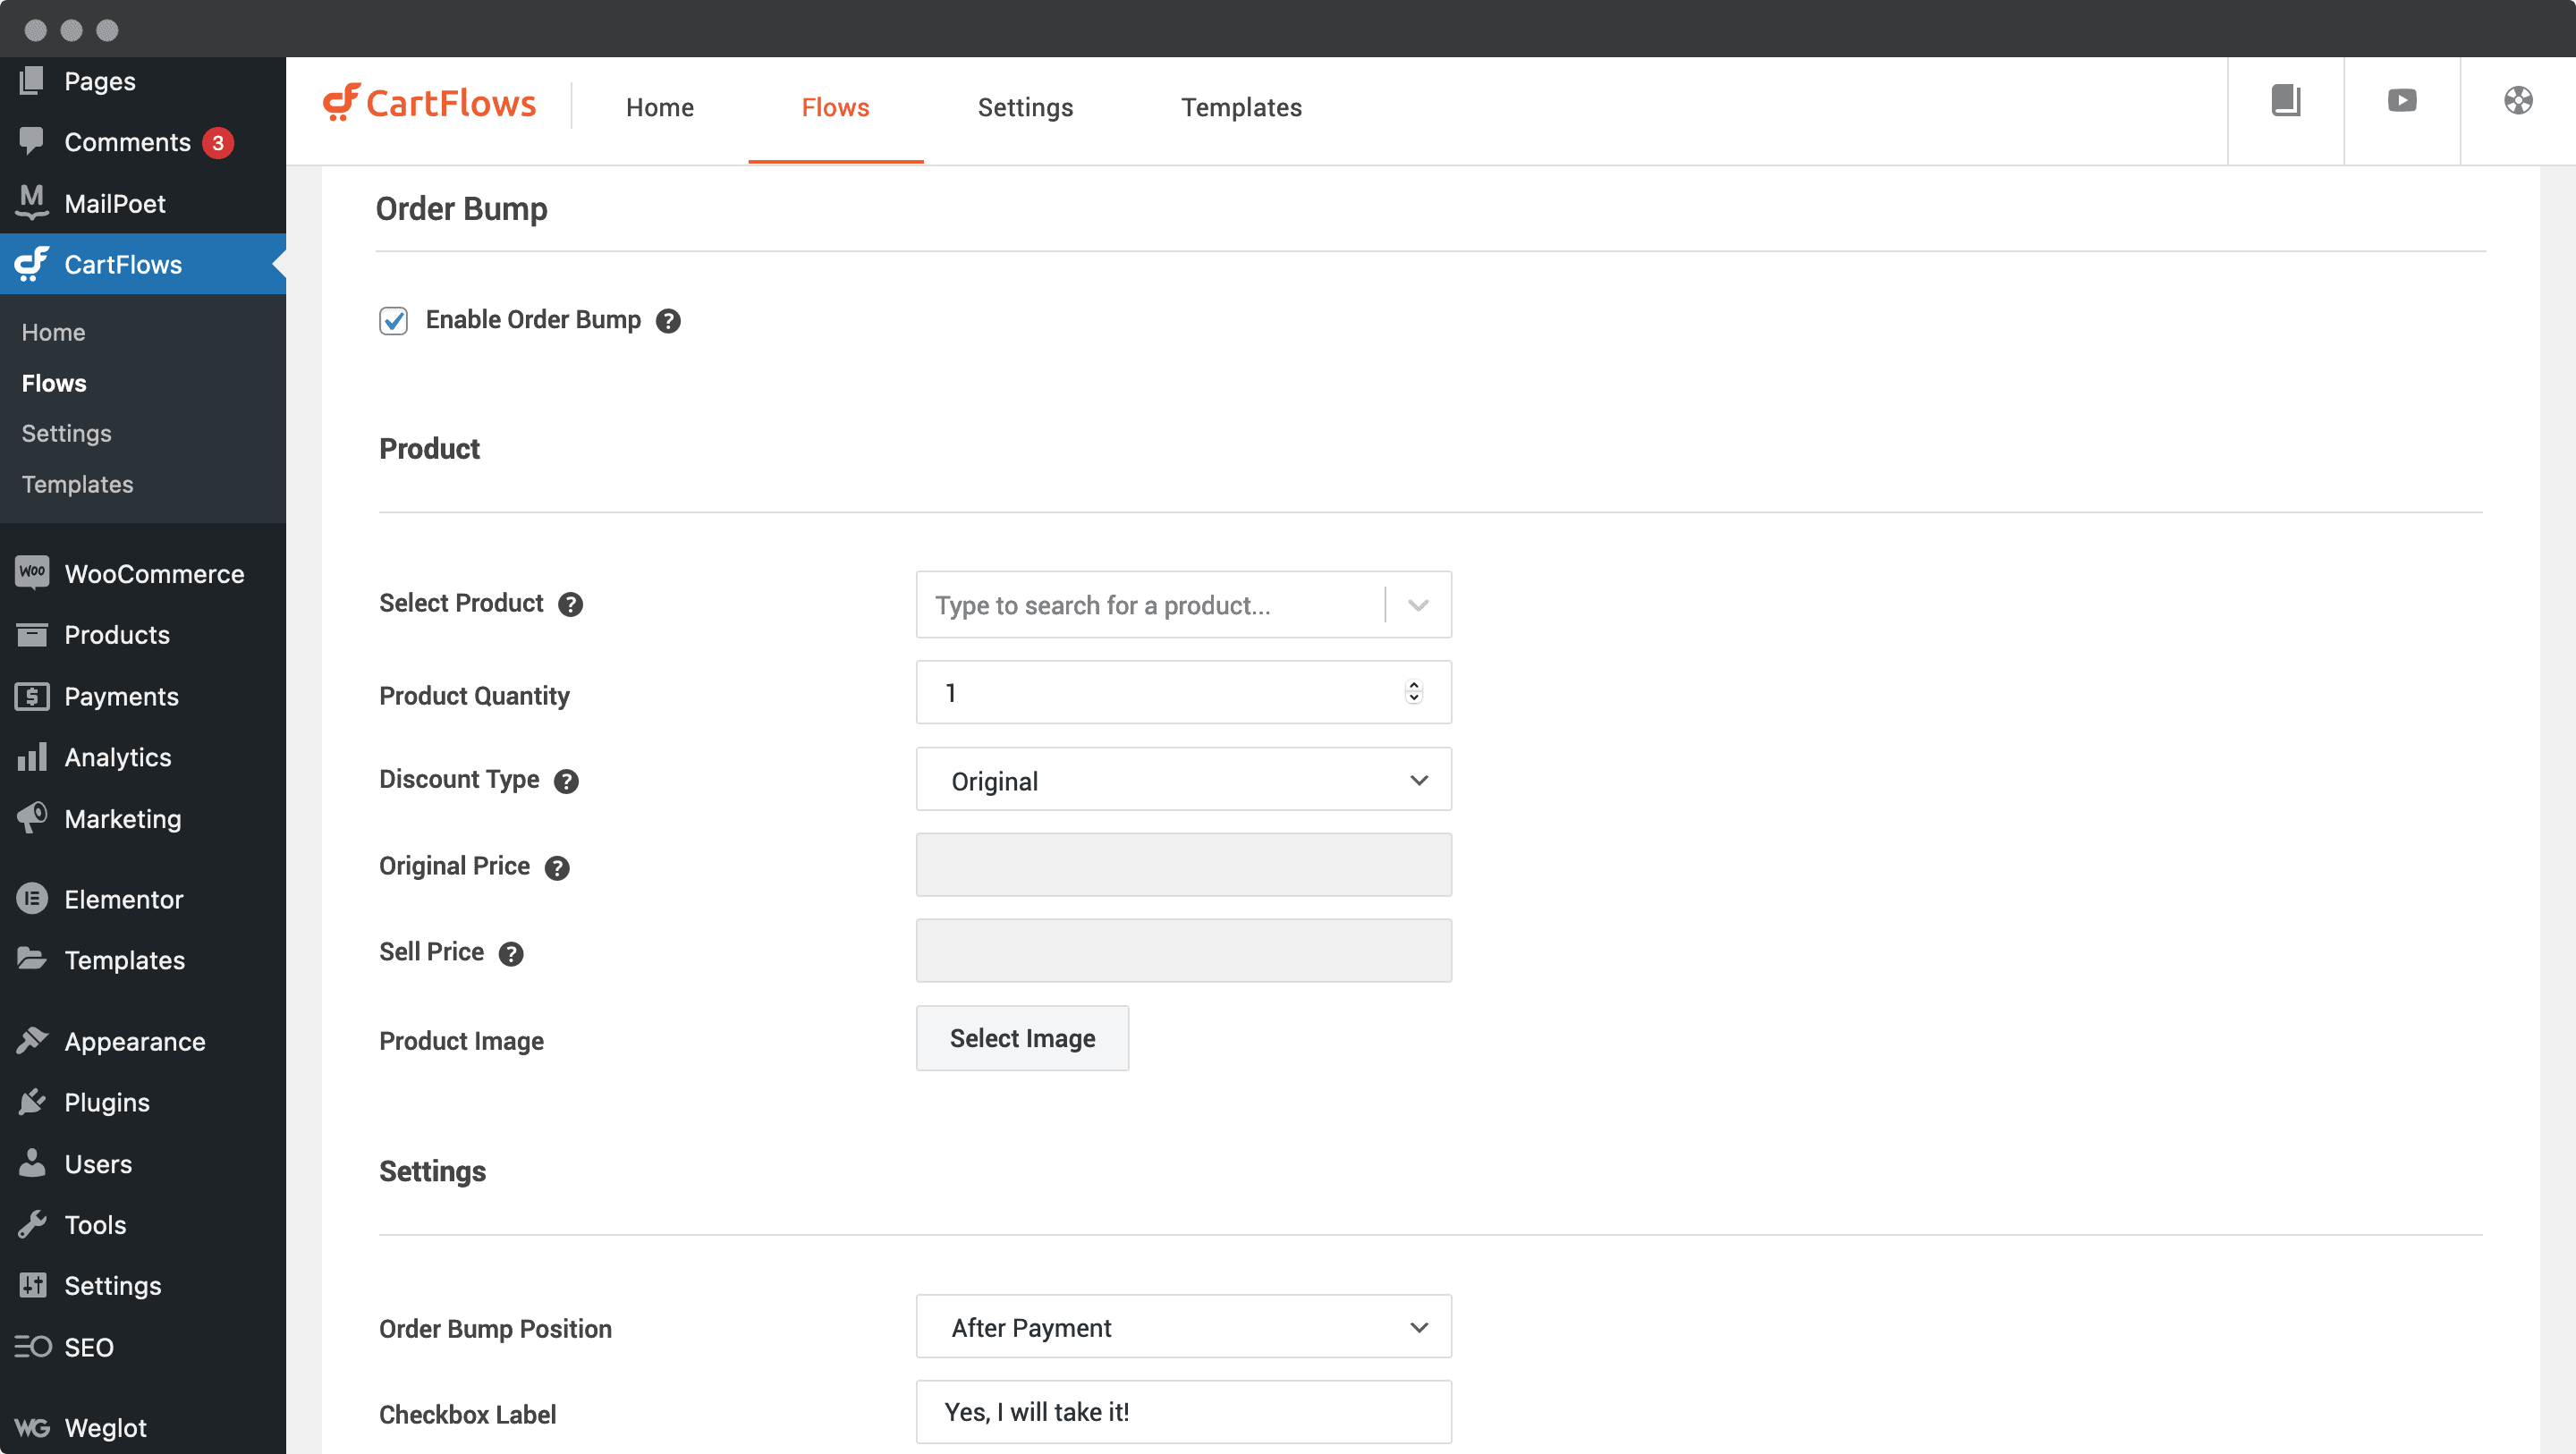
…and even add ‘order bumps’:
Once you’re finished, click Update on your step, and check out your new live sales funnel!
Your Next Steps After You Create Funnels With WordPress
Once you create funnels with WordPress, you won’t have too much more to do. Even so, there are a number of areas that you may want to consider adding a plugin or two to cover:
- Email marketing. Collecting email addresses for qualified leads is vital, and can net you further sales. We’ve covered lots of solutions in the past, and there’s something for every budget.
- Abandoned carts. This is an area that you may not have considered, but you’ll need a way to catch users who abandon their carts, and entice them back.
- Subscriptions. Regular consistent income is a great business model. WooCommerce has a solution for this, although there are lots of other options available.
- Affiliate programs. Affiliates do two important jobs: find you new customers and bring in more money. Having a solution in place for them is a good idea.
- Live chat. Customer support is important, and could be a make or break aspect of your site. Adding a live chat plugin means you’ll be ready to keep potential customers in your funnel.
The more you dig into creating funnels with WordPress, you’ll notice how much of the platform can be tailored to your exact requirements. Although we’ve mentioned a lot of solutions here, there are plenty more to find.
Still, by getting the core functionality in place, you’ll have a dependable sales funnel to increase your income.
Wrapping Up
Creating a sales funnel is almost necessary when building an online business. In short, you need to know how visitors are becoming interested in your products and services. What’s more, you also need to have an overview of whether those qualified leads buy from you.
In this post, we’ve looked at how to create funnels with WordPress and CartFlows. You’ll also need a few other tools, such as an eCommerce plugin, a suitable theme, and a page builder. From there, you’ll have almost everything to build a stellar sales funnel on your WordPress website.
Do you want to create funnels with WordPress, and if so, what makes it a ‘dead cert’ for you? Let us know in the comments section below!