
There are thousands of free WordPress themes available. Given that a large part of your audience will access your store from mobile phones, you’ll want to choose a responsive design. This way, you can ensure that your site will perform smoothly on all devices.
? Neve is a flexible WordPress theme that is mobile-ready and optimized for WooCommerce:

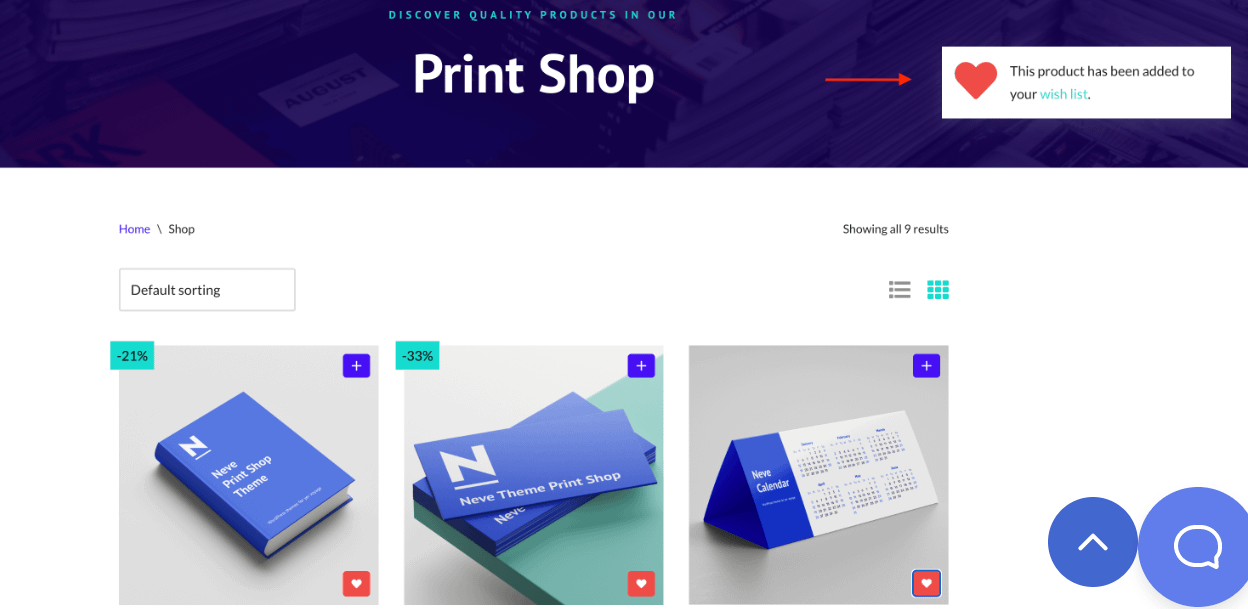
It comes with several responsive layouts for your checkout page and product catalog. Plus, it enables you to add a wishlist feature to your store, build a list of exclusive products, and more.
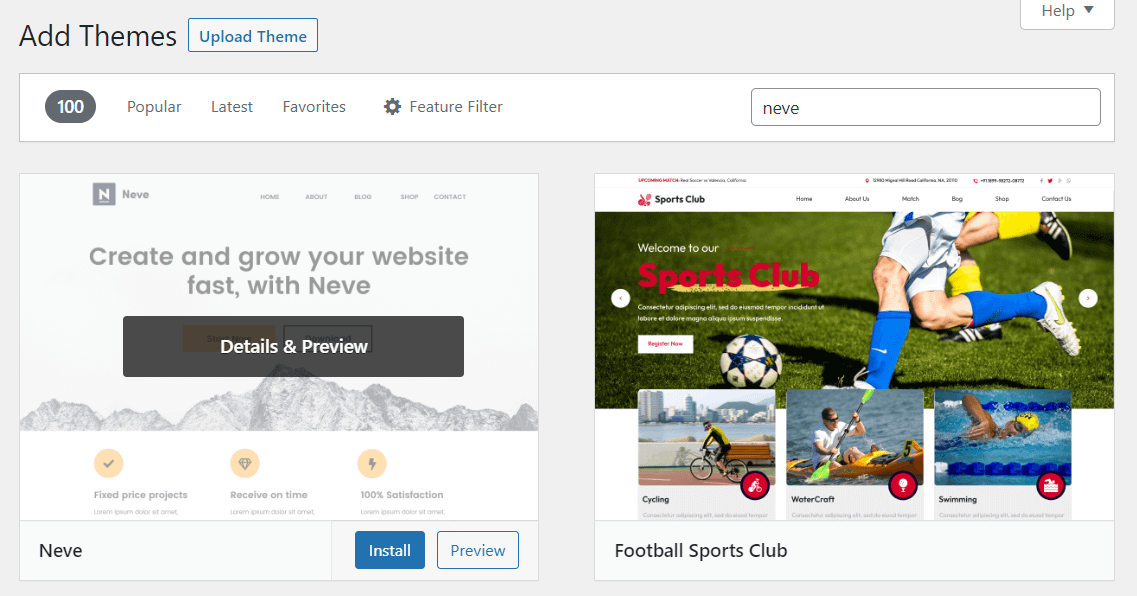
You can get started for free, or purchase the premium version for more features. If you want to try out the theme, you can simply search for it and click on Install:
Then, select Activate to start using the theme. If you want to make some changes to the design, go to Appearance → Customize to launch the theme customizer:
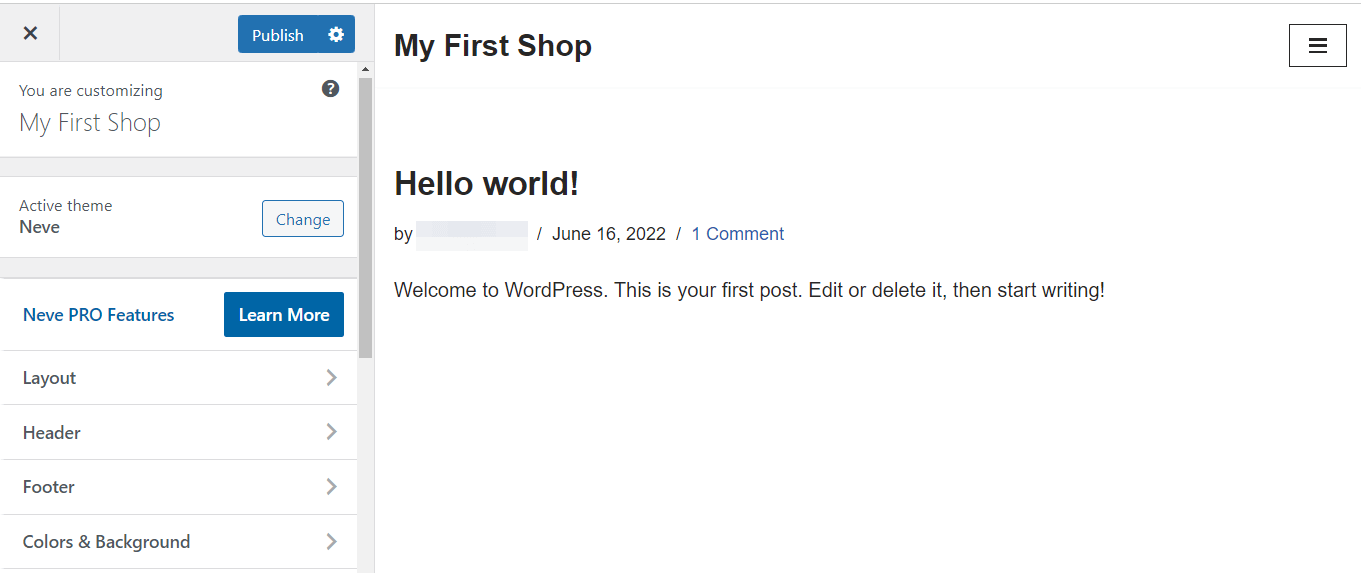
Here, you can change the layout and color scheme of your site, add a logo, and more. When you’re ready, click on Publish.
4. Install WooCommerce and configure your store settings
The next step is to install WooCommerce. This ecommerce platform comes with all the tools you need to start selling products online:
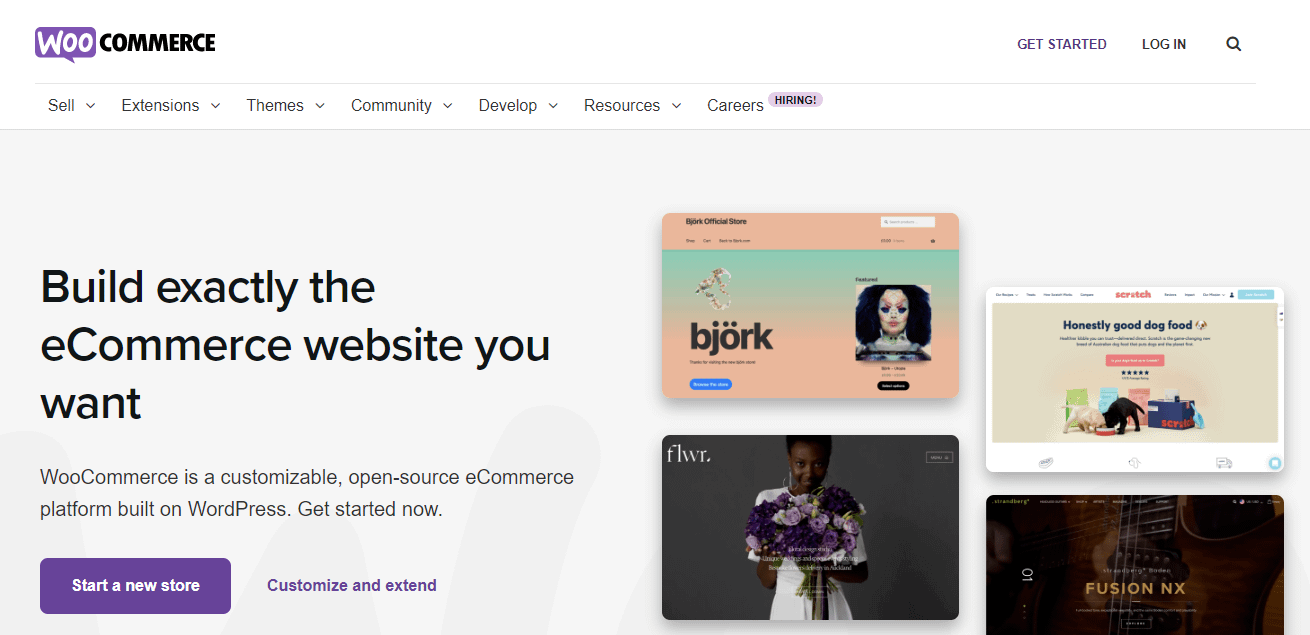
It’s an all-in-one solution that includes payment methods, shipping options, label printing, and much more. It’s also free.
Install the WooCommerce plugin
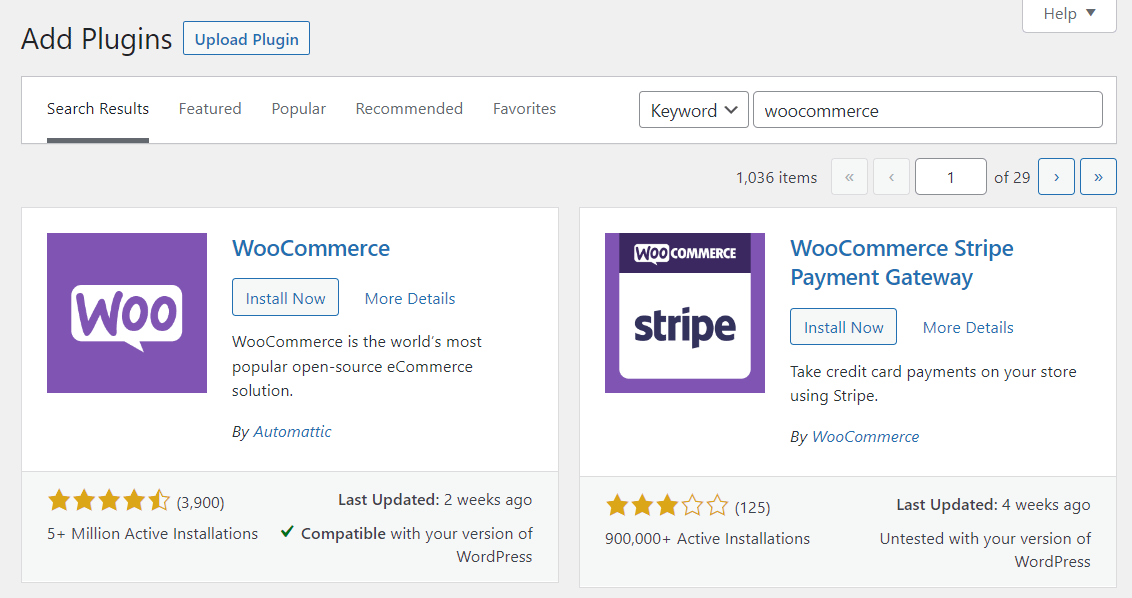
To get WooCommerce, navigate to Plugins → Add New in your WordPress dashboard. Then, search for WooCommerce and click on Install Now, followed by Activate:
Follow the WooCommerce setup wizard
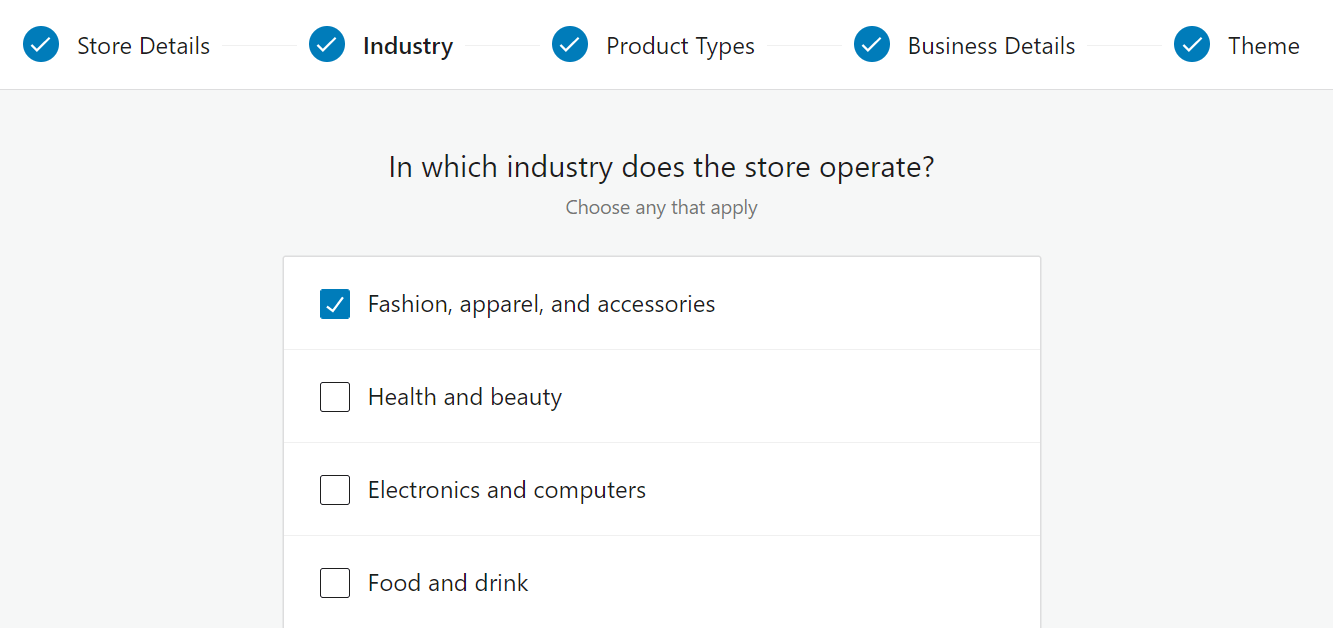
WooCommerce will then walk you through the setup process for your shop. You’ll have to provide some details about your business, including the address, your industry, and the type of products that you sell:
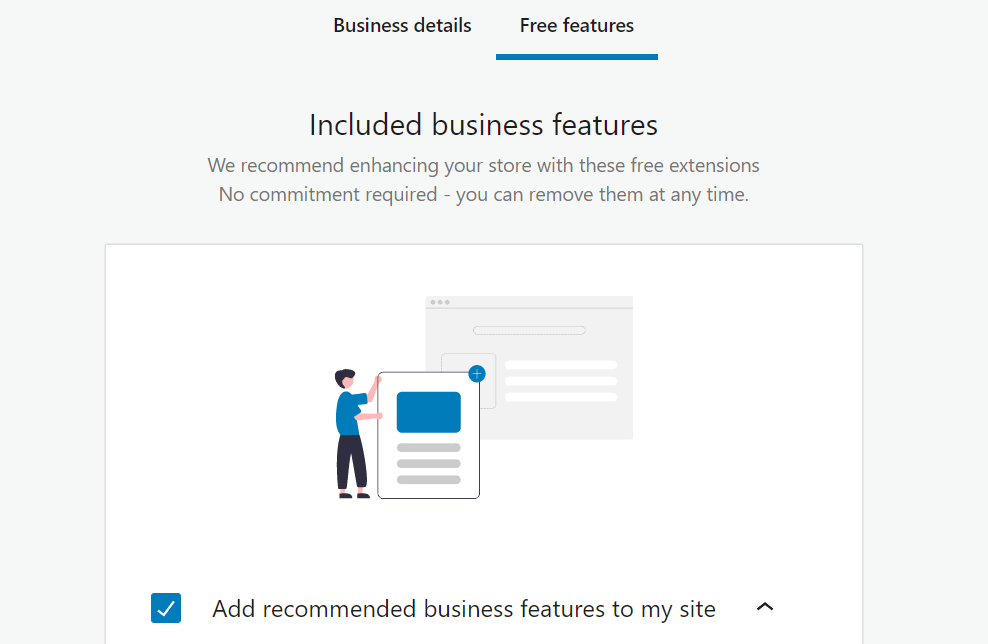
You can also select the free features that you want to add to your WooCommerce store. The plugin comes with a variety of extensions, including WooCommerce Payments and WooCommerce Shipping:
Once you’ve completed the setup process, you’ll be directed back to the WordPress dashboard. Now you can configure some additional settings for your store.
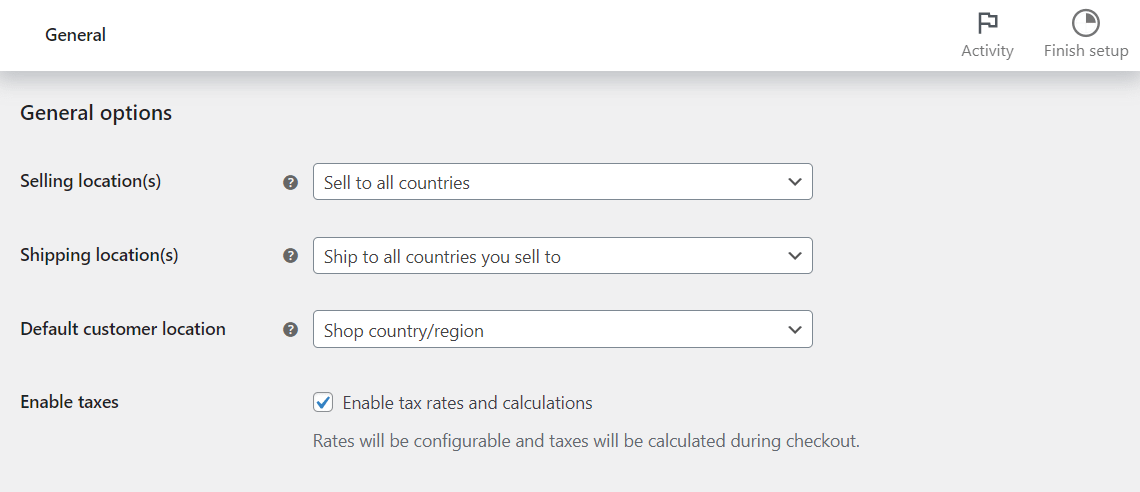
Go to WordPress → Settings. Under the General tab, you can select your selling and shipping locations, enable tax rates, choose your currency, and more:
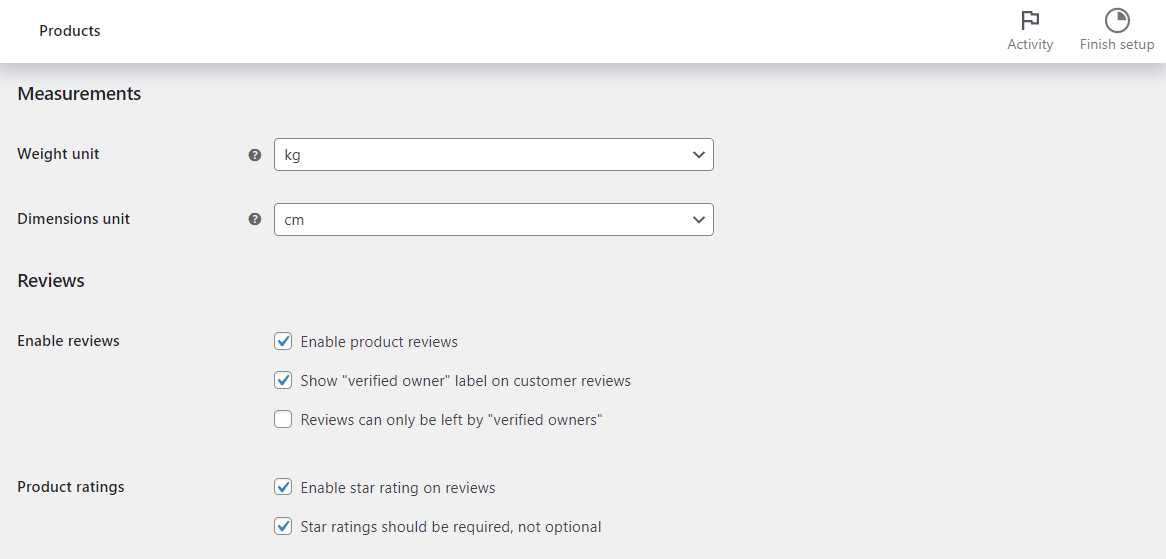
In the Products section, you have the option to enable or disable product reviews and ratings. You can also choose the measurement units for product weight and dimensions:
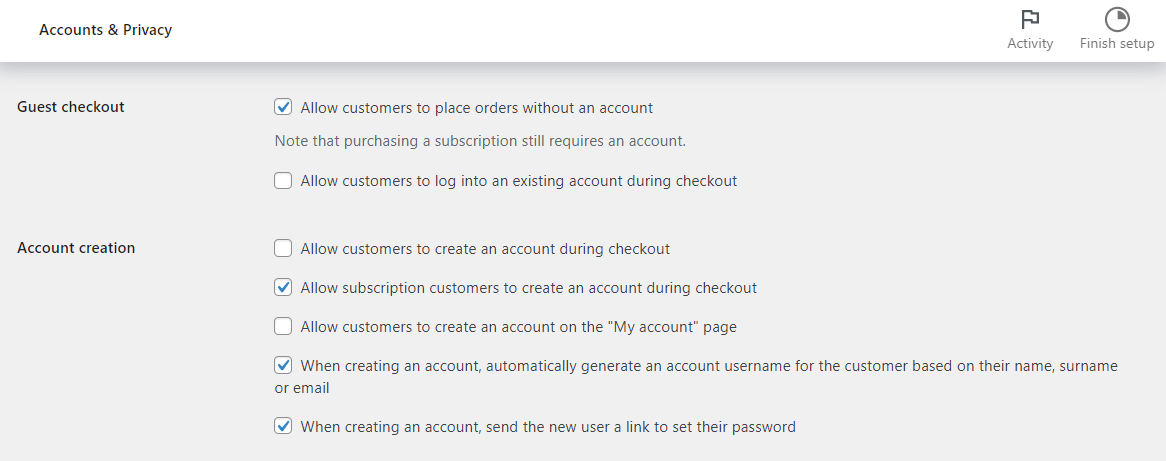
If you go to Accounts & Privacy, you can configure the account settings for shoppers. For instance, you might want to enable guest checkout. Additionally, you might allow shoppers to create an account during checkout:
There are several other settings you can explore. Later on, we’ll show you how to configure your payments, shipping rates, and taxes.
5. Upload your products
Next, you can start uploading products to your store. To do this, head to Products → Add New:
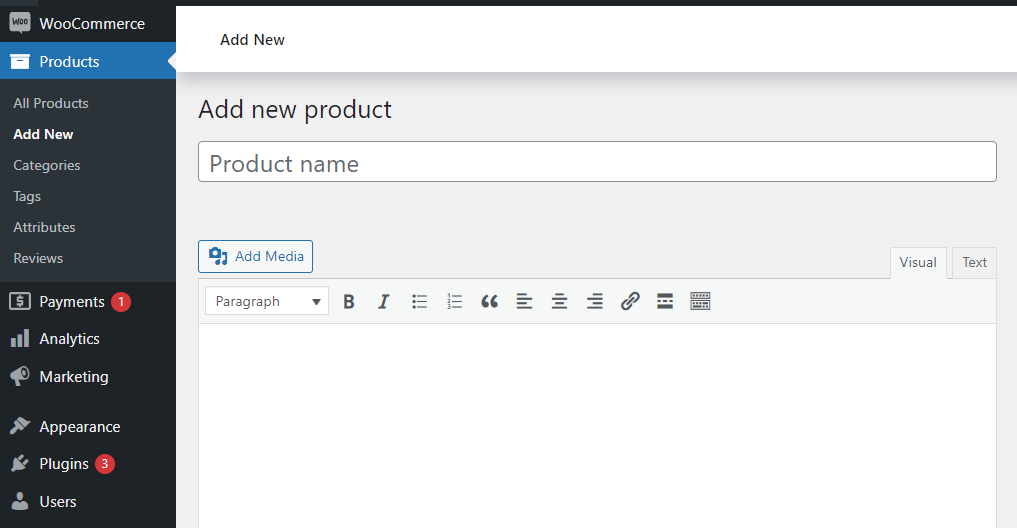
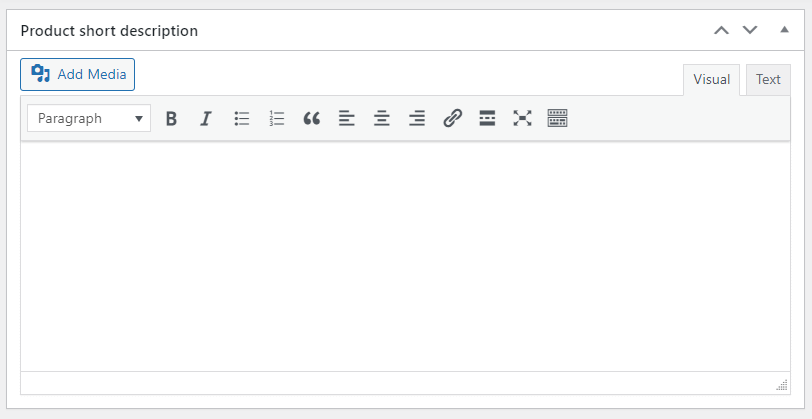
First, you’ll need to enter a name and description for your product. Then, scroll down to the Product short description section and enter some important details about the item:
When you’re ready, you can move on to the Product data section. In the General tab, set the price for your item:
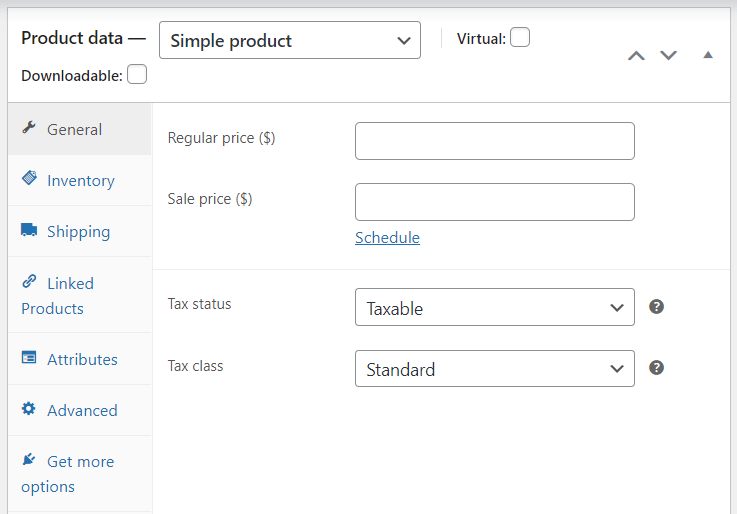
If you click on the Inventory tab, you can change your product’s status from In stock to Out of stock or On backorder. Meanwhile, the Shipping section lets you set the weight, dimensions, and shipping class for your product. Under Linked Products, you can create upsells and cross-sells to help increase your conversions.
Take some time to explore the other options in this section. You can then navigate to Product image or Product gallery to upload photos of your product. Additionally, you might want to select a product category and add some tags. This way, shoppers can view similar items in your store more easily.
When you’re ready, click on Save Draft to keep your work or Publish to launch your product. To add more items, simply repeat the above process.
ℹ️ Note that WooCommerce also lets you import your products via a CSV file. If you have a spreadsheet with all your data, this option can save you a lot of time.
6. Configure payment methods, shipping rates, and taxes
Now, it’s time to set up your payment methods and other store essentials.
Payment methods
Head back to WooCommerce → Settings and select the Payments tab:
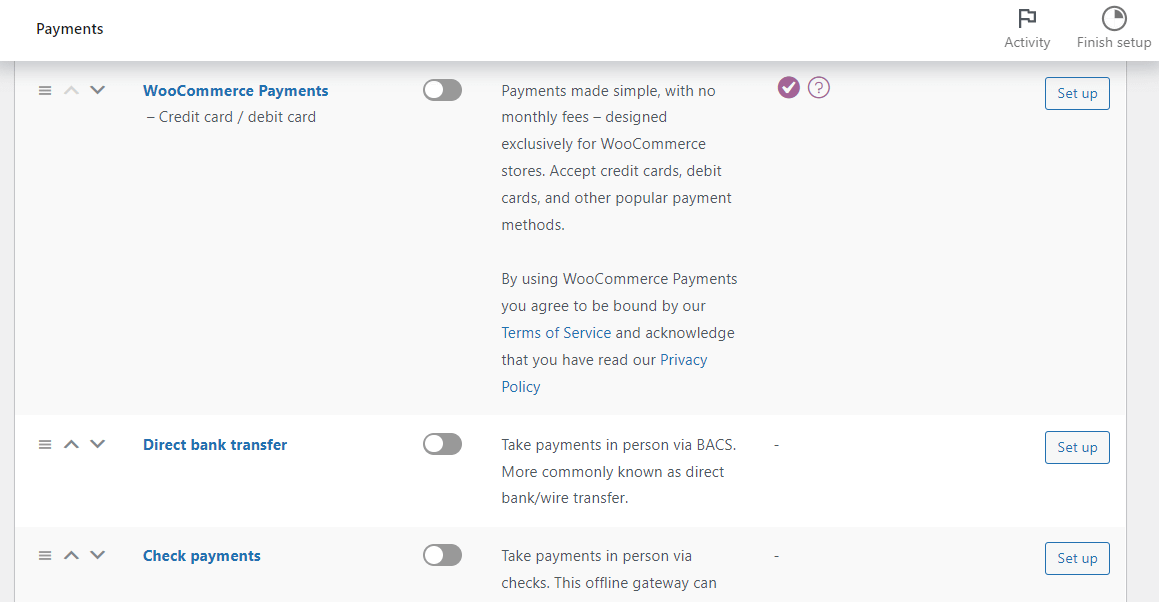
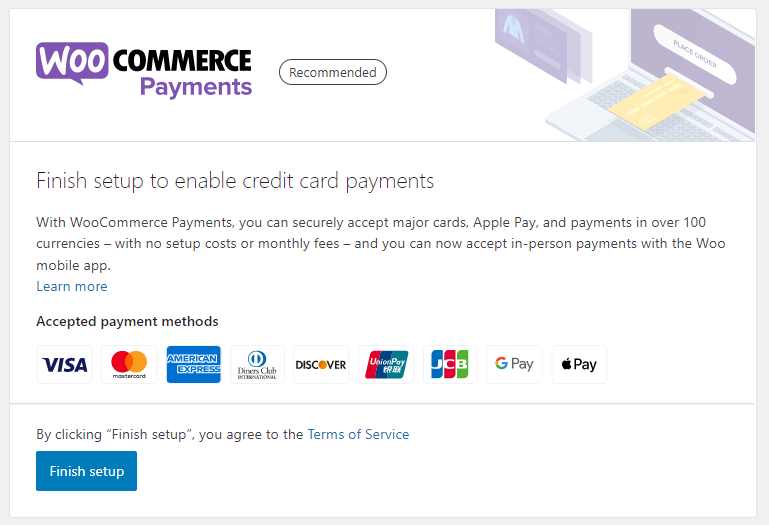
Here, you can enable different payment methods for your site, including direct bank transfers and in-person payments at your physical store. If you enable the WooCommerce Payments option, you’ll also be able to set up credit card payments:
If you want to use a different payment gateway, you can also set that up from the settings area.
Shipping methods
To set up shipping for your store, you can use the built-in WooCommerce shipping options. Or, you can use third-party plugins or integrate with dedicated fulfillment services such as WooCommerce Shipping or ShipStation. We’ll talk more about those third-party plugins next.
To access the built-in shipping options, you can go to the Shipping tab to configure your shipping options:
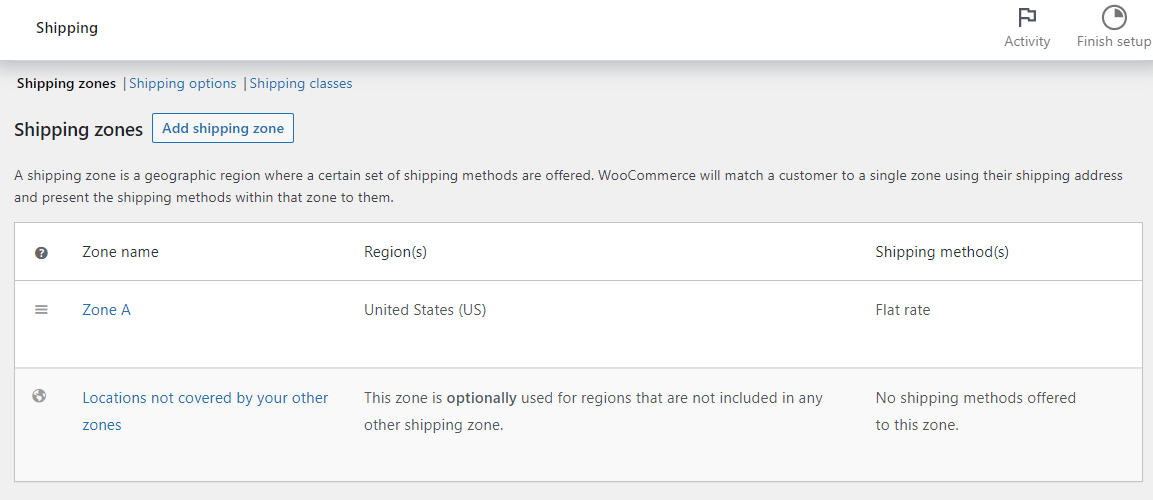
Click on Add shipping zone to create a delivery location and shipping method:
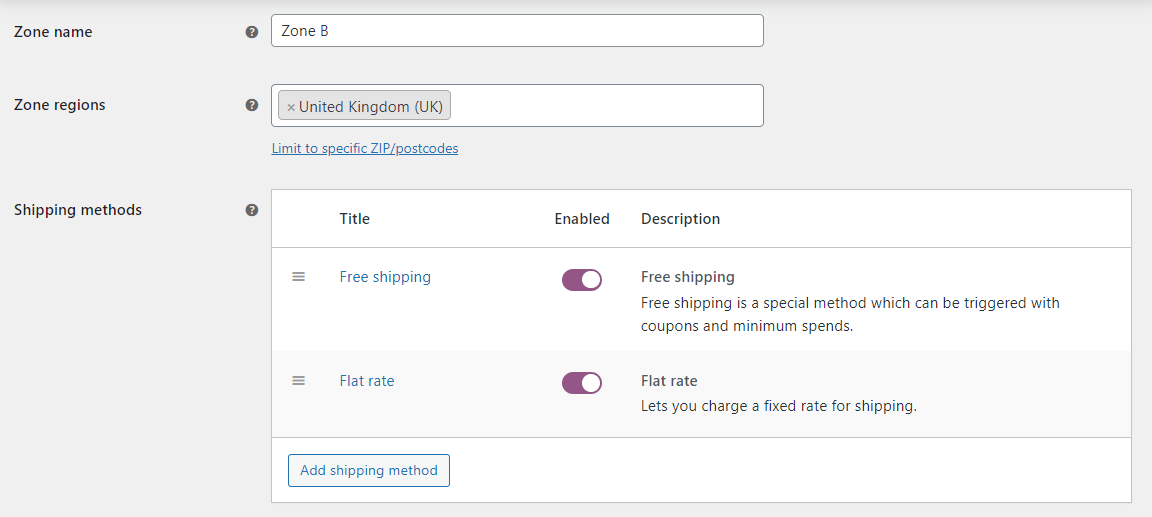
If you go to Shipping options, you can choose how shipping costs are calculated:

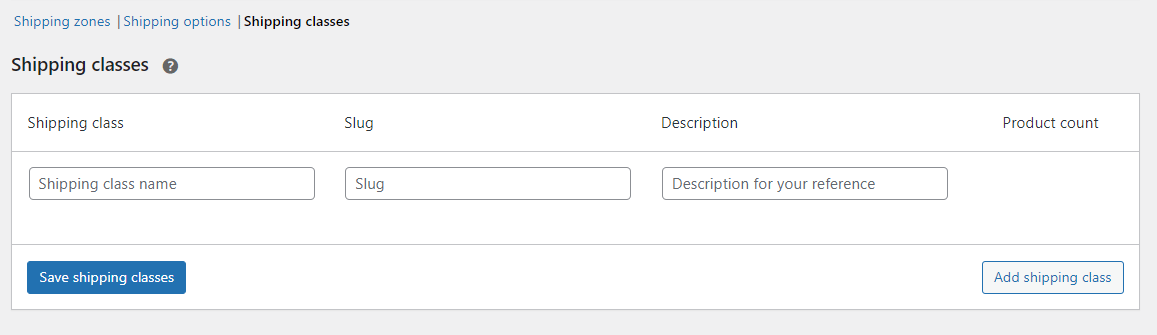
Meanwhile, the Shipping classes section lets you set up different rates for different product types:
Taxes
When you’re done with the shipping settings, you can move on to taxes.
As with the shipping rates, you can either set these up manually or use a dedicated tax calculation service such as WooCommerce Tax to help you automatically collect accurate taxes.
If you can’t see the Tax tab for the built-in settings, you’ll need to navigate to General and select the box for Enable tax rates and calculations.
WooCommerce lets you enter prices inclusive or exclusive of tax:
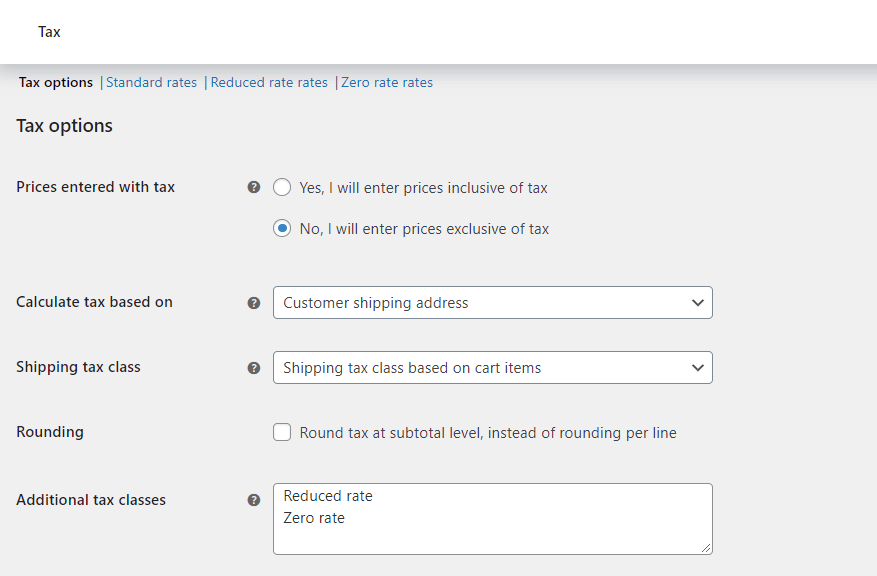
You can opt to calculate tax based on the customer’s billing address, their shipping address, or your store’s location. There’s also the option to display prices exclusive of tax.
WooCommerce comes with three types of tax rates by default:
- Standard rates
- Reduced rate rates
- Zero rate rates
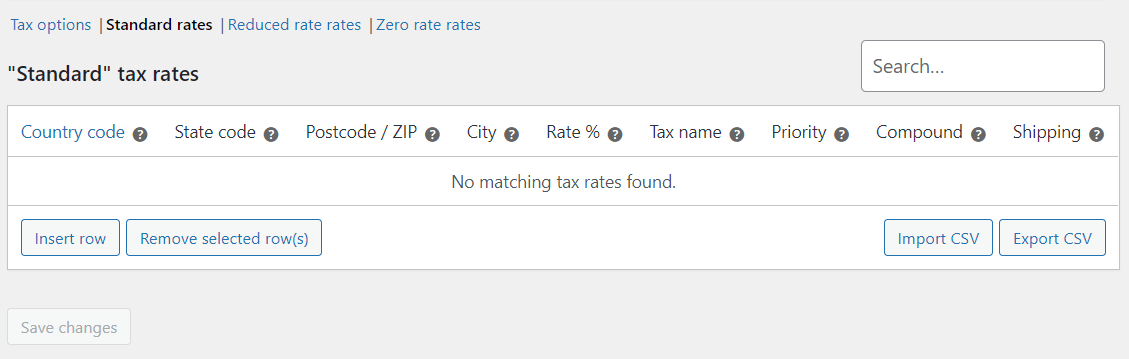
To add a new tax rate, click on the Insert row option. Then, enter the required information in the available fields. If you’re unsure about tax regulations in your location, you might want to seek advice from an accountant or legal expert.
7. Add more features to your shop with plugins
So far, you’ve created a basic WooCommerce store. However, you can extend the functionality of your site with WooCommerce plugins or extensions (which you can install just like any other plugin).
For instance, ? Sparks for WooCommerce is packed with features to help you increase conversions. These include announcement bars, variation swatches, custom thank you pages, and more:
It also lets you add wishlists to your store, so that customers can save their products for later:
Additionally, keep in mind that the WordPress Block Editor has a collection of WooCommerce blocks you can use:
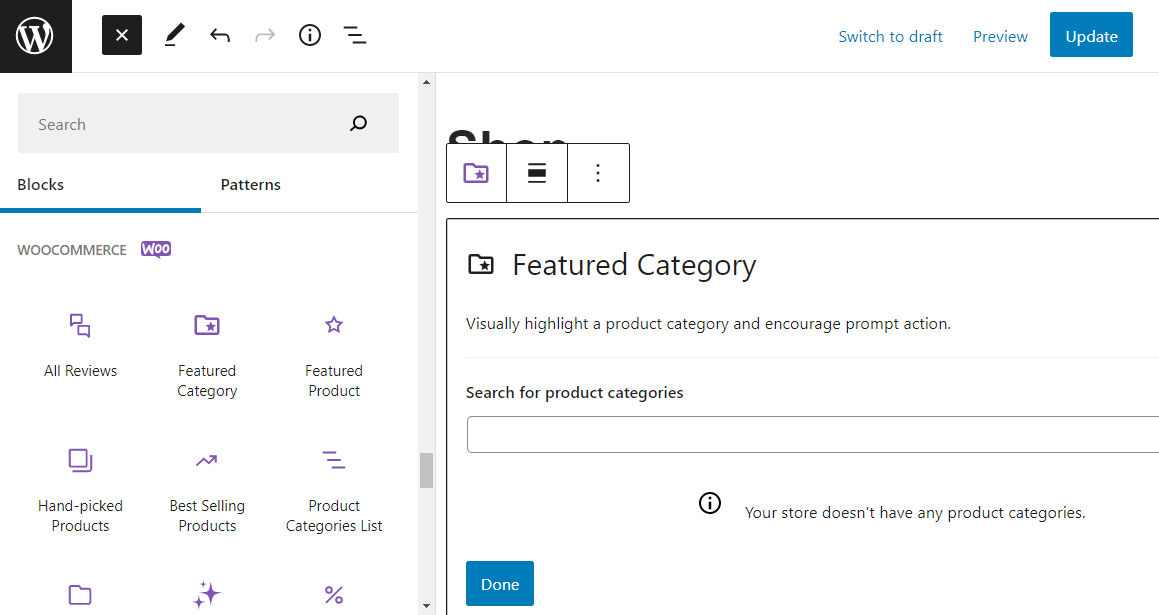
Using these blocks, you might display featured products, add filters, include a search box, and more. You can add these elements anywhere on your site.
? To help you find useful plugins for your online shop, our sister site Themeisle has a great list of 25+ must-have WooCommerce plugins for all stores.
8. Test your WooCommerce store
Congratulations – you’ve just set up your first online shop with WordPress! Still, before you start spreading the word, it might be a good idea to test your site.
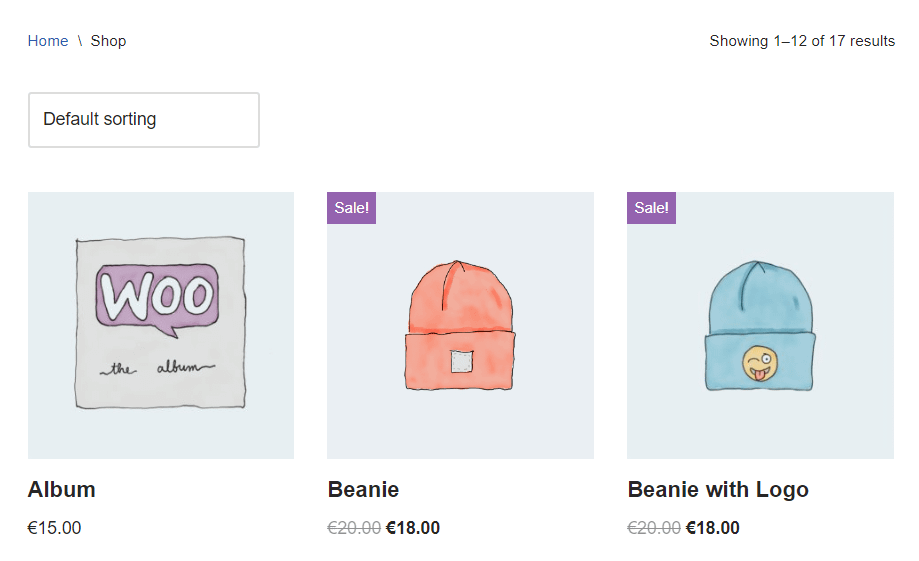
The best way to do this is to visit your store on the front end. Here, you can browse through the shop to make sure that your products are displayed correctly:
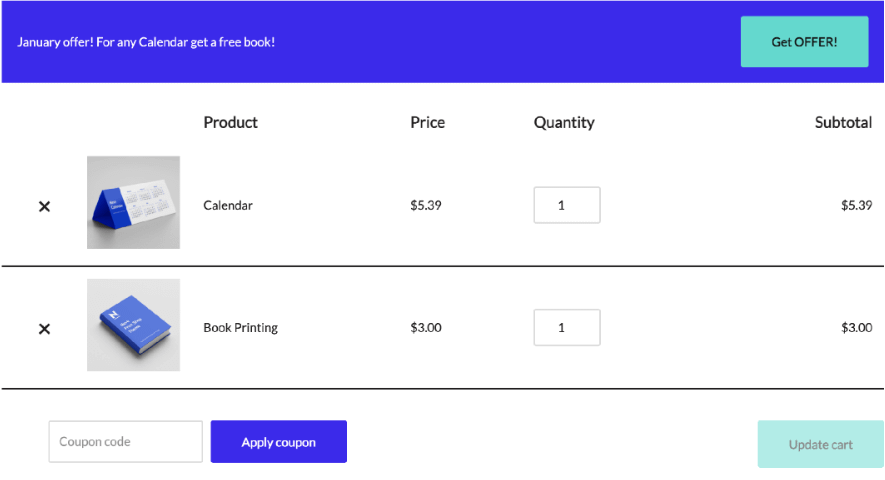
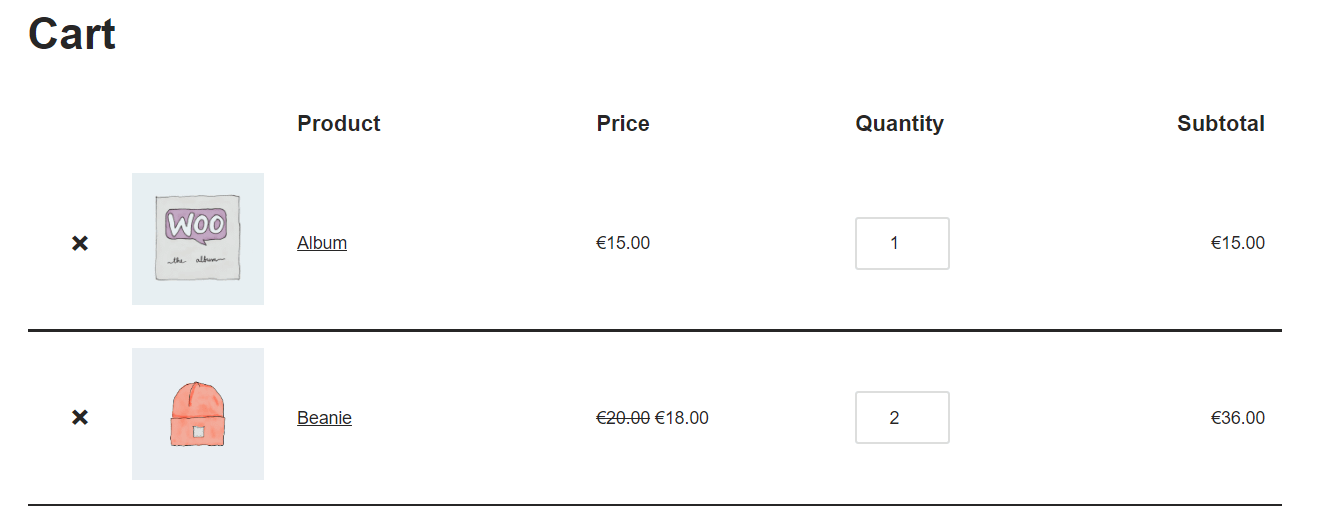
You may also want to place a mock order to make sure the checkout process works:
Remember that you can use the Block Editor to further customize your shop, checkout, and cart pages. For instance, after testing your site, you can tweak the look of your product catalog or add more elements to your shop page.
Create an online shop with WordPress today
Creating an online shop with WordPress is a straightforward process. To get started, you’ll need to purchase web hosting, get a domain name, and set up the CMS.
Then, you can choose an ecommerce theme like ? Neve, install WooCommerce, and start uploading your products. Finally, you’ll just need to configure your tax rates, shipping methods, and payment options – and you’re all set!
Once your online shop starts growing, you’ll want to look to ways to optimize and improve it.
Do you have any questions about how to create an online shop with WordPress? Ask us in the comments section below!


