You’ll see a few different elements to the page here:
- There is (of course) a gallery of thumbnails for each theme in the directory.
- The themes you already have available to you will show the green “Installed” bar.
- There’s a header bar at the top that lets you filter the list of themes to narrow down your selection.
The latter warrants a quick discussion.
Filtering the themes list
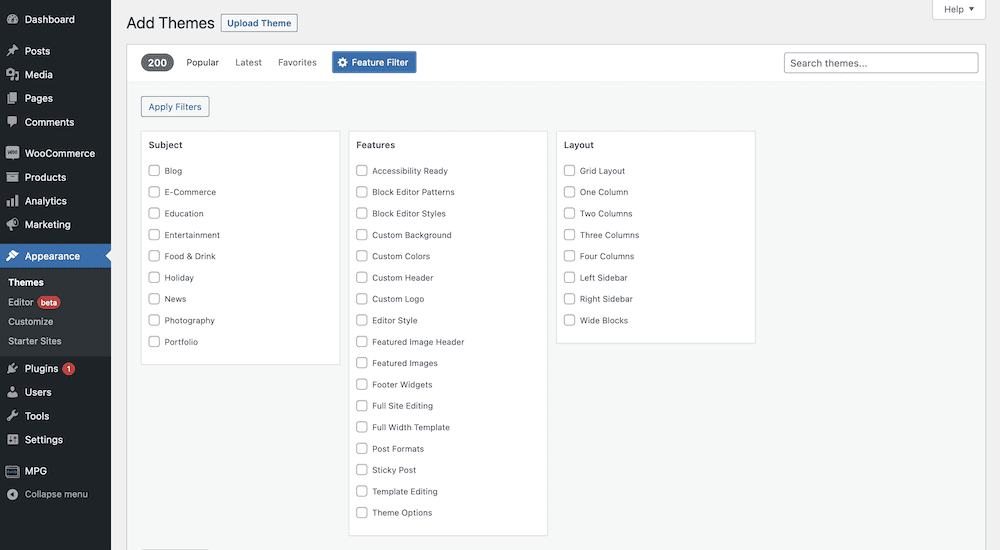
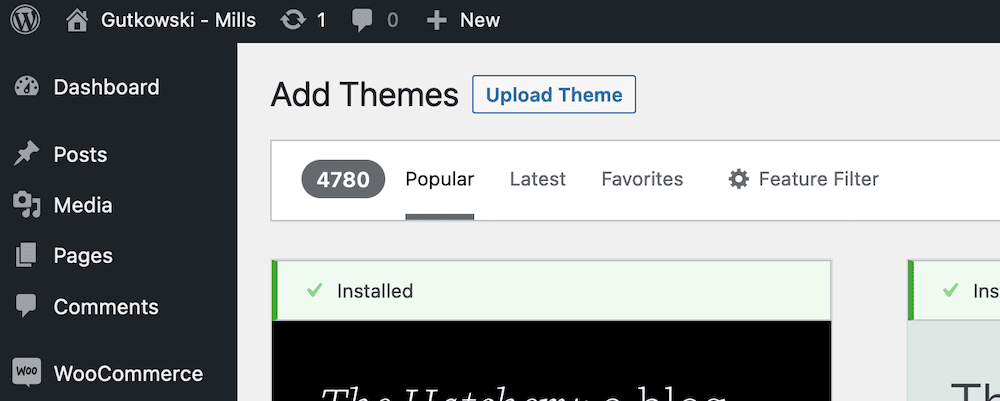
If you take a look, you’ll see a number of different ways to filter the theme list. If you already know which theme you want, you can search for it by name. Otherwise, you can use the filters to help you browse the 4,700+ themes that are available at WordPress.org

You’ll see a figure for how many themes the filter includes, and tabs for the most popular themes, the latest additions to the directory, and a list of your favorites. For the latter, you can only designate favorites from the browser version of the Theme Directory.
For the last two options, you have a search bar – which is self-explanatory – and a feature filter menu. This gives you a few different checkboxes based on the features a theme will have. This way, you can narrow down your search based on (for example) whether it suits eCommerce applications or uses a three-column layout:
You can find your chosen theme using these different filters. To install one, hover over the thumbnail and click the blue Install button:

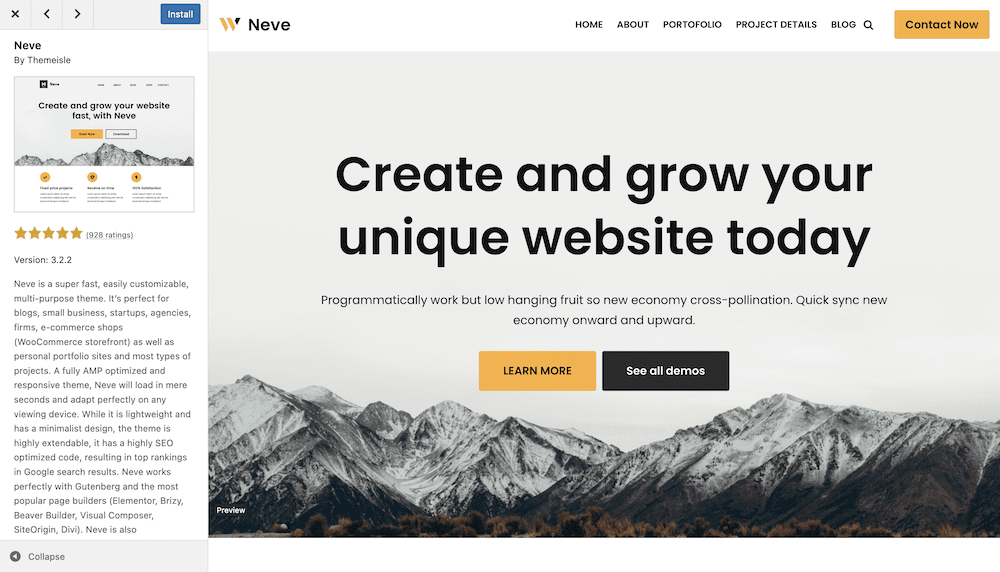
? Note that you can also preview the theme too, using the Preview button or simply clicking the thumbnail. This will bring up a few more details about the theme, along with how it would look on a typical website:
From here, you can install your chosen theme.
Installing your theme
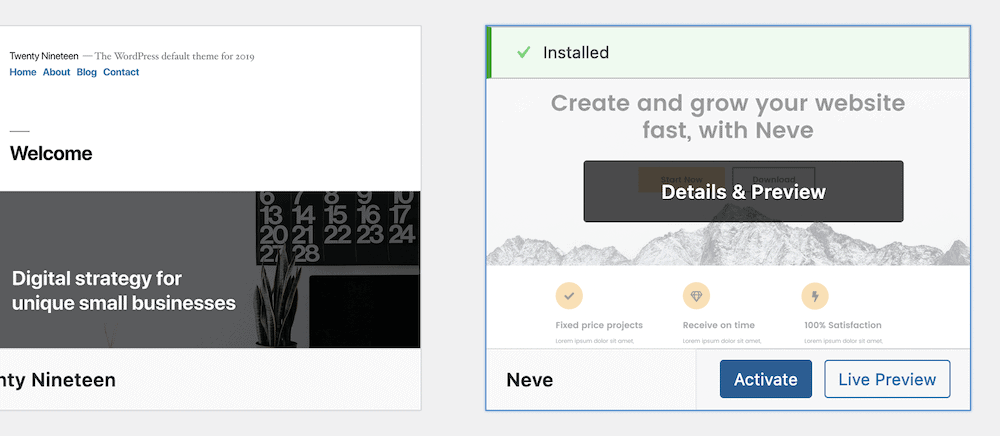
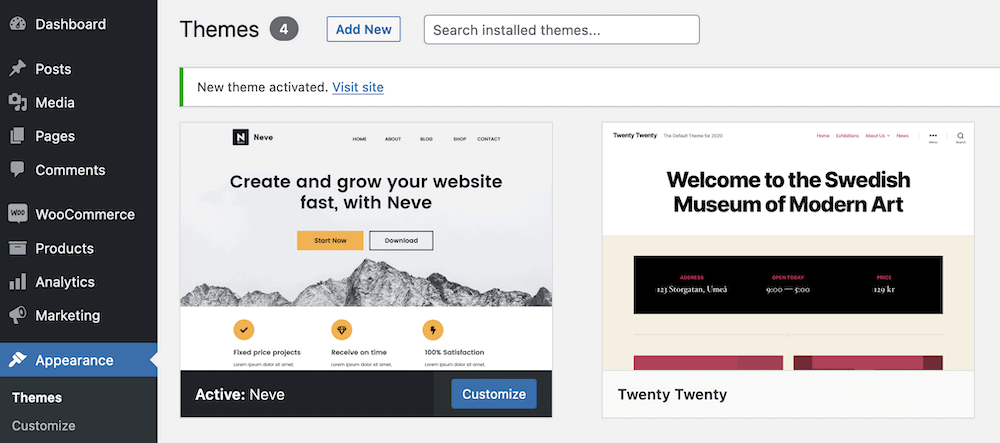
Once you click the Install button, WordPress will do its thing and the button will change to read, “Activate“. You’ll also notice that the thumbnail gains the green “Installed” bar. If you click Activate, WordPress will make this your current primary theme:
From here, WordPress will send you back to the main Themes page, and you’ll see a confirmation that your new theme is live:
If you browse to your site’s preview, you’ll see that it now uses your new theme.
2. How to install WordPress theme from ZIP file
The WordPress Theme Directory only handles free themes that the Theme Review team vets and approves. However, in many cases, you’ll want to choose a premium theme. In these cases, you can’t use the WordPress interface because you’ll receive a ZIP file from the developer. As such, you can use another simple way to install your WordPress theme.
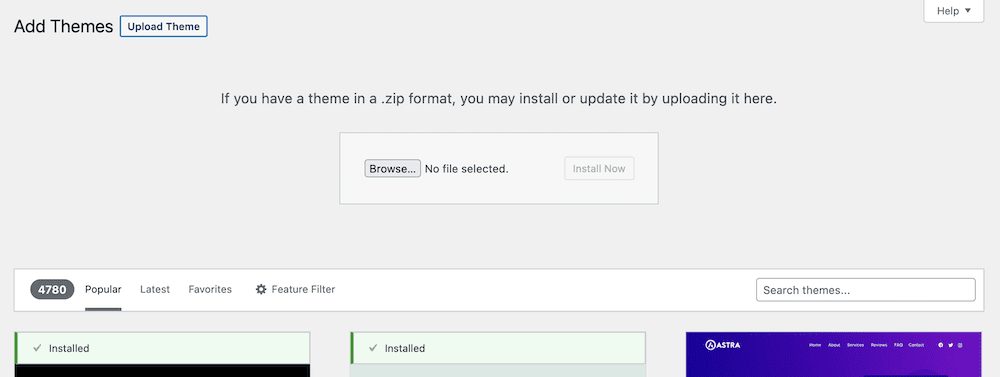
For this, you’ll go back to Appearance → Themes page and click the Add New button. However, this time, you’ll forgo the list of free themes and click the Upload Theme button at the top of the screen:
This will open a dedicated uploader, which will let you install a WordPress theme from ZIP file. This is the format most premium themes will come in. In fact, free themes come in this format too, but the built-in interface handles the process for the Theme Directory.
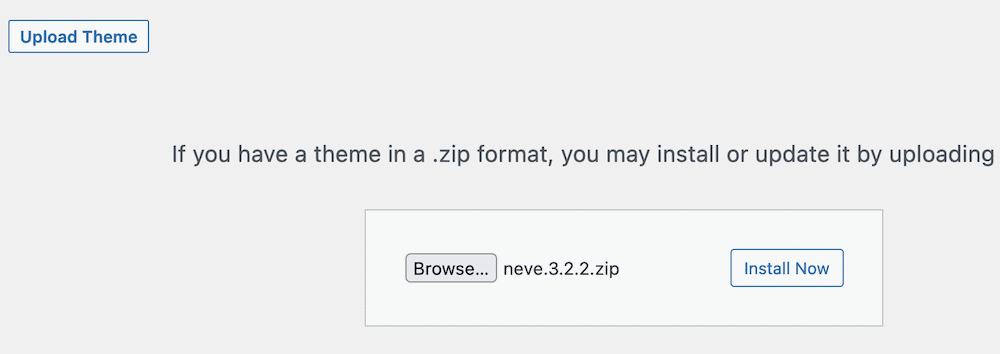
If you purchased a premium theme, you should be able to download the ZIP file from the place where you purchased the theme. If you can’t find it, you can reach out to the company or marketplace from which you purchased the theme or consult their support documentation.
From here, you’ll want to click the button to locate the ZIP file on your computer, then click the Install Now button:
You’ll next see a rundown of what WordPress does to install a theme, at which point, you’ll want to click the Activate link:

This will again take you back to the main Themes screen, and you’ll see your current theme change accordingly.
3. How to install WordPress theme via SFTP
On rare occasions, you won’t be able to use the dashboard interface or the theme uploader dialog. This is often due to an issue with your WordPress installation, where you can’t access your site at all. Depending on the error, it could mean that you’ll need to install a theme without using the normal channels.
Fortunately, there’s a third way to install a WordPress theme – using Secure File Transfer Protocol (SFTP). This is a way to connect to online servers and move files around using a dedicated app.
The installation process:
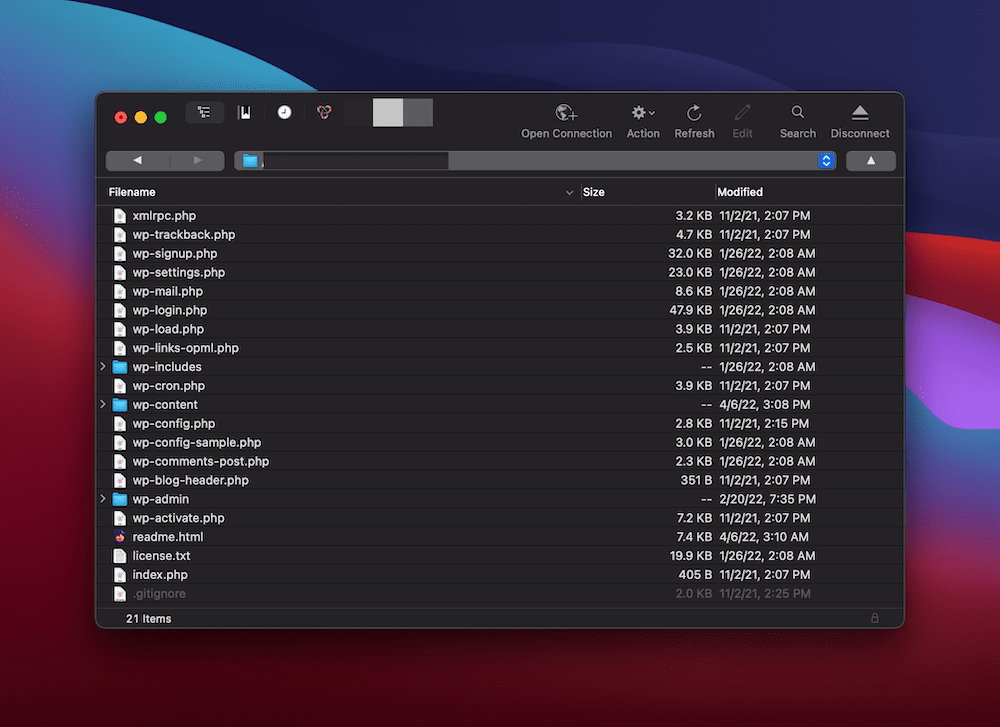
The general approach is to first log into your server using SFTP. Once it loads, you’ll see at least a list of your server’s files. In some cases, you’ll also see the files on your computer, too.
From here, carry out the following:
- Extract your theme’s files from the ZIP file.
- Within the SFTP client, navigate to your site on the server. In most cases, it’s going to be in the top level directory. However, it could also be in a folder with your site’s name.
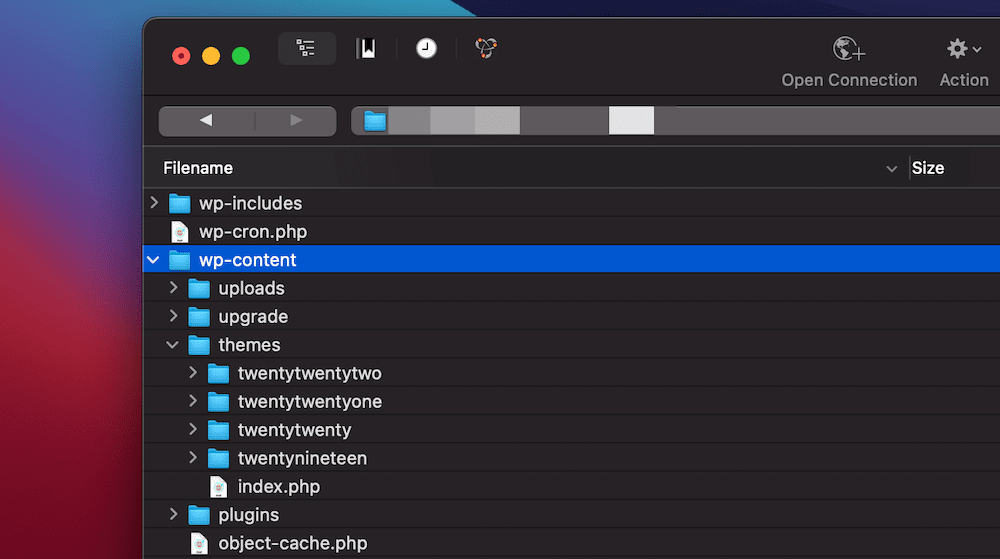
Within this directory, look for wp-content and enter it. You’ll see a number of other folders here – we want to head into themes:
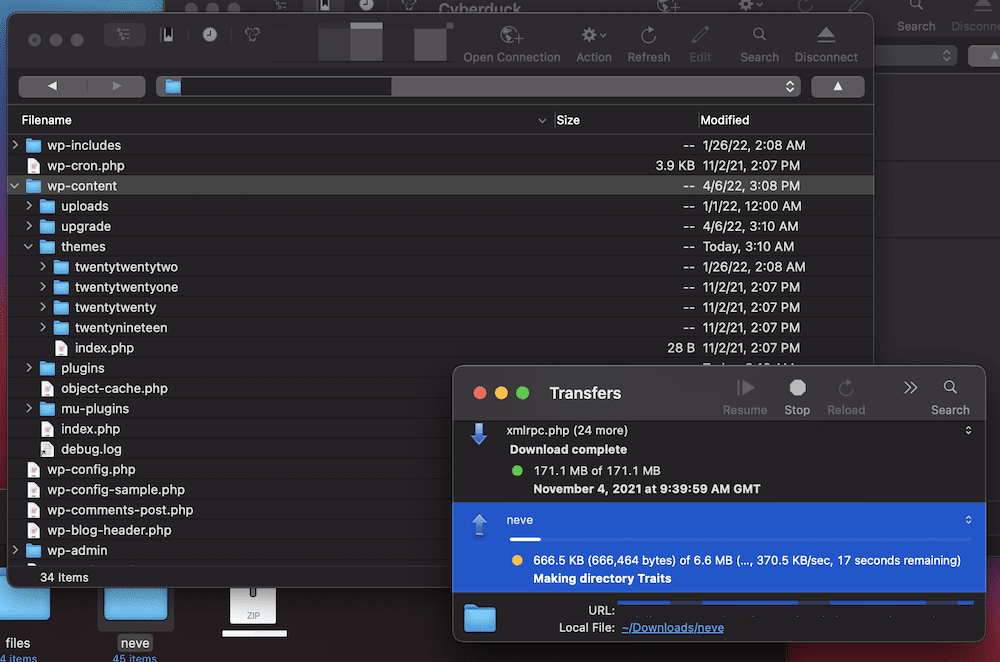
The next step is to drop the extracted folder into the themes directory. The SFTP client will upload the files:
From there, you can head into your WordPress dashboard, to the Themes page again. You should see the theme on the list, but you’ll need to activate it in order to use it as your site’s primary theme.
How WordPress themes help you with setup
Once you install your theme, you’ll be ready to customize it. However, this can often be an overwhelming step if it’s new to you, or you don’t understand what a theme will offer in the box.
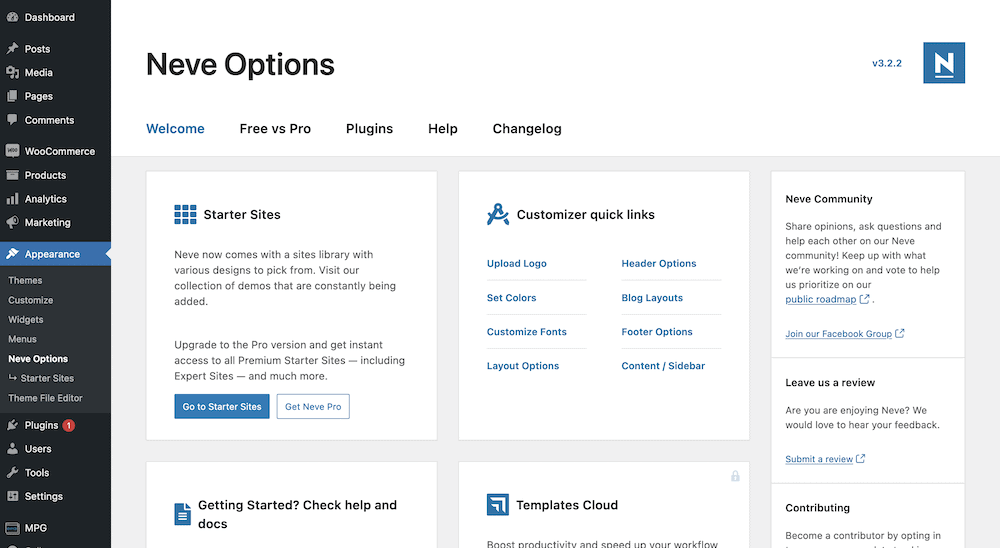
To help with this, many developers provide setup wizards or screens to help you. There are often a number of points to check off, making sure you have optimized the theme for long-term use. For example, Neve includes its own Welcome screen:
You’ll see various different implementations depending on the theme you choose. However, it’s a good idea to run through these steps because that way you won’t miss out on optimizing some essential functionalities your theme offers.
Two quick notes about WordPress themes
Before we wrap up, let’s quickly touch on two other key details for working with WordPress themes. ?
Some themes use plugins for premium features
Nowadays, many theme developers use an approach where they offer a free version of the theme at WordPress.org and then sell a premium version with more features.
However, the way that many developers do this can be a little tricky because the premium features usually come in the form of a plugin, not a theme.
For example, consider the Neve theme. The free version of the Neve theme is listed at WordPress.org. If you purchase Neve PRO, you’ll get access to a plugin that you can install alongside that free theme to add the new features.

So – if you’re having issues installing a premium theme that you purchased, make sure that you aren’t trying to install the premium add-on plugin like a normal theme.
Child themes are important for custom code edits
This last one won’t apply to most WordPress users, so most people won’t have to follow this.
However, if you ever plan to make edits directly to the code of your theme, you’ll want to create a child theme before making those changes to the theme’s files.
A child theme is essentially a foolproof clone of your theme, one that you can make changes to as much as you like without fear. The implementation has some technical elements to it in order to understand how it works. However, for your sanity, consider it something you can build on top of, while the theme itself doesn’t change.
⌛ We cover this topic in-depth across on the Themeisle blog, so take a look and make sure that you create your own child theme if you ever plan to edit your theme’s code.
Install your WordPress theme today
Without traffic, your WordPress website won’t have much purpose. One way to attract new traffic is with a professional-looking layout and design. Therefore, a good WordPress theme is crucial, and there are thousands to choose from. Both free and premium options exist – sometimes a theme will cover both, such as Neve.
Given the importance of how your site looks, the platform provides flexibility when it comes to how to install a WordPress theme.
For most people, you can install your theme directly from the WordPress dashboard:
- If the theme is listed at WordPress.org, you can install it by searching for its name and clicking the install button.
- If you purchased a premium theme, you can install it by uploading the zip file to the theme installer.
ℹ️ However, if you need to head around the back way to install a theme for whatever reason, you can do so using SFTP. From there, you can run through your theme’s setup procedure, but remember to create a child theme if you’re going to edit your theme’s code directly.
You may also be interested in:
Do you have any questions about how to install a WordPress theme? Ask away in the comments section below!